
Installing the agent on Windows
Last updated 2024-02-20
The Next-Gen WAF agent is a small process that provides the interface between your web server and our analysis platform. An inbound web request is passed to the agent, the agent then decides whether the requests should be permitted to continue or whether we should take action.
Prerequisites
Copy the agent keys for the site that you want the agent to be able to access. You will use the agent keys when configuring the Next-Gen WAF agent package.Install and configure the Next-Gen WAF agent package
To install and configure the Next-Gen WAF agent on Windows, complete the following steps:
Create an empty agent configuration file at
C:\Program Files\Signal Sciences\Agent\agent.conf.- If you need to specify a custom location for the
agent.conffile, set the absolute file path with the system environment variableSIGSCI_CONFIG. - If you are deploying the agent in reverse proxy mode, check out the Reverse Proxy Mode configuration page for details on required configuration options.
- If you need to specify a custom location for the
- Add the agent keys for your site to the agent configuration file.accesskeyid = "AGENTACCESSKEYHERE"secretaccesskey = "AGENTSECRETACCESSKEYHERE"
Download the latest Next-Gen WAF agent
.msifrom https://dl.signalsciences.net/?prefix=sigsci-agent/.Run the
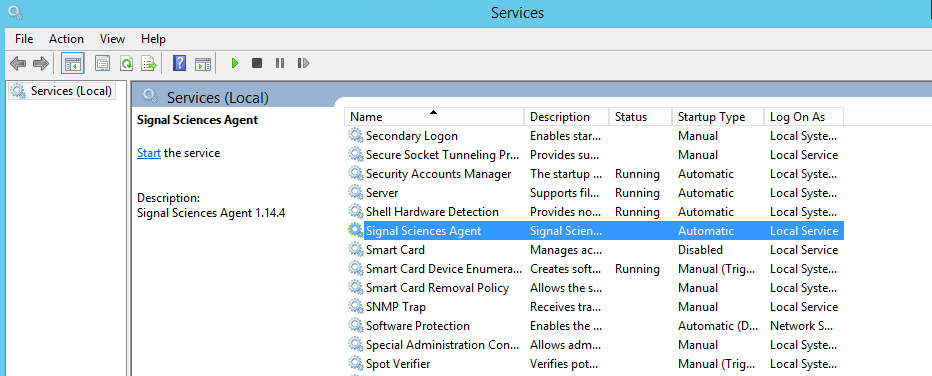
.msito install the Agent automatically with no prompts. It will install the executable inC:\Program Files\Signal Sciences\Agent, add a service entry for the Agent, and start the service if the agent configuration file is present with validaccesskeyidandsecretaccesskeysettings.The installed service name is
sigsci-agentand can be controlled with PowerShell cmdlets:$ Start-Service sigsci-agent$ Restart-Service sigsci-agent$ Stop-Service sigsci-agentAlternatively, you can download the latest Next-Gen WAF agent for Windows as a
.zipfile, which contains the agent binary. You can run this from any location you prefer. However, to install the agent in this way, you will need to configure the Service entry and start the service manually.
Example services.msc screenshot:
Next steps
Explore our module options and install the Next-Gen WAF module.
Do not use this form to send sensitive information. If you need assistance, contact support. This form is protected by reCAPTCHA and the Google Privacy Policy and Terms of Service apply.
