
2. Getting started with Compute
It's time to get started with Fastly's Compute platform. In this section, we'll walk through everything we need to start building and deploying serverless applications to the Compute platform. We'll create a new API token, look at code snippets, install the CLI and dependencies, deploy a new application, and then modify our application to say “Hello, world!”
As discussed earlier, the Compute platform supports a number of programming languages. To keep things simple, we'll use JavaScript in this tutorial as an example. Of course, after you've completed this tutorial, you can use whichever language you prefer for your own application.
TIP: As a reminder, this tutorial assumes that you've completed Introduction to Fastly's CDN. You created a Fastly account as part of the setup process for that tutorial. We'll use that account as we walk through this section.
Creating a new API token for Compute
To interact with Compute, we'll need to create a new Fastly API token. We'll use this token specifically for all of our Compute interactions, including Fastly Fiddle, Cloud Deploy, the Fastly CLI, and the GitHub Action for Compute.
Let's log in to the Fastly web interface, select Account from the Account menu, select API tokens from the sidebar, and then click Create Token. We'll see the screen shown below.
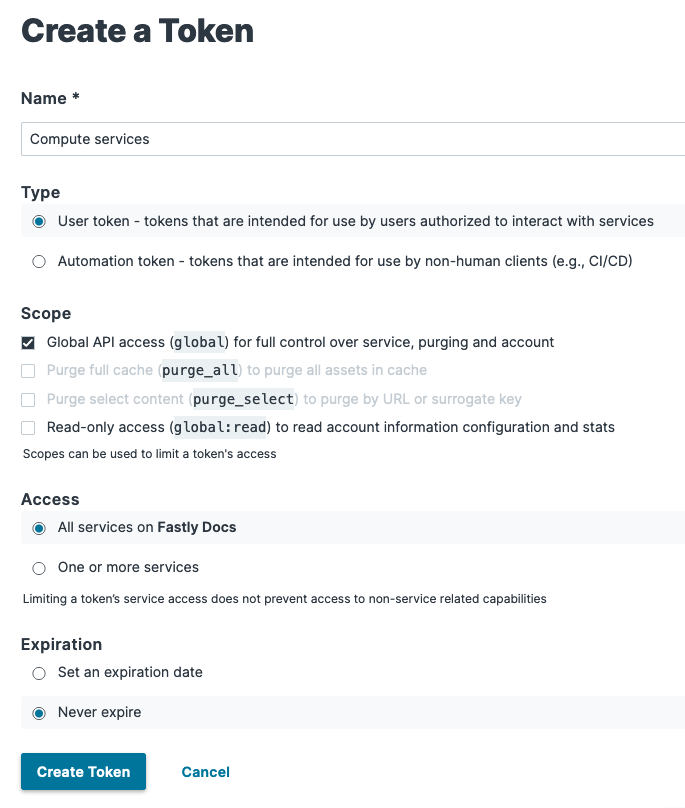
Enter a name for the token, set the type to User token, set the Scope to Global API access, set Access to All services, and set the Expiration to Never expire. Click Create Token, and then copy the token to a secure location, like an encrypted note. The token won't be displayed again.
Setting up the Fastly CLI and installing dependencies
Now it's time to install and configure the Fastly CLI on our computer. If you're using macOS, open your terminal application and enter the following command to install the Fastly CLI:
$ brew install fastly/tap/fastlyTIP: If you're not using macOS, refer to the instructions to install the Fastly CLI on your computer.
You can verify that the Fastly CLI has been installed by running the following command:
$ fastly versionIf everything's working, the output will contain the current version of the Fastly CLI.
Now you need to save the API token in the Fastly CLI. Open your terminal application and enter the following command:
$ fastly profile createFollow the on-screen instructions to create a user profile for the Fastly CLI. After you've created the user profile, you'll be able to use the Fastly CLI to interact with the Fastly API.
Installing the Compute JavaScript dependencies
If you're a developer, you might have already installed the JavaScript dependencies for Compute. If you don't have Node.js and npm installed, you'll need to do that now. We recommend using Node Version Manager (nvm) to install Node.js and npm. Follow the instructions on the nvm website.
You can verify that Node and npm have been installed by running the following command:
$ node --version && npm --versionIf everything's working, the output will contain the current versions of Node and npm.
You might also need to install Webpack by running the following command:
$ npm install --save-dev webpackCreating our first serverless application
Now that we've installed the Fastly CLI and the JavaScript dependencies for Compute, we can create our serverless application. First, we'll make a new directory on our computer:
$ mkdir hello-worldMake sure that the path to the directory doesn't contain any spaces. For example, if the parent directory is named Compute application, you should change it to compute-application to prevent problems with the Fastly CLI.
Next, we'll change directories so that we're inside the new directory in our terminal application. This is where the files for our serverless application will be stored.
$ cd hello-worldNow we're ready to create the new serverless application. Enter the following command in your terminal application:
$ fastly compute initThe Fastly CLI will walk you through the process of naming your application, adding a description, selecting a programming language, and choosing a starter kit. The prompts are shown below.
TIP: To follow along, we recommend selecting JavaScript for the language and Default starter for JavaScript for the starter kit.
Creating a new Compute project.
Press ^C at any time to quit.
Name: [hello-world]Description: An example hello world compute applicationAuthor: [user@example.com]Language:(Find out more about language support at https://www.fastly.com/documentation/guides/compute/)[1] Rust[2] JavaScript[3] Go[4] Other ('bring your own' Wasm binary)Choose option: [1] 2
Starter kit:[1] Default starter for JavaScript    A basic starter kit that demonstrates routing, simple synthetic responses and overriding caching rules.    https://github.com/fastly/compute-starter-kit-javascript-default[2] Empty starter for JavaScript    An empty application template for the Fastly Compute environment which returns a 200 OK response.    https://github.com/fastly/compute-starter-kit-javascript-empty[3] Default starter for TypeScript    A basic starter kit that demonstrates routing, simple synthetic responses and overriding caching rules.    https://github.com/fastly/compute-starter-kit-typescript
Choose option or paste git URL: [1]
✓ Fetching package template✓ Reading fastly.toml✓ Setting package name in manifest to "hello-world"✓ Setting description in manifest to 'An example hello world compute application'✓ Setting authors in manifest to 'team-documentation@fastly.com'✓ Setting language in manifest to 'javascript'✓ Saving manifest changes✓ Initializing package
INFO: This project has a custom post_init script defined in the fastly.toml manifest:    npm install
Do you want to run this now? [y/N] y
✓ Running [scripts.post_init]...
Initialized package hello-world to:    /Users/user/Documents/hello-world
To publish the package (build and deploy), run:    fastly compute publish
To learn about deploying Compute projects using third-party orchestration tools, visit:    https://www.fastly.com/documentation/guides/integrations/orchestration/
We've created the files for our first serverless application! We can use the ls command to see what files and folders the Fastly CLI created to build our serverless application:
$ lsREADME.md npm-shrinkwrap.json webpack.config.jsfastly.toml package.jsonnode_modules srcWe'll be digging into the directory structure as we progress through the tutorial.
Previewing the application
Since we used the JavaScript starter kit, we already have a fully-functional application, and we haven't even written a single line of code! Now we can use the Fastly CLI to preview it on our computer. Enter the following command in your terminal application:
$ fastly compute serveThe Fastly CLI will compile our application to Wasm and start a local server to make it available for preview on our computer. You should see output in your terminal window as shown below.
✓ Verifying fastly.toml✓ Identifying package name✓ Identifying toolchain✓ Running [scripts.build]✓ Creating package archive
SUCCESS: Built package (pkg/hello-world.tar.gz)
✓ Running local server
INFO: Command output:--------------------------------------------------------------------------------2023-11-10T21:49:21.752608Z  WARN no backend definitions found in /Users/users/Documents/hello-world/fastly.toml2023-11-10T21:49:21.752715Z  INFO Listening on http://127.0.0.1:7676
Now you can open your web browser and paste the URL from the console output—in this example, http://127.0.0.1:7676—into your web browser's address bar. You should see the web page shown below.
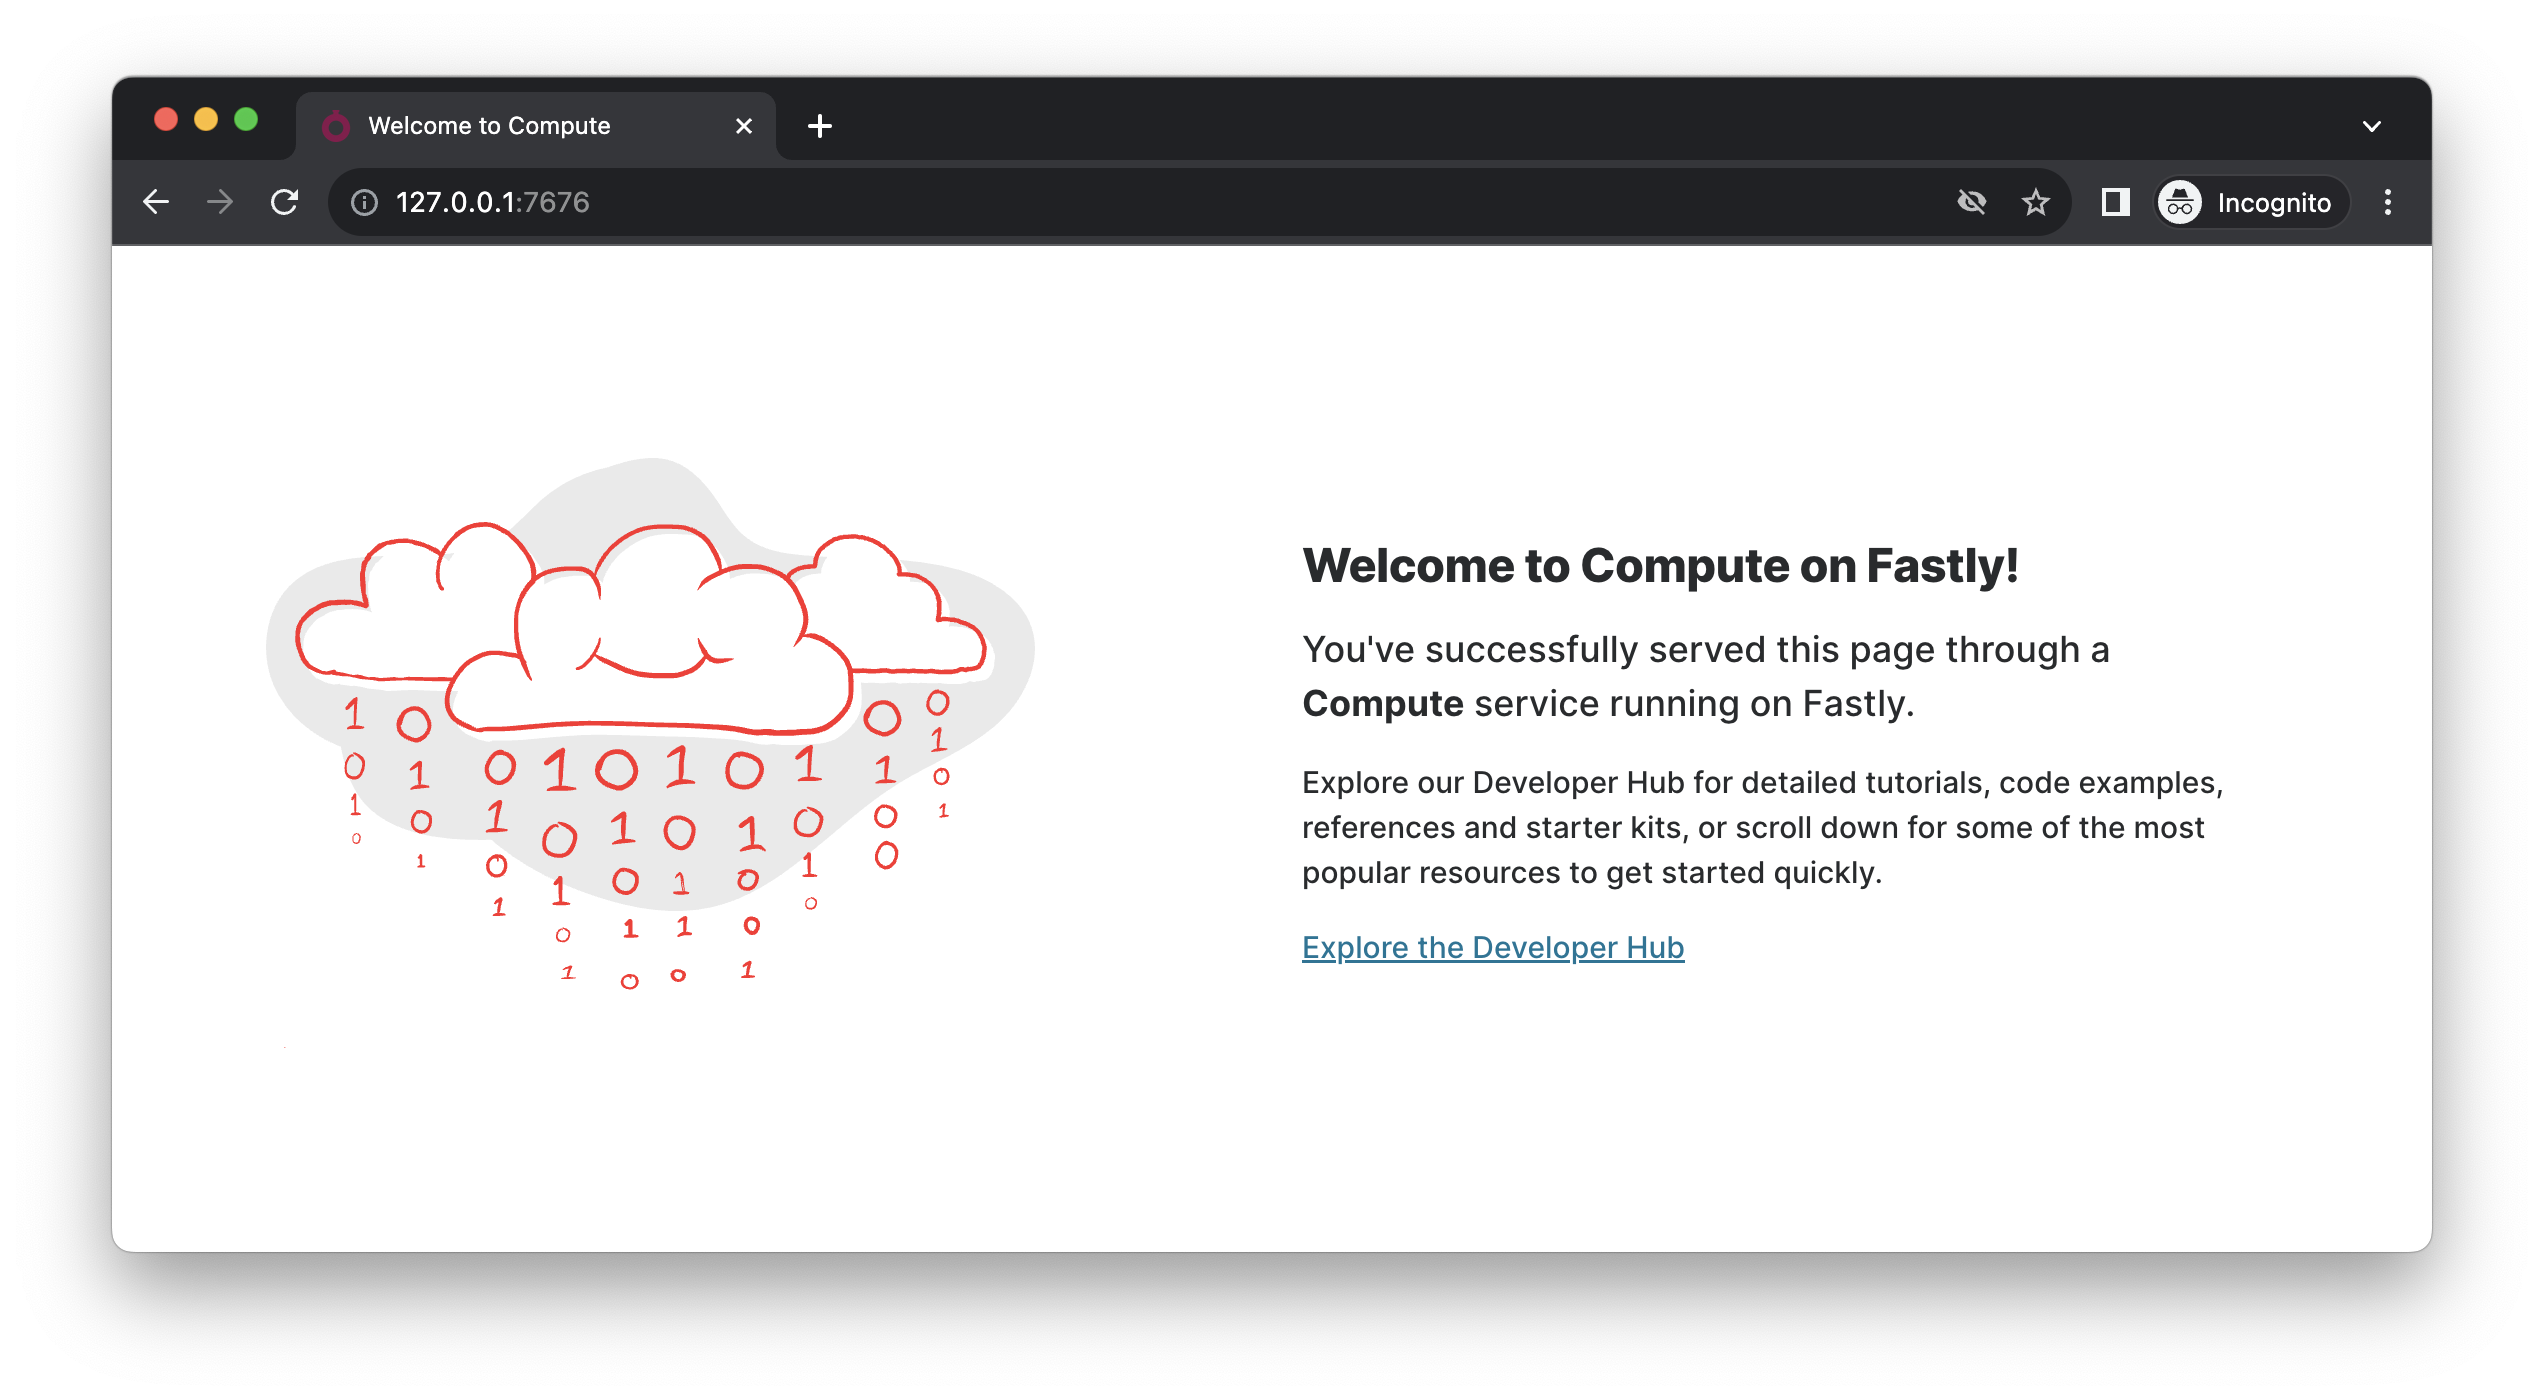
Our Compute application is working! We can stop the local server by switching to the terminal application and pressing the Control and C keys.
Deploying the application to the Compute platform
We've previewed the application on our computer, so we know that it works. Now let's deploy the application to the Compute platform to make it publicly available. Enter the following command in your terminal application:
$ fastly compute deployThe Fastly CLI will walk you through the process of deploying your application. The prompts are shown below.
TIP: The Fastly CLI will automatically create a new Fastly service for your application, if you want it to. The ID of the new service will be saved in your application's
fastly.tomlconfiguration file.
✓ Verifying fastly.toml
There is no Fastly service associated with this package. To connect to an existing service add the Service ID to the fastly.tomlfile, otherwise follow the prompts to create a service now.
Press ^C at any time to quit.
Create new service: [y/N] y
Service name: [hello-world]
✓ Creating service
Domain: [lightly-innocent-walleye.edgecompute.app]
Backend (hostname or IP address, or leave blank to stop adding backends):
✓ Creating domain 'lightly-innocent-walleye.edgecompute.app'✓ Uploading package✓ Activating service (version 1)/ Checking service availability (app deploying across Fastly's global network | timeout: 1✓ Checking service availability (status: 200)
Manage this service at:    https://manage.fastly.com/configure/services/X3qtsA67HsYoZDedsR1EU1
View this service at:    https://lightly-innocent-walleye.edgecompute.app
TIP: You'll start a Fastly trial when you deploy your Compute project to a Fastly service. Compute services on trials are subject to lower limits and can't be used for production traffic. When you're ready to use a Compute service for production traffic, contact our Sales team.
As before, you can open your web browser and paste the URL from the console output—in this example, https://lightly-innocent-walleye.edgecompute.app—into your web browser's address bar. You should see the same web page you did when you previewed it on your computer earlier.
Modifying the application to say “Hello world”
So far, we've created a serverless application, previewed it on our computer, and deployed it to the Compute platform. One thing we haven't done yet is modify the source code. Let's do that now. We'll replace the default Compute home page with a plaintext message that says “Hello, world!”
Open the hello-world directory in a text editor like VS Code. This will allow you to view the application's files and edit the source code as we continue through this tutorial.
We'll edit the src/index.js file now. This file contains the source code for our application. Delete the existing content, and then copy and paste the following code into the src/index.js file. This code is a modified version of the default code that came with the starter kit.
/// <reference types="@fastly/js-compute" />
addEventListener("fetch", (event) => event.respondWith(handleRequest(event)));
async function handleRequest(event) { // Get the client request. let req = event.request;
 // Filter requests that have unexpected methods. if (!["HEAD", "GET"].includes(req.method)) {   return new Response("This method is not allowed", {     status: 405,   }); }
 let url = new URL(req.url);
 // If request is to the `/` path... if (url.pathname == "/") {   return new Response('Hello, world!', {     status: 200,     headers: new Headers({ "Content-Type": "text/html; charset=utf-8" }),   }); }
 // Catch all other requests and return a 404. return new Response("The page you requested could not be found", {   status: 404, });}
To streamline the file, we deleted most of the default comments. We also removed references to the default HTML file. By updating the code (return new Response('Hello, world!',...) to return a text string instead of that file, our application will respond with the text “Hello, world!” Save the file and then enter the following command in your terminal application:
$ fastly compute serveAs before, you can open your web browser and paste the URL from the console output into your web browser's address bar. You should see the web page shown below.
Now you can deploy your application again entering the following command in your terminal application:
$ fastly compute deployThe updated application will be deployed and made available at the same URL as before. This process may take a few minutes.
