
- English
- 日本語
Working with health checks
Last updated 2023-04-05
Health checks monitor the status of your hosts. Fastly performs health checks on your origin server based on the Check frequency setting you select in the Create a new health check page and the packaged offering you may have purchased. The Check frequency setting you select specifies approximately how many requests per minute Fastly POPs are checked to see if they pass. There is roughly one health check per Fastly POP per period. Any checks that pass will be reported as "healthy."
Before you begin
Be sure you learn about the web interface controls and how to work with services before you start setting up health checks.
Limitations and considerations
When you create a health check, you have the option to create and attach a custom header value. If you elect to take advantage of this option, keep the following things in mind:
- The header value should only be used for the custom header check and should not be used for other purposes. You should always maintain appropriate security controls and secrets management procedures, including appropriate access limitations for customer header values.
- All headers combined must be less than 64KB. Each individual header must be less than 8190 bytes.
- There may not be more than 100 headers linked to an individual health check.
Creating a health check
- Log in to the Fastly control panel.
- From the Home page, select the appropriate service. You can use the search box to search by ID, name, or domain.
- Click Edit configuration and then select the option to clone the active version.
- Click Origins.
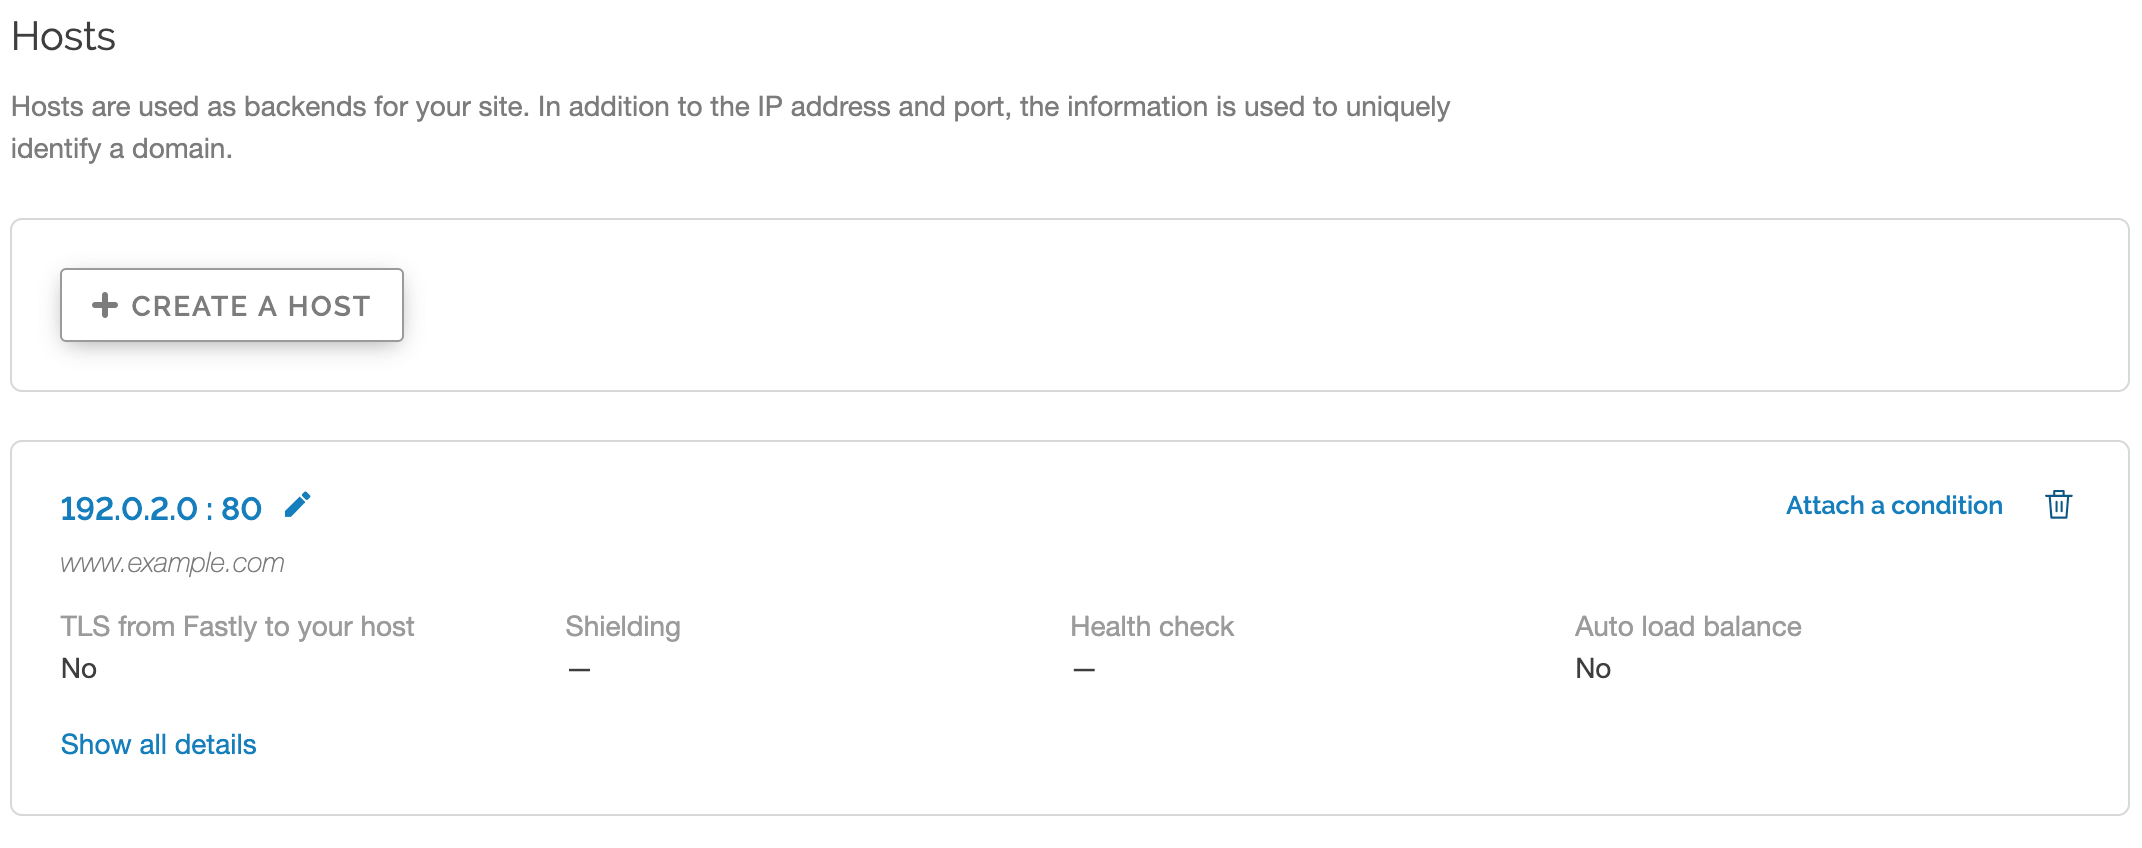
Click Create health check.
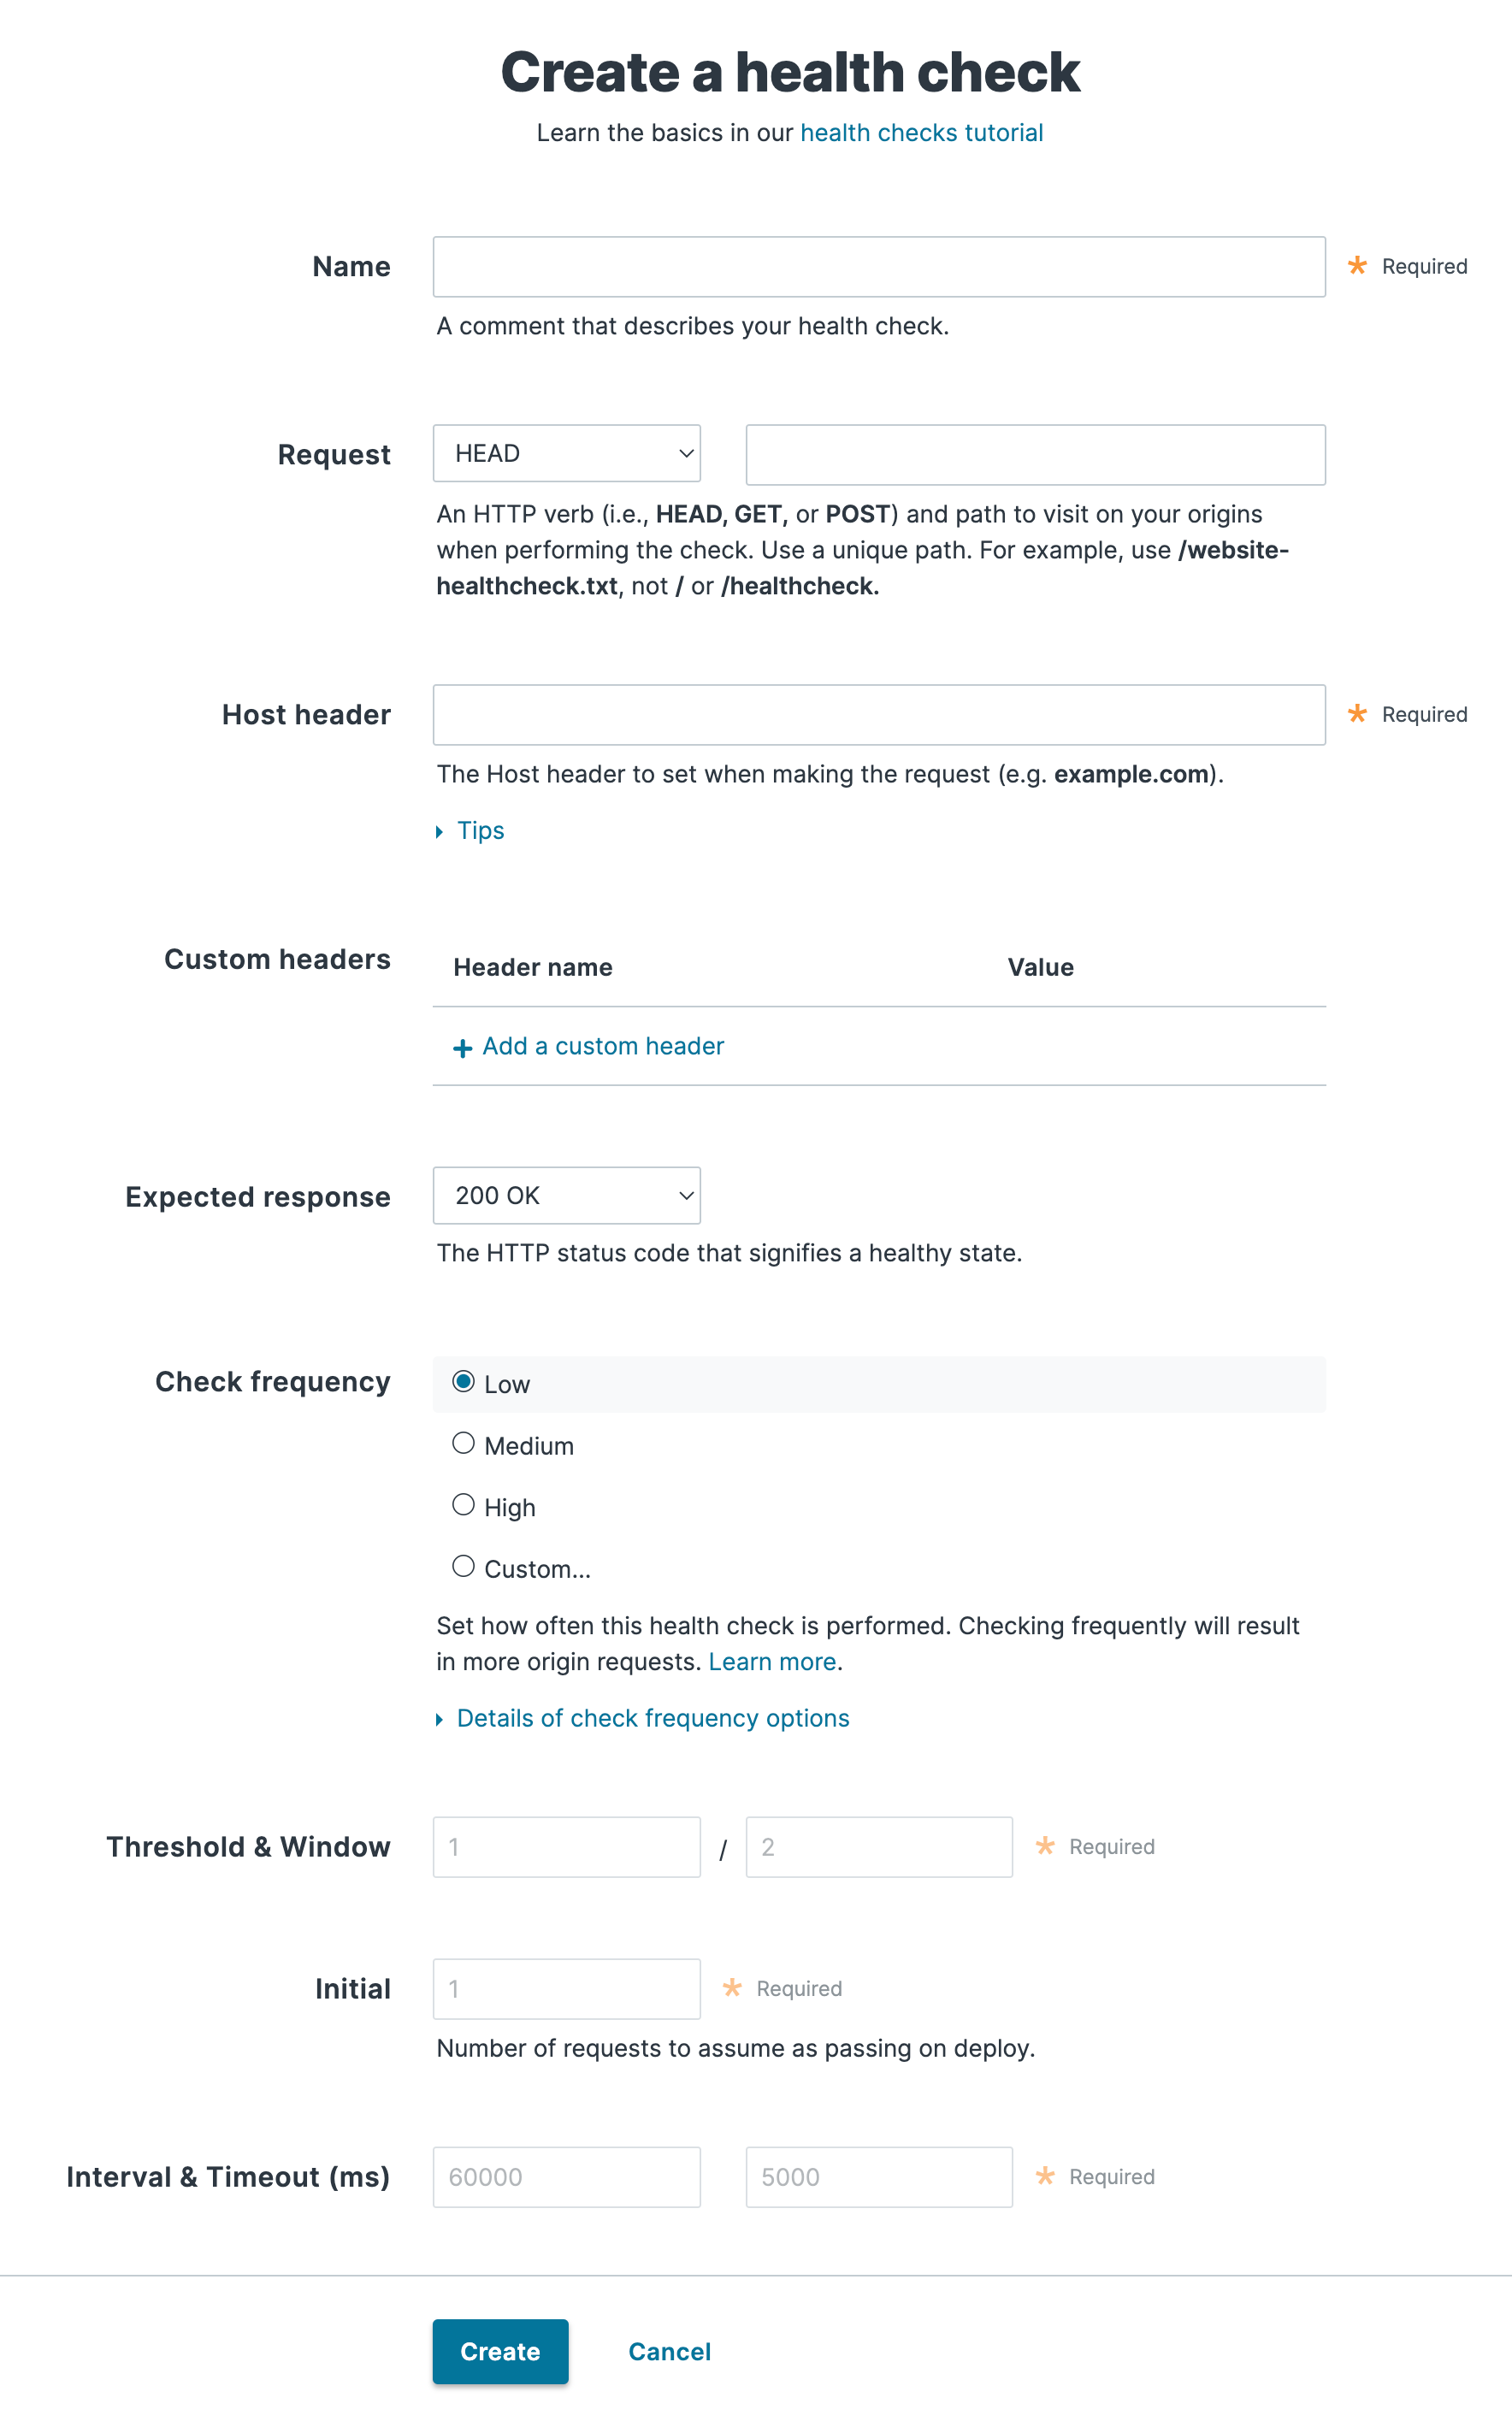
Fill out the Create a health check fields as follows:
In the Name field, enter a human-readable identifier for the health check (e.g.,
West Coast Origin Check).From the Request menu, select an HTTP verb. In the Request field, enter the path to visit when performing the check. Use a unique path. For example, use
/website-healthcheck.txt, not/or/healthcheck.In the Host header field, enter the HTTP Host header to set when making the request (e.g.,
example.com).In the Custom header field, click Add a custom header to add additional headers to your health check requests. You can specify up to 100 additional headers.
- In the Header name column, enter a human-readable identifier for the header.
- In the Value column, enter the value you want assigned to the header.
IMPORTANT
The header value should only be used for the custom header check and should not be used for other purposes.
From the Expected response menu, select the HTTP status code the origin servers must respond with for the check to pass (usually
200 OK).In the Check frequency section, select a setting to control how often the health check is performed.
- Low: One request every minute from each data center, where "healthy" means 1 out of 2 must pass.
- Medium: One request every 15 seconds from each data center, where "healthy" means 3 out of 5 must pass.
- High: One request every 2 seconds from each data center, where "healthy" means 7 out of 10 must pass.
- Custom: A custom frequency you specify.
In the Threshold & Window fields, enter the number of successes per total number health checks. For example, specifying
3/5means 3 out of 5 checks must pass to be reported as healthy.In the Initial field, enter the number of requests to assume as passing on deploy. For example, if the Threshold & Window field is set to
3/5and the Initial field is set to1, a backend would be marked as “unhealthy” until it passed two more health checks to reach the required minimum.In the Interval & Timeout (ms) fields, enter times. Interval represents the period of time for the requests to run. Timeout represents the wait time until request is considered failed. Both times are specified in milliseconds.
Click Create.
Your new health check now appears in the list of checks.
Assigning a health check
Health checks do nothing on their own, but they can be added as a special parameter to an origin server in your configuration.
- Edit one of your existing origin servers by clicking the origin server's name.
- From the Health checks menu, select the health check you just created.
- Click Update.
Fastly will now use the health check to monitor the selected origin server.
Creating and assigning health checks using VCL
Health checks can also be created and assigned using VCL. See our developer documentation on health checks for more information.
Troubleshooting
Fastly will periodically check your origin server based on the options chosen. Pay special attention to the HTTP Host header. A common mistake is setting the wrong host. If the origin server does not receive a host it expects, it may issue a 301 or 302 redirect causing the health check to fail. Also, Varnish requires the origin server receiving the health check requests to close the connection for each request. If the origin server does not close the connection, health checks will time out and fail.
If an origin server is marked unhealthy due to health checks, Fastly will stop attempting to send requests to it. Once all of your origin servers are marked unhealthy, Fastly will return a 503 error (service unavailable) to the client unless you tell it otherwise. You can configure Fastly to attempt to serve stale content instead until your origin servers become available again.
What's next
Learn more about working with domains and working with hosts as you continue to refine versions of your service configurations.
Do not use this form to send sensitive information. If you need assistance, contact support. This form is protected by reCAPTCHA and the Google Privacy Policy and Terms of Service apply.
