
- English
- 日本語
Using the IP block list
Last updated 2025-02-18
IMPORTANT
This guide only applies to CDN services.
You can prevent specific IP addresses from accessing your service by adding them to a block list. Enabling this feature creates a condition and response that returns a 403 error to anyone trying to access the service from a blocked IP address. You can use this feature to prevent bad actors from interfering with the operation of your web application.
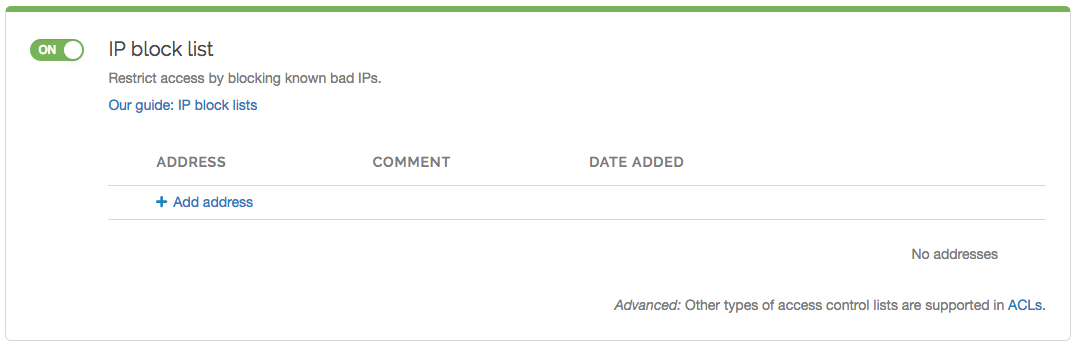
Enabling the IP block list
To enable the IP block list, follow the steps below:
- Fastly control panel
- API
- Log in to the Fastly control panel.
- From the Home page, select the appropriate service. You can use the search box to search by ID, name, or domain.
- Click Edit configuration and then select the option to clone the active version.
- Click Settings.
Click the IP block list switch to On.
- Click Activate to deploy your configuration changes.
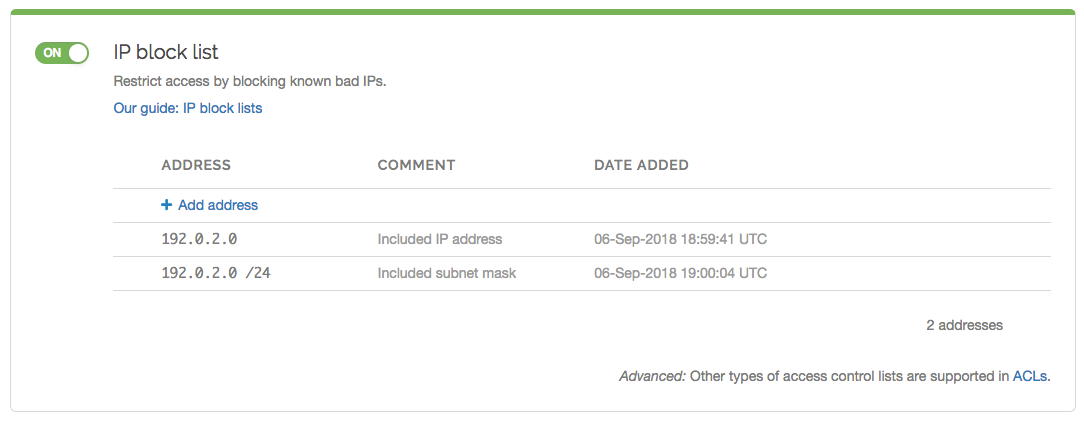
Blocking an IP address
To block an IP address, follow the steps below:
- Fastly control panel
- API
Click Add address.
In the Address field, enter an IP address or subnet mask (a range of IP addresses) to block for this service. To add an exception for an IP address, use an exclamation point (for example, use
!192.0.2.0or!192.0.2.0/24).(Optional) In the Comment field, enter a comment that describes the IP address or subnet mask.
Click Add. The IP address or subnet mask appears in the list. This addition will become effective immediately.
Editing a blocked IP address
You can edit a blocked IP address or subnet mask at any time. To edit an IP address or a subnet mask, follow the steps below:
- Fastly control panel
- API
- Find the IP block list associated with your service in which the associated IP addresses or subnet masks appear. Because these entries are versionless, the service version you choose doesn't matter. Choose the one that makes the most sense to you.
- In the IP block list area, hover your cursor over an entry, then click the pencil
 that appears.
 - Edit the IP address, subnet mask, or comment as necessary.
- Click Save. The changes you make will be immediately applied to your configuration. If your IP block list has already been associated with a deployed service version, those changes will happen live.
Deleting an IP block list entry
You can delete individual entries in the IP block list at any time. To delete an IP address or subnet mask that was created via the Fastly control panel:
- Fastly control panel
- API
- Find the IP block list associated with your service in which the associated IP addresses or subnet masks appear. Because these entries are versionless, the service version you choose doesn't matter.
- In the IP block list area, hover your cursor over an entry, then click the trash
 that appears.
 - Click Confirm and delete.
Disabling the IP block list
The IP block list and its associated entries can be disabled in any unlocked service version. To disable the IP block list, follow the steps below:
- Fastly control panel
- Find the IP block list associated with an unlocked version of your service.
- Click the IP block list switch to Off.
- Click Yes. This disables the block list and deletes all associated entries.
- Click Activate to deploy your configuration changes.
Creating other ACL types
If you need other types of ACLs, you'll need to create them in the Data page of the Fastly control panel.
Do not use this form to send sensitive information. If you need assistance, contact support. This form is protected by reCAPTCHA and the Google Privacy Policy and Terms of Service apply.
