
- English
- 日本語
Adding or modifying headers on HTTP requests and responses
Last updated 2024-08-01
HTTP header fields are components of the header section of request and response messages in the Hypertext Transfer Protocol (HTTP). They define the operating parameters of an HTTP transaction. When you create and configure headers, you can determine how you want your content served to your users. The following steps show you how to add and edit headers.
Create new headers
To create a new header, follow these steps:
- Log in to the Fastly control panel.
- From the Home page, select the appropriate service. You can use the search box to search by ID, name, or domain.
- Click Edit configuration and then select the option to clone the active version.
- Click Content.
Click Create header.
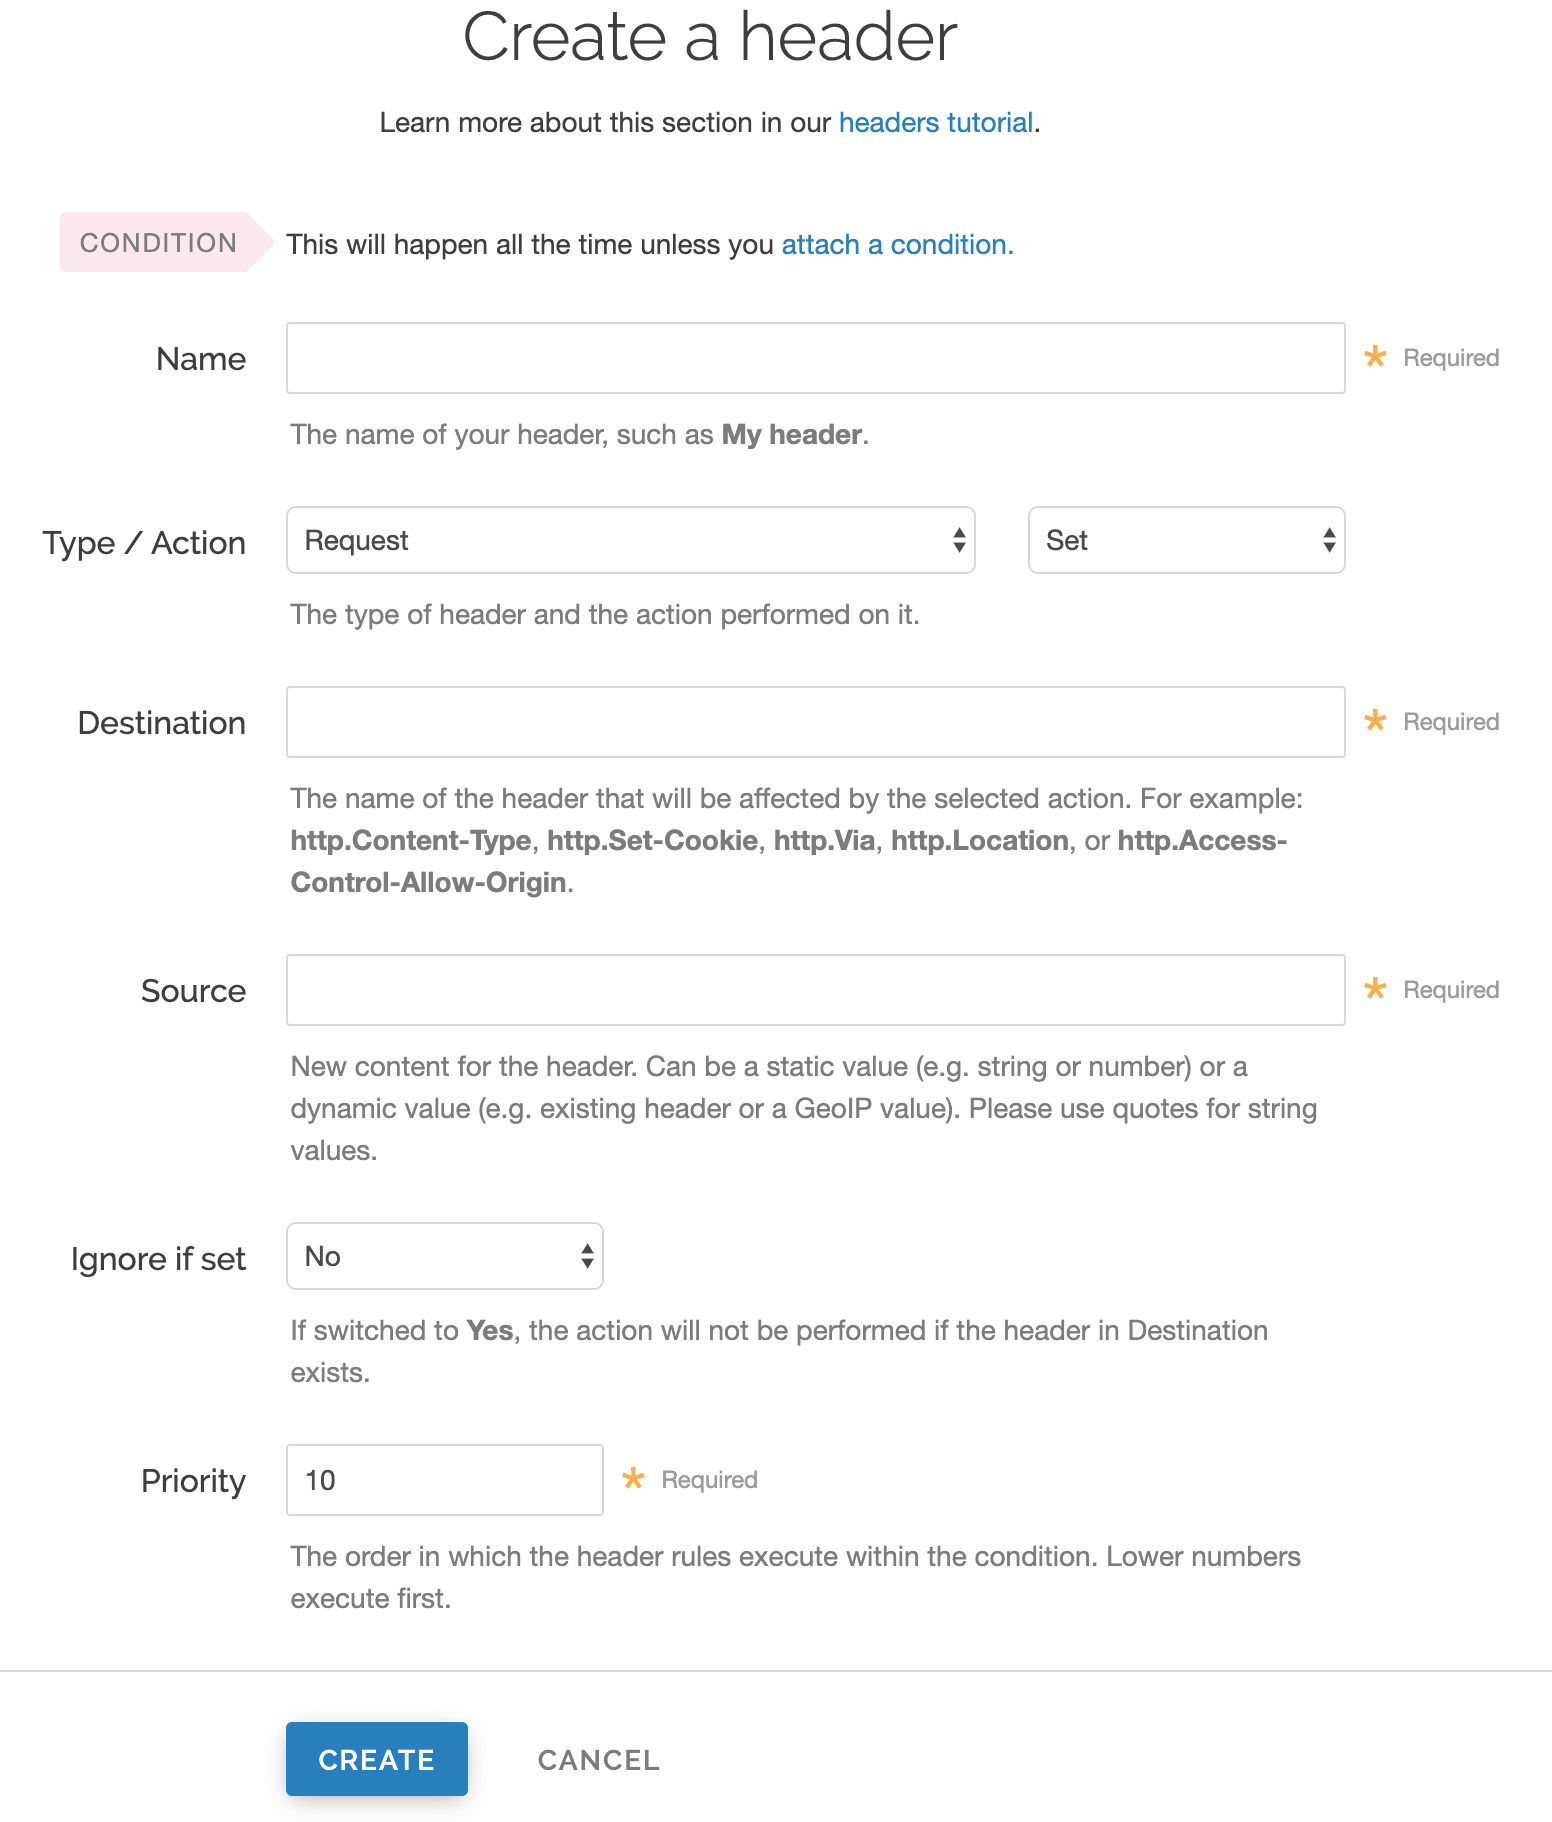
Fill out the Create a header fields as follows:
- In the Name field, enter the name of your header rule (for example,
My header). - From the Type menu, select Request, and from the Action menu, select Set.
- In the Destination field, enter the name of the header affected by the selected action.
- In the Source field, enter where the content for the header comes from.
- From the Ignore if set menu, select No if you want the header in the Destination field modified or select Yes if you don't want it modified.
- In the Priority field, enter the order the header rules execute.
The Field description table below provides additional details about each of these controls.
- In the Name field, enter the name of your header rule (for example,
Click Create.
- Click Activate to deploy your configuration changes.
Edit headers
To edit an existing header, follow these steps:
- Log in to the Fastly control panel.
- From the Home page, select the appropriate service. You can use the search box to search by ID, name, or domain.
- Click Edit configuration and then select the option to clone the active version.
- Click Content.
Click the name of the header you want to edit.
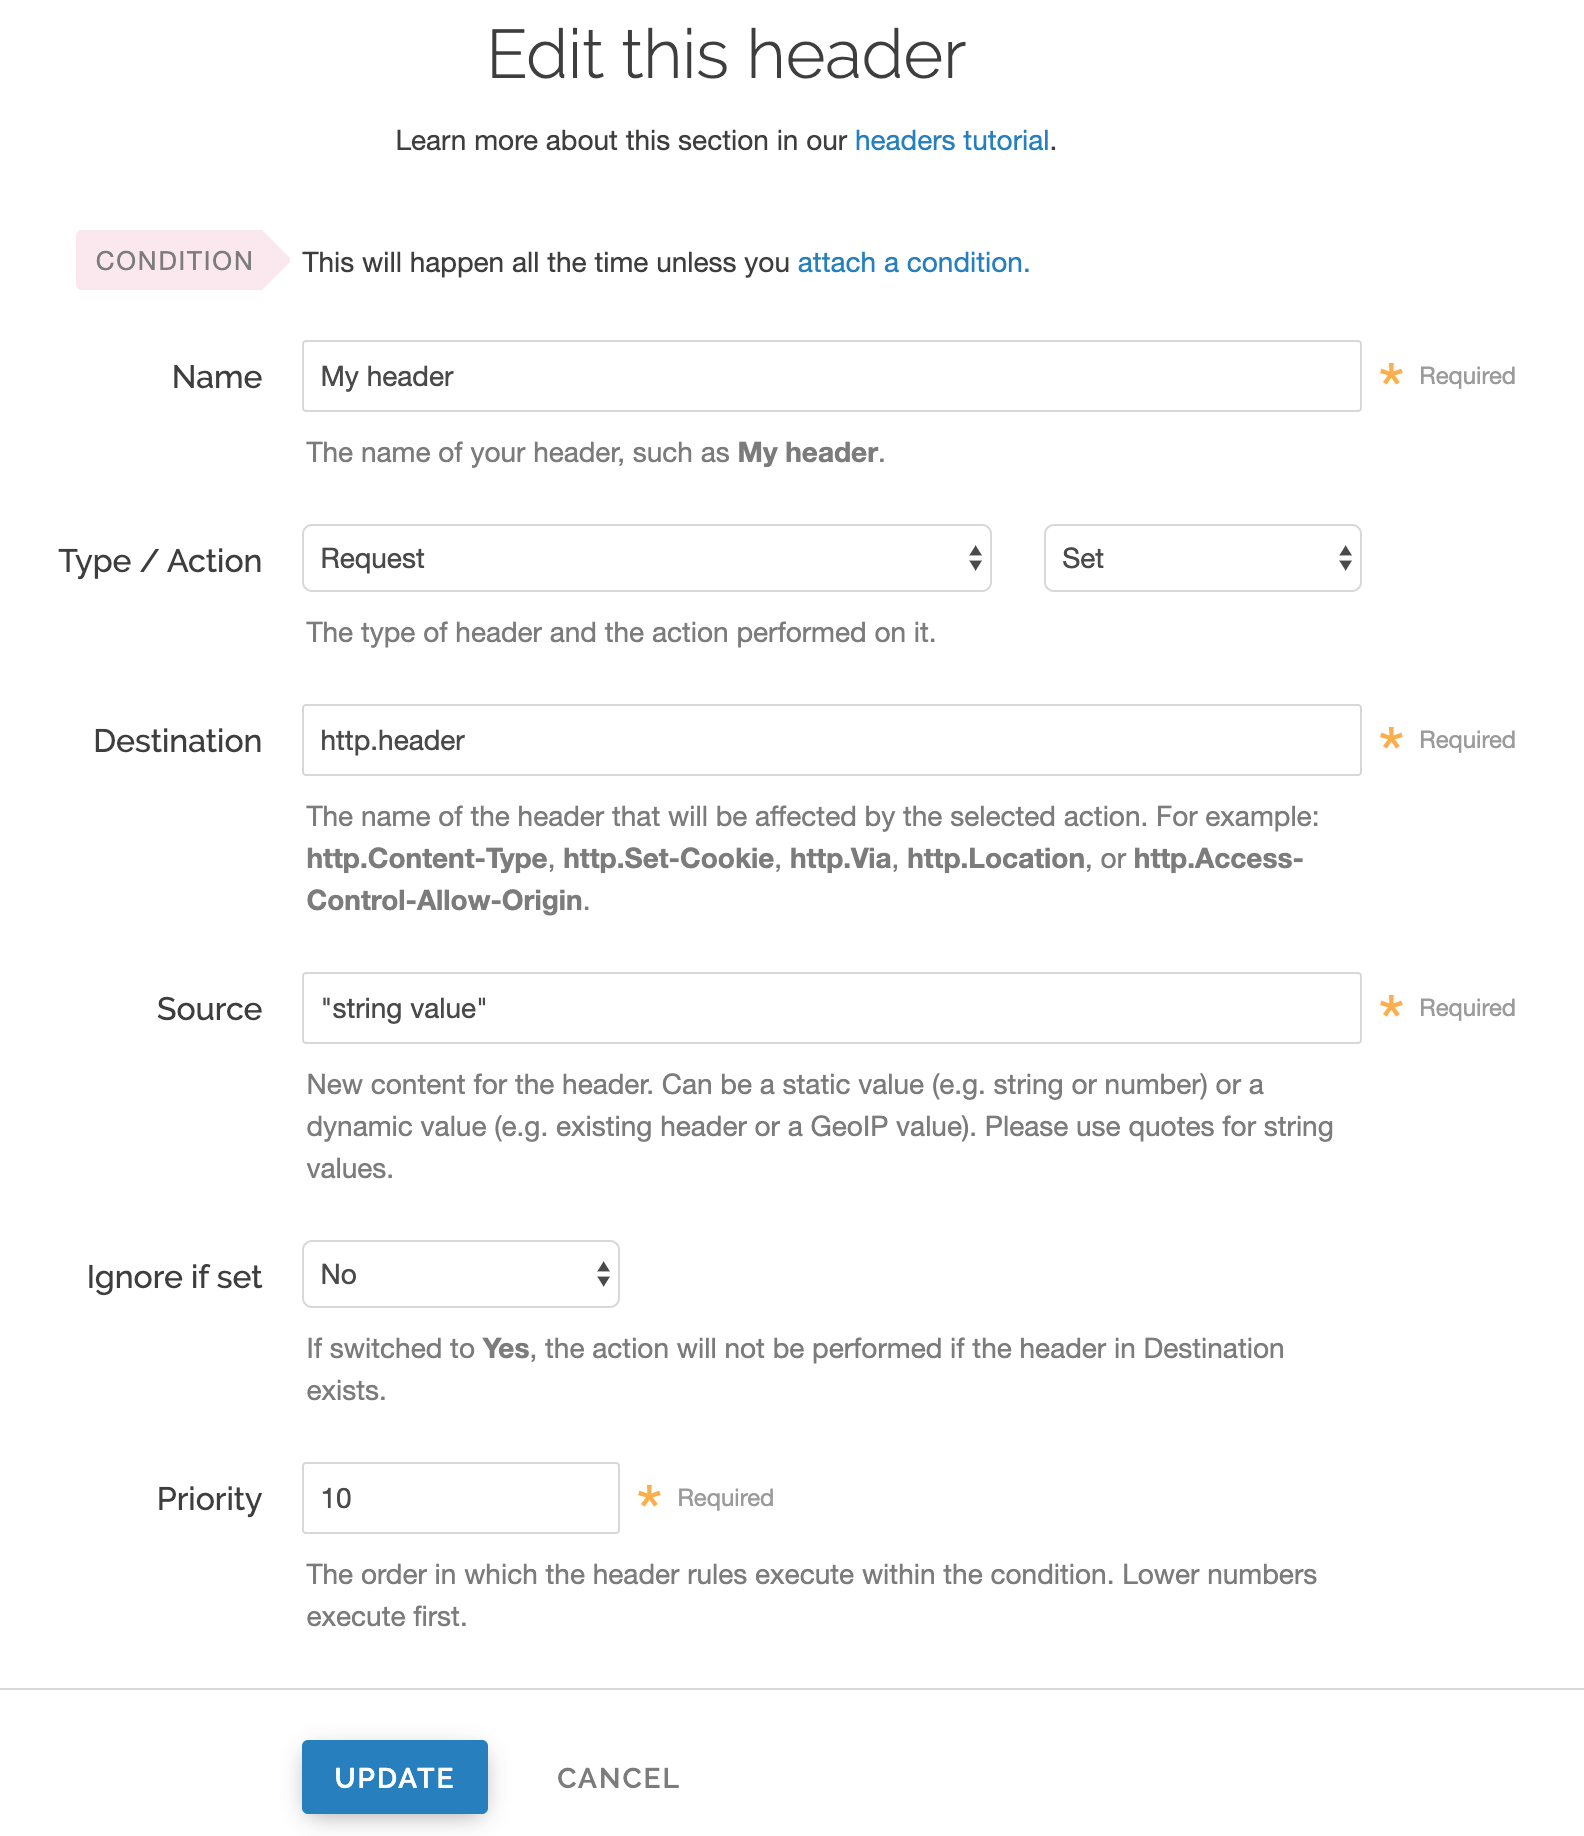
Fill out the Edit this header fields as follows:
- In the Name field, enter the name of your header rule (for example,
My header). - From the Type menu, select Request, and from the Action menu, select Set.
- In the Destination field, enter the name of the header affected by the selected action.
- In the Source field, enter where the content for the header comes from.
- From the Ignore if set menu, select No if you want the header in the Destination field modified or select Yes if you don't want it modified.
- In the Priority field, enter the order the header rules execute.
- In the Name field, enter the name of your header rule (for example,
Click Update.
- Click Activate to deploy your configuration changes.
Field description table
This table describes what each field in the Header window means:
| Field | Description |
|---|---|
| Name | The Name field specifies a memorable word or phrase that allows you to recognize and remember a particular Header rule. |
| Type | The Type menu can be set to Request, Response, or Cache. Selecting Request modifies the request coming from the user, and this will carry through to the request that gets sent to your origin server. Selecting Response affects the HTTP response that is sent back to the user. Selecting Cache affects the HTTP response that your origin server returns before it gets stored on Fastly servers, meaning whatever changes you make there will be remembered on a cache hit. |
| Action | The Action menu can be set to Set, Append, Delete, Regex, and Regex All. Selecting Set (the default) will write a value into the header (potentially overwriting it, if it already exists). Selecting Append will add a value onto the end of a header or set it if it doesn't exist. Selecting Delete will remove a header. When selected, it hides the Source field in the Header window. Selecting Regex allows you to perform a find and replace on specific text and is based on a regular expression you type in. When selected, the Regex and Substitution controls appear in the Header window. Selecting Regex All allows you to perform the same function as Regex but it performs a find and replace multiple times. When selected, the Regex and Substitution controls appear in the Header window. |
| Destination | The Destination field determines the name of the header that is going to be affected by our Action. Because header rules can be used to affect more than just HTTP headers, your input to this field should be formatted like this: http.Header-Name. |
| Source | The Source field is available on Set, Append, Regex, and Regex All actions. This field becomes hidden in the Header window when you select Delete from the Action menu. It determines where the new content for the header comes from. There are a plethora of options for Source. The simplest is a static string such as "My Static String" (including the quotes). Other options include VCL variables like those related to client connections, HTTP headers, and geolocation variables. |
| Regex | The Regex field only appears in the Header window when you select Regex or Regex All from the Action menu. It allows you to perform a find and replace on specific text and is based on a regular expression that you type in. |
| Substitution | The Substitution field only appears in the Header window when you select the Regex and Regex All from the Action menu. It replaces the text that was removed by the regex expression with the text you typed in the Substitution field. |
| Ignore if set | By default this is set to No, which means that if the header you are modifying already exists, it will be modified. |
| Priority | The Priority field determines the order in which the header rules execute (e.g., a priority of 1 means the header rule executes first). This can be important if you set headers and then set other headers based on the earlier ones. |
Do not use this form to send sensitive information. If you need assistance, contact support. This form is protected by reCAPTCHA and the Google Privacy Policy and Terms of Service apply.
