
- English
- 日本語
Setting up TLS with your own certificates
Last updated 2024-11-11
This guide describes how to use the Fastly TLS product to upload and deploy your own TLS certificates and private keys using the Fastly control panel.
To serve secure traffic from Fastly using HTTPS (Hypertext Transfer Protocol Secure), a website or application needs to provide clients with a valid TLS certificate signed by a trusted Certification Authority (CA). TLS (Transport Level Security) and its predecessor SSL (Secure Sockets Layer) are the protocols that allow clients to form secure server connections so traffic can be served over HTTPS.
TIP
Fastly offers an API for uploading and managing your keys and certificates used to activate TLS for your domains on Fastly.
Before you begin
- Before setting up TLS on your domains, be sure to review the Fastly TLS prerequisites and limitations.
- To use a self-signed certificate that is not publicly-trusted, reach out to support@fastly.com.
Setting up TLS for a domain
To set up TLS, you'll upload a TLS certificate and the matching private key (used to initially generate the certificate). Then, you'll apply a TLS configuration to the domain and activate TLS on the domain.
- First-time set up
- Uploading additional certificates
To set up TLS for the first time, complete the following:
- Log in to the Fastly control panel and select Security from the navigation sidebar. The Overview page appears displaying an overview of Fastly's security offerings.
Click Manage certificates.
Click Get started.
Click Upload my own private key and certificate to continue.
Drag and drop the key file into the drag and drop area for key files. Alternately, click the browse link to navigate to the file on your system using the file picker. A success message appears along with a visualization of your key.
IMPORTANT
The key file upload tool currently only accepts 256-bit or 384-bit ECDSA keys or 2048-bit RSA keys.
Drag and drop the certificate file into the drag and drop area for certificate files. Alternately, click the browse link to navigate to the file on your system using the file picker.
Click Continue to move to the final steps of enabling TLS on your domain.
Select the checkbox next to the domain you want to activate.
From the Select a TLS Configuration menu, select the TLS configuration to apply. The configuration defines both the IPs that the certificate will be deployed to and the associated TLS settings that will be applied. The default option is HTTP/3 & TLS v1.3 + 0RTT (t.sni).
If you've purchased Regional Routing, TLS configurations will appear grouped by regional subset of our global POPs, allowing you to restrict traffic delivery from Fastly solely to those regions. Once the configuration is selected, the TLS configuration is applied to the domain. Each TLS configuration is active and available at their respective IP addresses and DNS records.
Click Activate.
Activating TLS on a domain
Once a valid certificate and private key have been uploaded, all domains that appear as SAN entries will be listed on the Domains page with a status of TLS ready. To serve HTTPS traffic using your certificate, follow the steps below to activate TLS for the domain and point the DNS records to the certificate's location.
- Log in to the Fastly control panel.
Go to Security > TLS management > Domains.
Find the card for the domain with the certificates on which you want to activate TLS. Certificates in a disabled state will have the status of
Ready to activate.Click Add TLS activation to the right of the certificate you want to activate.
Select the TLS configuration you want to apply. If the configuration is already activated for a different certificate on the domain, a notice appears. You must click Switch to this certificate to continue.
If you've purchased Regional Routing, TLS configurations will appear grouped by regional subset of our global POPs, allowing you to restrict traffic delivery from Fastly solely to those regions. Once your TLS configuration is selected, Fastly deploys your TLS certificate to the entire Fastly edge network. It may take up to an hour for your certificate to become available throughout the world.
Click View details to view the DNS details for the domain. Use these details to configure your DNS records so that a TLS connection can be established using your certificate.
- For TLS on an apex domain (e.g.,
example.com), you'll need to create an A record with your DNS provider. - For subdomains and wildcard domains (e.g,
www.example.comor*.example.com), you'll need to create a relevant CNAME record.
- For TLS on an apex domain (e.g.,
IMPORTANT
It can take up to 48 hours for new DNS records to propagate across the internet.
Applying a TLS configuration to a domain
TLS configurations are a collection of TLS settings that include the supported versions of TLS and HTTP, along with networking and handshaking options that clients will use. For accounts with more than one TLS configuration, the default configuration has a label in the right corner of the card.
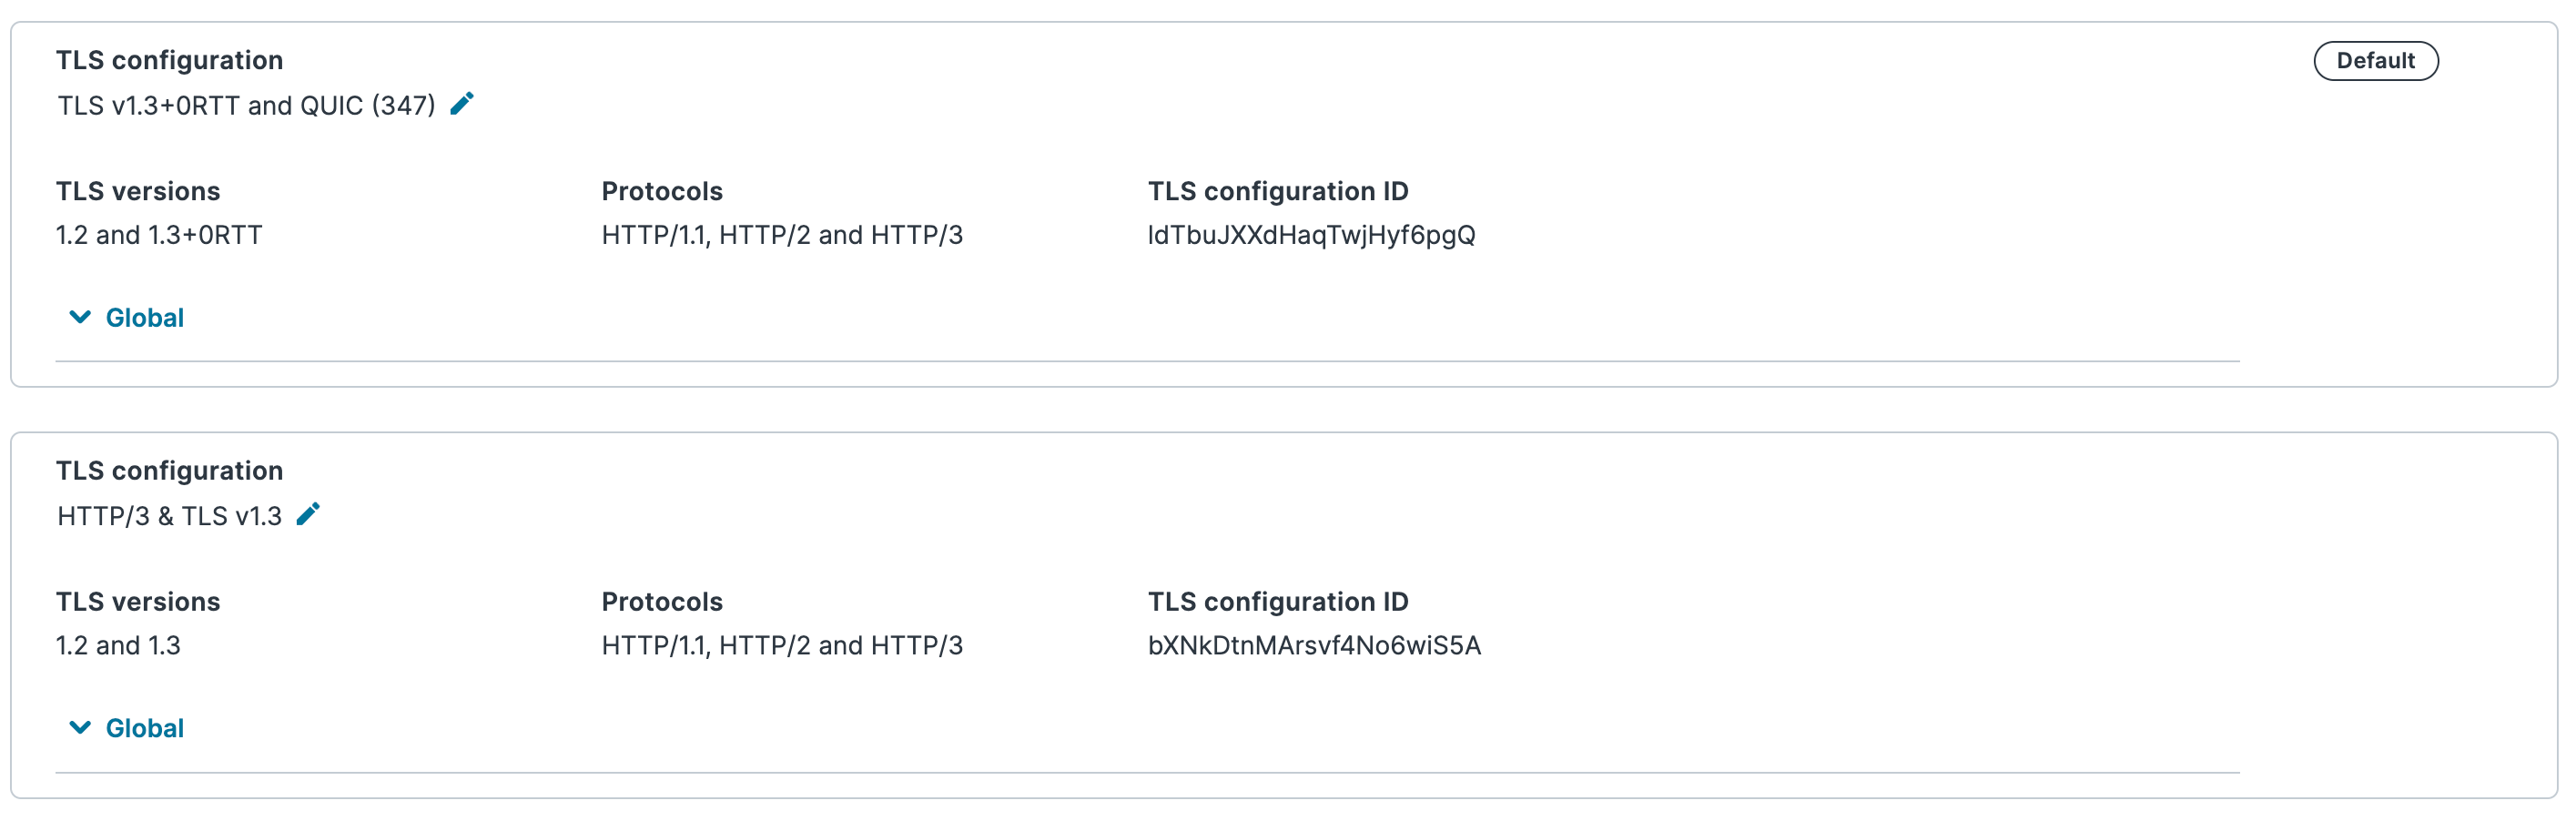
TIP
TLS configuration names are editable by clicking the pencil ![]() next to the name.
next to the name.
To override the default TLS configuration applied to a domain or to migrate a domain to use a different configuration follow these steps.
- Log in to the Fastly control panel.
Go to Security > TLS management > Domains.
Find the card for the domain with the certificates on which you want to add additional TLS activations.
Click View details next to the certificate on which you want to add additional activations.
Click Add TLS activation.
Select the TLS configuration you want to apply to the certificate. If the configuration is already activated for a different certificate on the domain, a notice appears. You must click Switch to this certificate to continue.
If you've purchased Regional Routing, TLS configurations will appear grouped by regional subset of our global POPs, allowing you to restrict traffic delivery from Fastly solely to those regions. Once the configuration is selected, the TLS configuration is applied to the domain. Each TLS configuration is active and available at their respective IP addresses and DNS records.
Click View details and use the information to configure your DNS records so that a TLS connection can be established using your certificate.
Confirm the new DNS records have propagated across the internet (this can take up to 48 hours), then delete the old TLS configuration by clicking the trash.
NOTE
For HTTP/1.1, be sure to activate TLS for each of your domains in the Fastly control panel. If you upload a certificate with multiple SANs, each domain must have TLS explicitly activated if you want to secure these domains on Fastly.
Exceptions may apply in the case of HTTP/2 if your browser coalesces secure connections and has previously received a TLS certificate from an earlier handshake. In this case, some browsers may reuse an existing secure connection to Fastly if its certificate has a matching SAN entry.
Updating a certificate
Fastly allows you to update a certificate by replacing it with a new one at any time. To help identify certificates that need updating and replacing, the following alerts appear on the certificate cards on the TLS certificates page:
- Expiring: Indicates a certificate is nearing its expiration date.
- Expired: Indicates a certificate is past its expiration date.
- Replace: Indicates a certificate Fastly recommends you update and replace.
Updating certificates when there are no removed domains
To update a TLS certificate by replacing it with one that contains all the domains as the original (either as a superset or a matching list) follow these steps.
- Generate a new certificate with your preferred Certification Authority.
- Log in to the Fastly control panel.
- Go to Security > TLS management > Self-managed certificates.
- Find the card for the certificate you’re replacing.
- Click the word Replace in the upper right corner of the certificate’s card.
- Drag and drop the replacement certificate file into the drag and drop area for certificate files. The certificate you select should be PEM-formatted and the SAN entries of this new certificate must contain all entries in the current certificate (i.e., it must either have an exact matching list or contain a superset). Alternately, click the browse link to navigate to the file on your system using the file picker.
- If a new key was generated with the new certificate, drag and drop the key file into the drag and drop area for key files. Alternately, click the browse link to navigate to the file on your system using the file picker.
- Below the drag and drop areas, verify that the certificate replacement menu is pre-selected with the certificate you want to replace with your new certificate.
- Click Submit.
All domains actively serving TLS traffic on the old certificate will be automatically transitioned to the updated certificate within a matter of minutes. Any new domains will need to be manually activated by following the steps for activating TLS on a domain.
Updating certificates when there have been changes to domains
If you want to update one of your certificates that requires removing domains, you will need to procure a new certificate with the updated list of SAN entries. Follow the steps to upload this certificate as a new certificate.
Upload the new certificate.
Go to Security > TLS management > Domains.
Locate the previously existing domains that have already been activated with the certificate you’re replacing.
Click View details next to the certificate on which you want to add additional activations.
Click Add TLS activation.
Select the TLS configuration you want to apply to the certificate. If the configuration is already activated for a different certificate on the domain, a notice appears. You must click Switch to this certificate to continue.
If you've purchased Regional Routing, TLS configurations will appear grouped by regional subset of our global POPs, allowing you to restrict traffic delivery from Fastly solely to those regions. Once the configuration is selected, the TLS configuration is applied to the domain. Each TLS configuration is active and available at their respective IP addresses and DNS records.
Delete the old certificate.
Certificates for newly activated domains can take between 5 minutes to an hour to fully deploy across Fastly’s global network. If the new certificate is not being used to serve TLS traffic within 1 hour, contact support for assistance.
Deactivating TLS and deleting certificates and private keys
Once a domain has TLS activated, you have the option to deactivate TLS via the Deactivate TLS button listed on the TLS domains page. If a domain has multiple certificates, you can elect to deactivate a specific certificate by clicking Add/Edit Activations and clicking the Deactivate button next to any active configurations. If all certificates are deactivated, Fastly will no longer serve TLS traffic on the selected domain and it will become disabled.
To delete a certificate from the Self-managed certificates page, be sure to disable TLS for all domains on that specific certificate. You will also need to delete all certificates before you can delete a matching private key. Private keys can only be deleted if they have no matching TLS certificate.
TIP
Unmatched and unused private keys aren't automatically deleted. To avoid reaching the maximum key limit, be sure to delete any unused keys.
Certificate expirations
Thirty days before any certificate is due to expire, the web interface will display warnings on certificates soon to expire. Fastly will also begin to periodically send automated expiration notification emails to all superusers. If the certificate is not replaced or removed, Fastly will continue to email users on the account until the certificate expires. Once expired, Fastly will no longer send automatic notifications.
Do not use this form to send sensitive information. If you need assistance, contact support. This form is protected by reCAPTCHA and the Google Privacy Policy and Terms of Service apply.
