
- English
- 日本語
Working with staging
Last updated 2025-05-02
Fastly's Staging feature allows you to test changes to your service configuration on a staging network before deploying them to production. To minimize differences between staging and production, staging deploys run on the same type of points of presence (POPs) as production deploys.
You don't need to make changes to your service configuration to use the Staging feature. Staging metrics are kept separate from production metrics, and you can stage a service as many times as you want.
Before you begin
You should review this feature's limitations before using it. By default, the Staging feature is automatically enabled for use in the Fastly API, CLI, and Terraform.
Enabling staging controls in the Fastly control panel
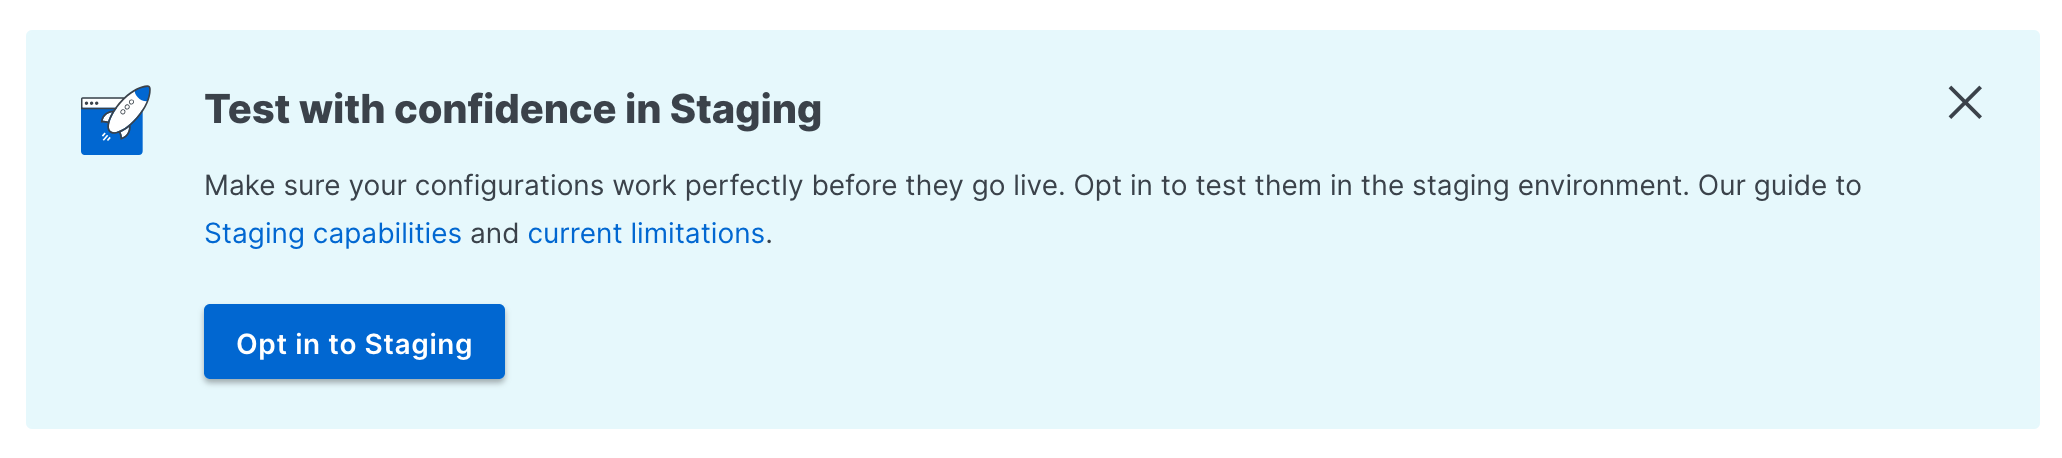
You must enable the Staging feature for use in the Fastly control panel. If you've been assigned the role of superuser, do that by following these steps:
- Log in to the Fastly control panel.
- From the Home page, select a service.
- Click the Opt in to Staging button.
NOTE
If you previously enabled and then opted out of using the Staging feature for your account, you'll need to contact support to reenable the feature.
Preparing services that use Next-Gen WAF
IMPORTANT
This section only applies to Next-Gen WAF customers with access to the Next-Gen WAF control panel.
If your service is configured to use Next-Gen WAF, run the following command to update your service's delivery integration and enable support for the Staging feature:
$ curl -H "x-api-user:$api_user" \ -H "x-api-token:$signalsciences_key" \ -H "Content-Type: application/json" \ -H "Fastly-Key: $fastly_key" https://dashboard.signalsciences.net/api/v0/corps/$corp/sites/$site_name/deliveryIntegration/$service_id \ -X PUT -d '{"percentEnabled": 100, "activateVersion": true }'Run the command once for each service configured to use Next-Gen WAF.
Staging a CDN service version
You can stage a CDN service version by using the Fastly control panel, API, CLI, or Terraform.
- Control panel
- API
- CLI
- Log in to the Fastly control panel.
- From the Home page, select the appropriate service. You can use the search box to search by ID, name, or domain.
Select the version of the service you want to push to staging.
Click Push changes to Staging.
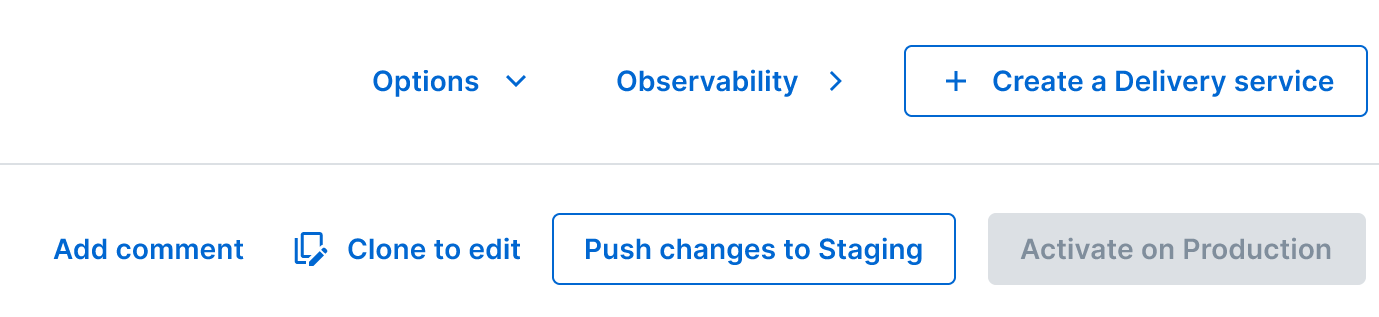
You can make as many changes to your development version as you'd like and push them to staging without increasing the version number. When you're ready to deploy the changes to production, activate your service version.
Staging a Compute service version
You can stage a Compute service version by using the Fastly API, CLI, or Terraform.
- API
- CLI
You can stage a Compute service version using the same API endpoints used for activating and deactivating a service version.
PUT /service/<service_id>/version/<version_number>/activate/stagingPUT /service/<service_id>/version/<version_number>/deactivate/stagingFor example, you can stage a Compute service version using curl in a terminal application.
$ curl -X PUT -H "Fastly-Key: $fastly_key" https://api.fastly.com/service/$service_id/version/$version/activate/stagingAs with CDN service versions, you can make as many changes to your development version as you'd like and push them to staging without increasing the version number. When you're ready to deploy the changes to production, activate your service version.
Accessing staging
You can access your service's staging environment in one of two ways. Using the provided Anycast IP address, you can temporarily modify the hosts file on your personal computer to test locally, or you can create a DNS A record to create a publicly-accessible domain.
Obtaining your service's staging IP address
Before you can modify the hosts file or create a DNS A record, you'll need to obtain the Anycast IP address for your service's staging environment.
- Control panel
- API
- Log in to the Fastly control panel.
- From the Home page, select the appropriate service. You can use the search box to search by ID, name, or domain.
In the Staging area, click Guide to testing. The IP address for your service's staging environment is displayed.
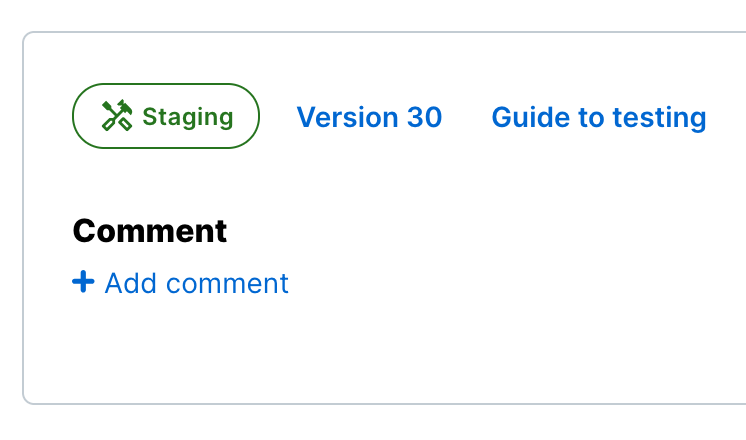
Copy the IP address and use it to update your
hostsfile or DNS A record.
TIP
If you don't see the IP address for your staging environment in the Fastly control panel, contact support.
Updating your Hosts file
To access the staging version from your personal computer, open your local hosts file in a text editor. The exact location of the hosts file depends on the operating system you're using:
- Linux:
/etc/hosts - macOS:
/private/etc/hosts - Windows:
C:\Windows\System32\drivers\etc\hosts
At the end of the file, add an entry for your staging version that includes the staging IP address and the domain name of your production service (for example, 192.0.2.0 www.example.com). Save the changes to the file.
NOTE
If you're using macOS, flush your DNS cache by entering the following command:
$ sudo killall -HUP mDNSResponderNow, when you visit the domain name of your production service on your personal computer (in this example, www.example.com), you should see your staging version.
When you've finished testing your staging version, remove the entry from your hosts file.
Creating a DNS A record
To access the staging version from a publicly-accessible domain, create a new DNS A record using the IP address provided as the value. Refer to your DNS provider's documentation for exact instructions on how to create or update a DNS A record.
Using variables
You can use variables to tell whether or not your code is running in a staging environment.
VCL
The following VCL variable is available.
| Variable name | Description | Type | Access |
|---|---|---|---|
fastly.is_staging | Returns true if VCL code is running in your service's staging environment. | BOOL | Read only |
Compute
The follow Compute variable is available.
| Variable name | Description |
|---|---|
FASTLY_IS_STAGING | Returns 1 if Compute code is running in your service's staging environment and 0 if running in production. |
Purging
You can purge cache associated with a staging environment by using the Fastly API purging endpoints. For example, you can purge cache for a staging environment using curl in a terminal application.
Purging by URL
$ curl -i \ -H "Fastly-key: $fastly_key" \ -X PURGE \ --connect-to "::$staging_ip:443" \ "https://$url_to_purge"TIP
If you don't know your staging IP address, refer to our instructions on obtaining your service's staging IP address for more information.
Purging all cache
$ curl -i \ -H "Fastly-Key: $fastly_key" \ -H "Fastly-Purge-Environment: staging" \ -X POST \ "https://api.fastly.com/service/$service_id/purge_all"Purging by surrogate key tag
$ curl -i \ -H "Fastly-key: $fastly_key" \ -H "Fastly-Purge-Environment: staging" \ -X POST \ "https://api.fastly.com/service/$service_id/purge/$surrogate_key"Purging by multiple surrogate key tags
$ curl -i \ -H "Fastly-key: $fastly_key" \ -H "Fastly-Purge-Environment: staging" \ -H "Content-type: application/json" \ -X POST \ -d '{"surrogate_keys":["key"]}' \ "https://api.fastly.com/service/$service_id/purge"Deactivating staging for a service version
To deactivate staging for a service version, follow the steps below:
- Log in to the Fastly control panel.
- From the Home page, select the appropriate service. You can use the search box to search by ID, name, or domain.
- Select the version of the service you want to deactivate from staging.
- From the Options menu, select Deactivate on Staging.
Opting out of staging controls in the Fastly control panel
If you've been assigned the role of superuser, follow the steps below to hide the staging controls in the Fastly control panel:
- Log in to the Fastly control panel.
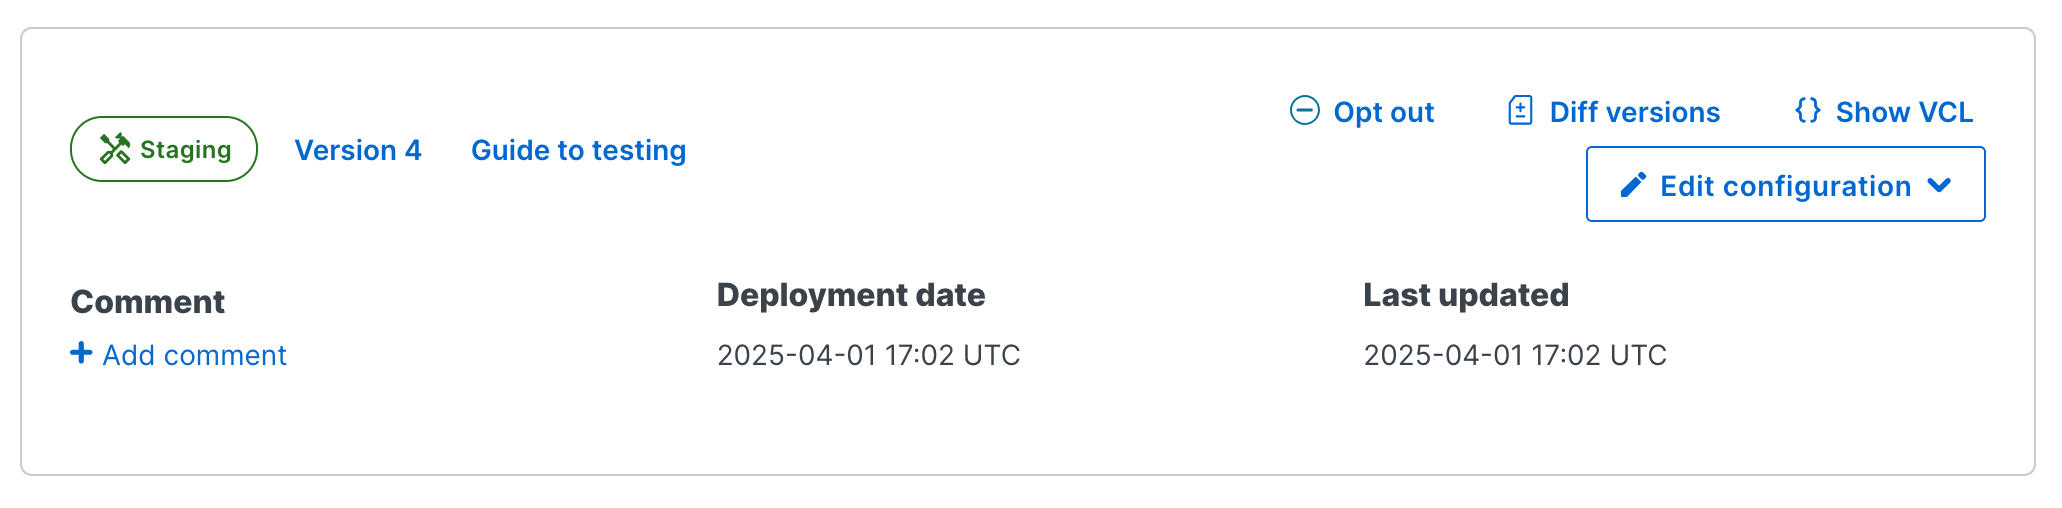
From the Home page, select a service that you've staged.
In the Staging section of the page, click Opt out.
NOTE
You'll still be able to stage service versions using the Fastly API, CLI, and Terraform after you hide the staging controls in the Fastly control panel.
Do not use this form to send sensitive information. If you need assistance, contact support. This form is protected by reCAPTCHA and the Google Privacy Policy and Terms of Service apply.
