
- English
- 日本語
Working with Compute services
Last updated 2025-03-18
You can create a Compute service and connect it to a Compute project directly from the Fastly control panel. Once you create your service, you can make refinements and updates to your configuration through the CLI or by editing the service in the Fastly control panel, depending on the task you're trying to complete.
The Fastly control panel also allows you to do other things to manage existing Fastly services, like deactivate or reactivate them and delete them.
Before you begin
Before you create your first Fastly service, be sure you understand how services and versions work and service creation limits. You'll also need to understand the Fastly web interface controls before using them to work with your Fastly services.
Some steps require using the Fastly CLI. If you haven't already, follow the steps for creating an API token, making sure it has global scope. Then, download and install the Fastly CLI and use that token to authenticate your account before continuing.
Creating a new Compute service
There are several ways to create a Compute service:
- Use one of our starter kits, which provide the basic set up for a Compute project.
- Upload an existing project from your computer.
- Create an empty service and finish setting up things later.
- Starter kit
- Bring your own code
- Empty service
Our Compute starter kits provide you with a simple project that demonstrates basic Compute behavior. When creating a Compute service from a starter kit, all you need to provide is service name and domain information before deploying your project.
- Log in to the Fastly control panel.
Go to Compute.
Click Create service to start the Compute service setup.
Click Use starter kit to create a new Compute service from a starter kit.
Fill out the service name and domain information:
- In the Service name field, enter a descriptive name for your service (e.g.,
My Example Compute Service). - (Optional) Fastly automatically generates a domain name for you using the
.edgecompute.appextension. If you want Fastly to route requests to your personal domain, enter the domain in the Domain field. You can also add additional domains after set up. - (Optional) Leave the checkbox selected to issue a TLS certificate for the domain you entered.
- In the Service name field, enter a descriptive name for your service (e.g.,
Click Next.
Select from one of our starter kits. We recommend choosing the default starter for your chosen language. You can learn more about these languages and core feature differences in our developer guide.
Click Finalize and deploy.
The final page of the Compute service setup includes the status of your deployment, a command to set up your local environment, information for pointing your personal domain at Fastly, and high-level service details.
Checking deployment status
It takes a few minute for your service to deploy globally in our network. Once deployed, a success message appears on the Compute service setup page. If your deployment fails, a failure message appears along with the reason for the failure and option to re-try or re-start.
Setting up your local environment
While you wait for the service to deploy, you can set up your local development environment. This allows you to work with your Compute project. Copy the fastly compute init command from the Compute service setup page and run it in your terminal, making sure you're in the directory where you want to store the project. Follow the onscreen prompts to complete set up.
Pointing your domains at Fastly
If you elected to automatically issue a TLS certificate for your domain, use the provided DNS records to create records and verify domain ownership.
Viewing service details
The Service Details section provides a high-level overview of the details and status of your service creation. You can view the service name, Fastly domain, and service ID. You can also see a status indicating if you've finished deploying and connected to your local machine.
From here, you can edit your service configuration. You can also open the Fastly-assigned domain in your browser to verify your service is working.
About the Service summary and Service configuration tabs
After you create your service, you'll see two tabs: the Service summary tab and the Service configuration tab.
The Service summary tab lets you review general service details including the event log, duplicate (clone) service versions so you can edit them, and purge content. The Service summary tab also allows you to compare differences between two configuration versions.
The Service configuration tab contains the main controls for editing your service configuration to define exactly how each instance of your Compute services should behave and interact with its data sources. Specifically, you can:
- manage the domains used to route requests to a Compute service
- manage the hosts used as backends for a site and how they should be accessed
- manage the health checks that monitor backend hosts
- enable certain Fastly products for the service, if you are assigned the role of superuser or engineer. Note that this will result in changes to your monthly bill.
- specify how logging should be performed and where server logs should be sent
- upload your Compute compatible Wasm packages once you've built them with the Fastly CLI
- view the metadata of your Compute Wasm package
Editing and activating versions of services
With the appropriate permissions, you can activate configuration changes immediately and roll back those changes just as quickly should they not have the intended effect. Fastly locks versions of services you've already activated to make rollbacks safer and provide version control. You can duplicate (clone) any existing service version, active or inactive, and edit that cloned version. You must activate new versions of services to deploy their configurations. Configuration changes are never automatically activated.
To make changes to a service and activate a new version, follow the steps below:
- Log in to the Fastly control panel.
- From the Home page, select the appropriate service. You can use the search box to search by ID, name, or domain.
- From the Edit configuration menu, select the appropriate service configuration action:
- Select Clone version [version number] (active) to clone the active version of the service for editing.
- Select Edit version [version number] (latest draft) to edit the latest draft of the service.
- Click Activate. The new version of the service is activated and appears in the event log.
Deleting a service
Fastly allows you to delete any service you create, along with all of its versions. Fastly does not offer a way to delete specific versions of a service, however. Service versions are meant to be a historic log of the changes that were made to a service. To undo changes introduced by a particular service version, you can always go back to a previous version and reactivate or clone a new service version based on any old version.
To delete any service along with all of its versions, follow the steps below:
- Log in to the Fastly control panel.
- From the Home page, select the appropriate service. You can use the search box to search by ID, name, or domain.
- From the Options menu, select Deactivate.
- Click Confirm and deactivate to confirm you want to deactivate your service and acknowledge that you no longer want to serve traffic with it.
- From the Options menu, select Delete and then click Confirm and delete to delete the service.
IMPORTANT
To minimize the risk of unauthorized use of your domains, we strongly recommend modifying or deleting any DNS CNAME records pointing to the Fastly hostname associated with the deleted service. Follow the instructions on your DNS provider's website.
Other things you can do
In addition to creating or editing services, you can rename them and delete them. You can also stage, deactivate, or reactivate specific versions of them.
Renaming services
To rename your service, follow the steps below:
- Log in to the Fastly control panel.
- From the Home page, select the appropriate service. You can use the search box to search by ID, name, or domain.
- From the Options menu, select Edit service name.
- In the Service name field, enter a new service name.
- Click Apply. The newly renamed service name appears.
Staging service versions
Our Staging documentation provides more information on testing changes to service configurations on a staging network before deploying them to production.
Adding comments to service versions
Service versions can include comments to label them (e.g., to identify reasons for changes in that version). You can add and update version comments on both locked and activated service versions.
- Log in to the Fastly control panel.
- From the Home page, select the appropriate service. You can use the search box to search by ID, name, or domain.
- Click Edit configuration and then select the option to clone the active version.
Click Add comment in the upper right corner of the web interface.

The comment window appears.
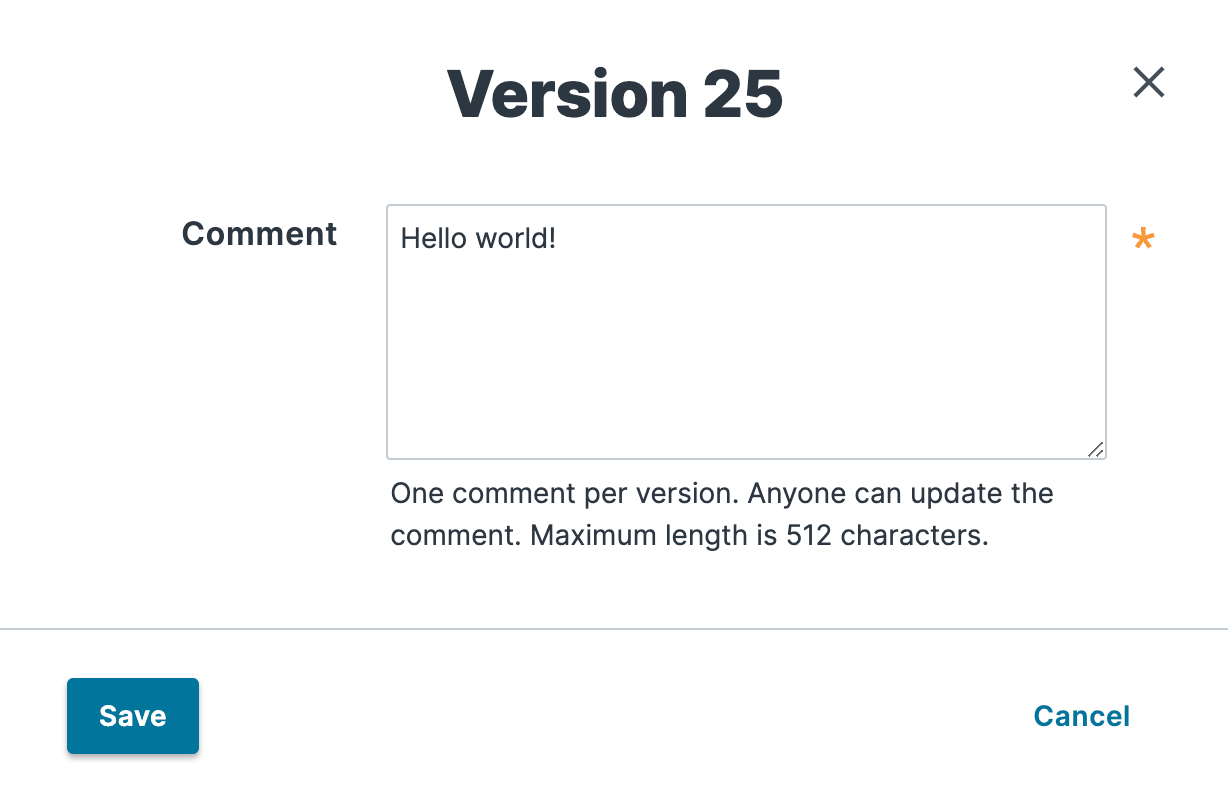
In the Comment field, enter a meaningful comment for the version.
Click Save. The truncated version of the comment appears where the Add comment link used to be.

TIP
You can view service version comments at any time by clicking the service version number to display the version selection menu or by clicking the version comment icon ![]() to display the version comment in a separate window. Version comments also appear in the event log to help with account activity monitoring.
to display the version comment in a separate window. Version comments also appear in the event log to help with account activity monitoring.
Comparing different service versions
To compare two versions of a service, follow the steps below:
- Log in to the Fastly control panel.
- From the Home page, select the appropriate service. You can use the search box to search by ID, name, or domain.
Click Diff versions. The Diff versions page appears.
Removals are highlighted in red and the additions and changes are highlighted in green. Any large blocks of unaffected configuration lines can be expanded and viewed or collapsed and hidden by clicking on the plus
 sign to the left of the actual changes, next to the line numbers.
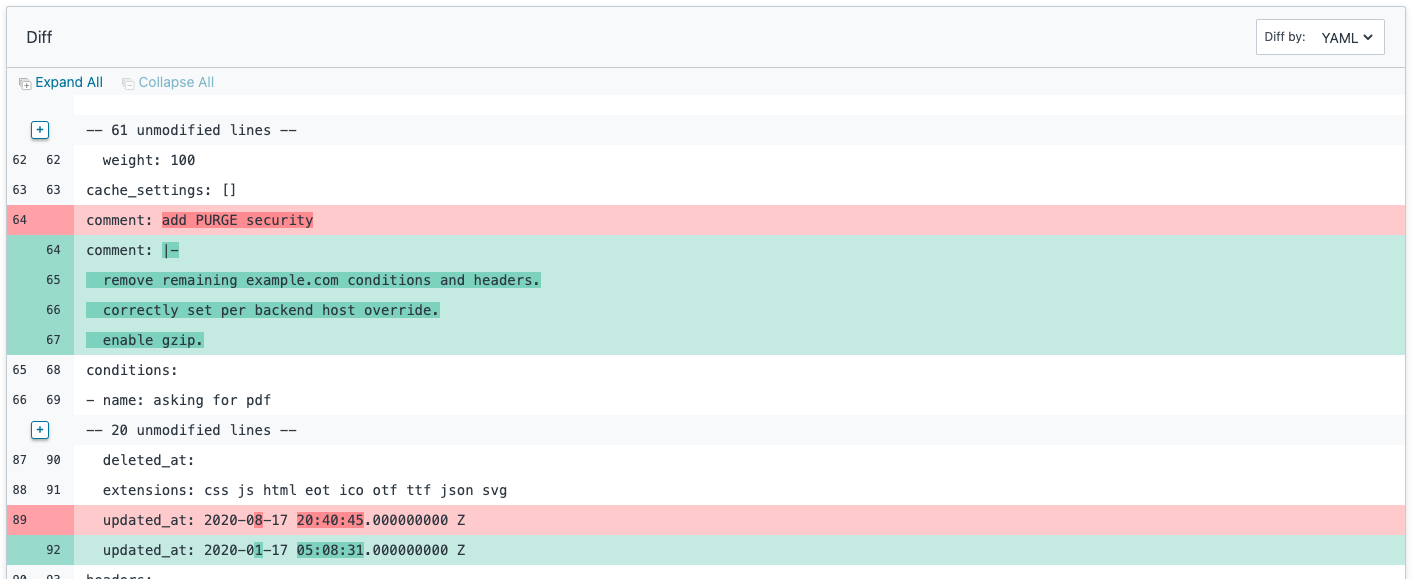
TIP
You can change the compared service versions by clicking Switch versions and selecting a different version number in the menu that appears.
Deactivating a service
To deactivate a service, follow the steps below:
- Log in to the Fastly control panel.
- From the Home page, select the appropriate service. You can use the search box to search by ID, name, or domain.
- From the Options menu, select Deactivate.
- In the Enter service name field, enter the exact service name to deactivate.
- Click Confirm and deactivate to confirm you want to deactivate your service and acknowledge that you no longer want to serve traffic with it.
IMPORTANT
To minimize the risk of unauthorized use of your domains, we strongly recommend modifying or deleting any DNS CNAME records pointing to the Fastly hostname associated with the deactivated service. Follow the instructions on your DNS provider's website.
You can also activate or deactivate a service via the API. Did you accidentally delete a service? We can help.
Reactivating a service
To reactivate a service, follow the steps below:
- Log in to the Fastly control panel.
- From the Home page, select the appropriate service. You can use the search box to search by ID, name, or domain.
- Click Edit configuration and then select the option to clone the active version.
- Click Activate. The service is reactivated.
- If you removed the DNS CNAME records for the service's domains when you deactivated the service, you should add new DNS CNAME records now.
Getting help with accidental service deletions
Services can be deactivated or deleted. Deactivated services can be reactivated at any time, but once they've been deleted you must contact Customer Support to have them restored. When sending your request, remember to include:
- your customer ID
- your company name
- your service ID (the name of the service you want restored)
Customer Support will notify you when your service has been restored.
What's next
Learn more about working with Compute services.
Do not use this form to send sensitive information. If you need assistance, contact support. This form is protected by reCAPTCHA and the Google Privacy Policy and Terms of Service apply.
