
- English
- 日本語
Purging all content via the control panel
Last updated 2021-12-06
Fastly provides several levels of cache purging. You can use the Purge all option to purge all content under a service.
WARNING
Exercise caution when purging all content from cache, especially if you're seeing an increase in 503 errors. Purging all content overrides other caching-related settings that allow you to serve stale content and forces Fastly to retrieve that content again from your origin servers before it can be re-cached in Fastly POPs. This means that purging all content will temporarily cause your cache hit ratio to drop dramatically and cause an associated spike of traffic to your origin servers. Be certain your origins can handle that temporary spike in traffic until the cache repopulates.
Before you begin
Be sure you know how to access the web interface controls before learning about each of the pages you'll encounter there.
Purging all content
To instantly purge all content under your service, follow the steps below:
- Log in to the Fastly control panel.
- From the Home page, select the appropriate service. You can use the search box to search by ID, name, or domain.
From the Purge menu, select Purge all. The Purge all window appears and displays the service name you'll be purging.
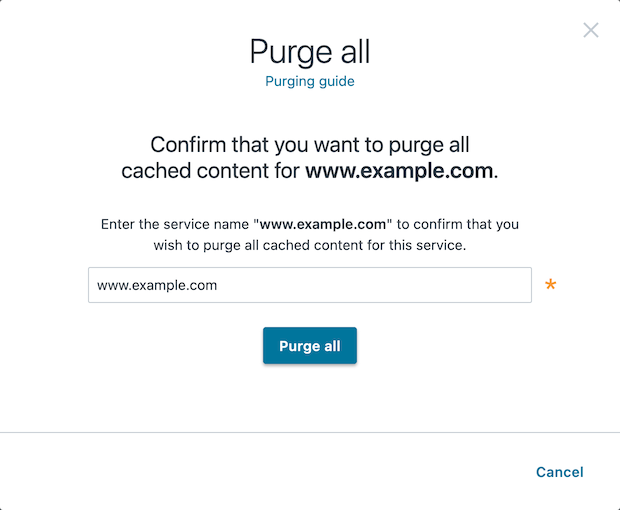
In the field of the Purge all window, confirm you want to purge all cached content on a service by entering the exact name of the service that appears (e.g.,
An Example Service).Click Purge all.
What's next
Explore the other purging methods available with Fastly such as purging with surrogate keys and purging a URL.
Do not use this form to send sensitive information. If you need assistance, contact support. This form is protected by reCAPTCHA and the Google Privacy Policy and Terms of Service apply.
