- English
- 日本語
Custom responses that don't hit origin servers
Last updated 2019-09-11
Fastly can send custom responses for certain requests that you don't want to hit your origin servers.
Creating a quick response
Fastly provides features that allow you to quickly enable and configure responses for a robots.txt file and 404 and 503 errors. For more information, check out our guides on creating and customizing a robots.txt file and creating error pages with custom responses.
Creating an advanced response
You can create an advanced response to specify the HTTP status code, MIME type, and content of the response. For example, if you wanted to restrict caching to a URL subtree that contains images and scripts, you could configure Fastly to return an HTTP 404 Not Found response to requests for anything other than /Content/* or /Scripts/*. To illustrate how to implement this example, we'll show you how to create a response and corresponding request condition.
Follow these instructions to create an advance response:
- Log in to the Fastly control panel.
- From the Home page, select the appropriate service. You can use the search box to search by ID, name, or domain.
- Click Edit configuration and then select the option to clone the active version.
- Click Content.
Click Set up advanced response.
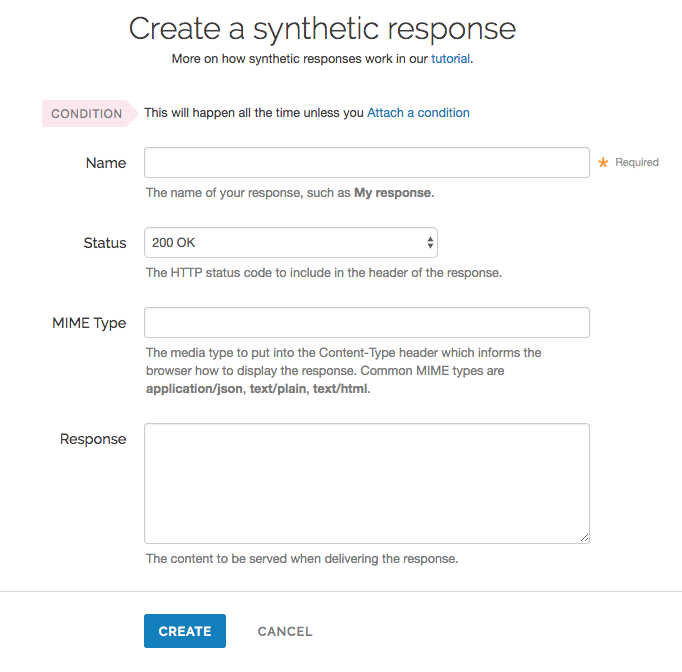
Fill out the Create a synthetic response fields as follows:
- In the Name field, enter a human-readable name for the response. For example
Return Not Found. - From the Status menu, select an HTTP code to return to the client. For example,
404 Not Found. - In the MIME Type field, enter the MIME type of the response. For example,
text/html. - In the Response field, enter the plaintext or HTML content to return to the client. For example
Page not found.
- In the Name field, enter a human-readable name for the response. For example
Click Create to create the response. The new response appears in the Responses area of the Content page.
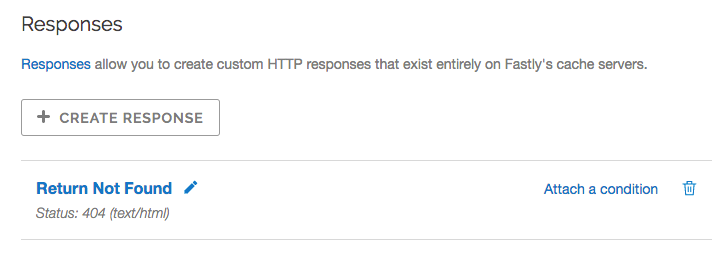
Creating the request condition
Follow these instructions to attach a request condition to the response you just created:
Click the Attach a condition link next to the response that you just created.
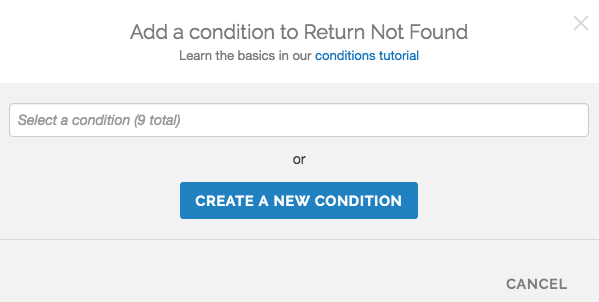
Click Create a new condition.
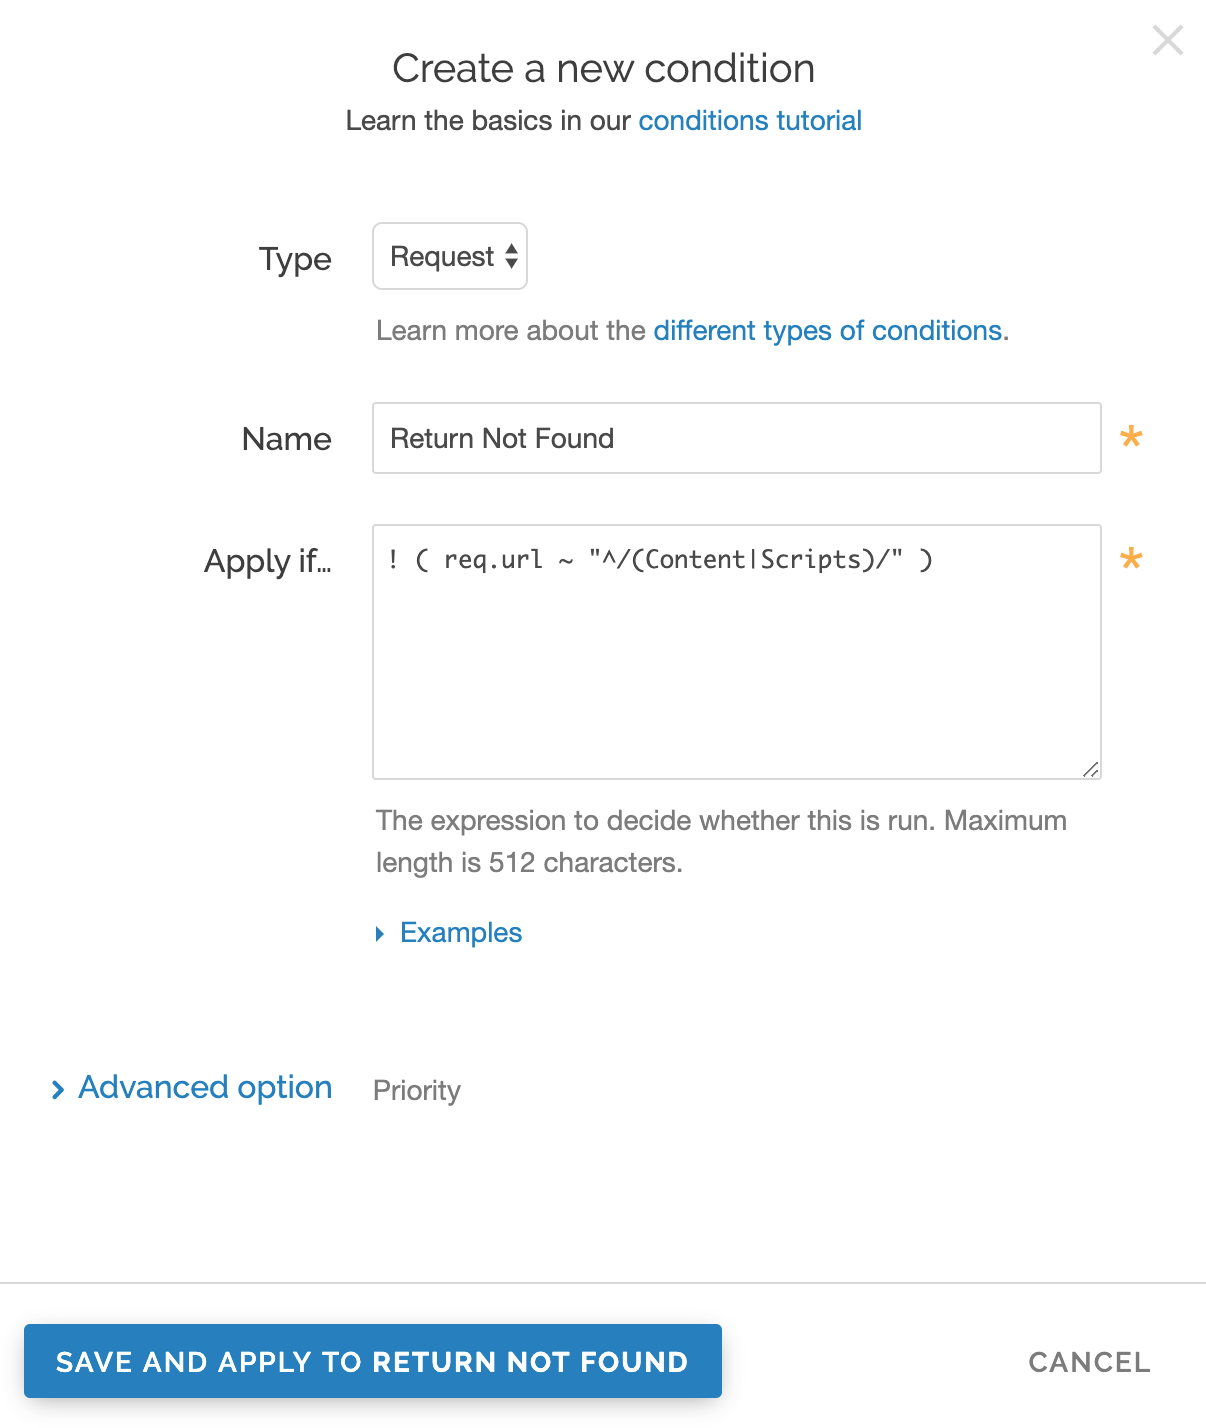
Fill out the Create a new condition fields as follows:
- From the Type menu, select the type of condition you want to create.
- In the Name field, enter a human-readable name for the condition. For example,
Return Not Found. - In the Apply if field, enter the request condition you want inserted into a VCL if statement. For example,
! ( req.url ~ "^/(Content|Scripts)/" ). See below for more examples of request conditions.
Click Save and apply to. The Responses area now displays the condition that must be met in order for your response to begin being used.
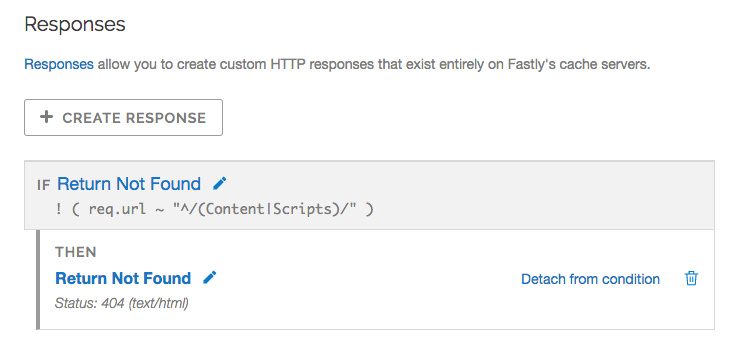
- Click Activate to deploy your configuration changes.
Example request conditions
Respond only if URLs don't match a certain mask, in this case /Content/* or /Scripts/*:
! (req.url ~ "^/(Content|Scripts)/")Respond only if URLs match /secret/* or are Microsoft Word or Excel documents (*.doc and *.xls file extensions):
! (req.url ~ "^/secret/" || req.url ~ "\.(xls|doc)$")Ignore POST and PUT HTTP requests:
req.method == "POST" || req.method == "PUT"Deny a spider or crawler using user-agent "annoying_robot":
req.http.user-agent ~ "annoying_robot"Prevent a specific IP from connecting, in this case the IP 225.0.0.1:
client.ip == "225.0.0.1"Use geographic variables to block traffic from a specific location (e.g., China):
client.geo.country_code == "CN"Match the client.ip against a CIDR range, such as 240.24.0.0/16 (this requires first creating an ACL object in VCL):
client.ip ~ ipRangeObjectDo not use this form to send sensitive information. If you need assistance, contact support. This form is protected by reCAPTCHA and the Google Privacy Policy and Terms of Service apply.