
Working with signals on the Essentials platform
Last updated 2024-08-28
IMPORTANT
This guide only applies to Next-Gen WAF customers on the Essential platform. If you are on the Premier or Professional platform, check out our Working with templated rules and Configuring custom site alerts guides.
To help protect your web application against Common Vulnerabilities and Exposures (CVE) and other attacks and anomalies, you can enable and adjust the partially pre-constructed configurations that are associated with system signals.
Enabling CVE virtual patch signals
To enable a CVE virtual patch signal, complete the following steps:
- Next-Gen WAF control panel
- Fastly control panel
- Log in to the Next-Gen WAF control panel.
- From the Sites menu, select a site if you have more than one site.
Click the Signals tab.
On the Signals page, click View in the row of the CVE signal that you want to enable.
Click the Configuration tab.
Click the Detections tab and then Add detection.
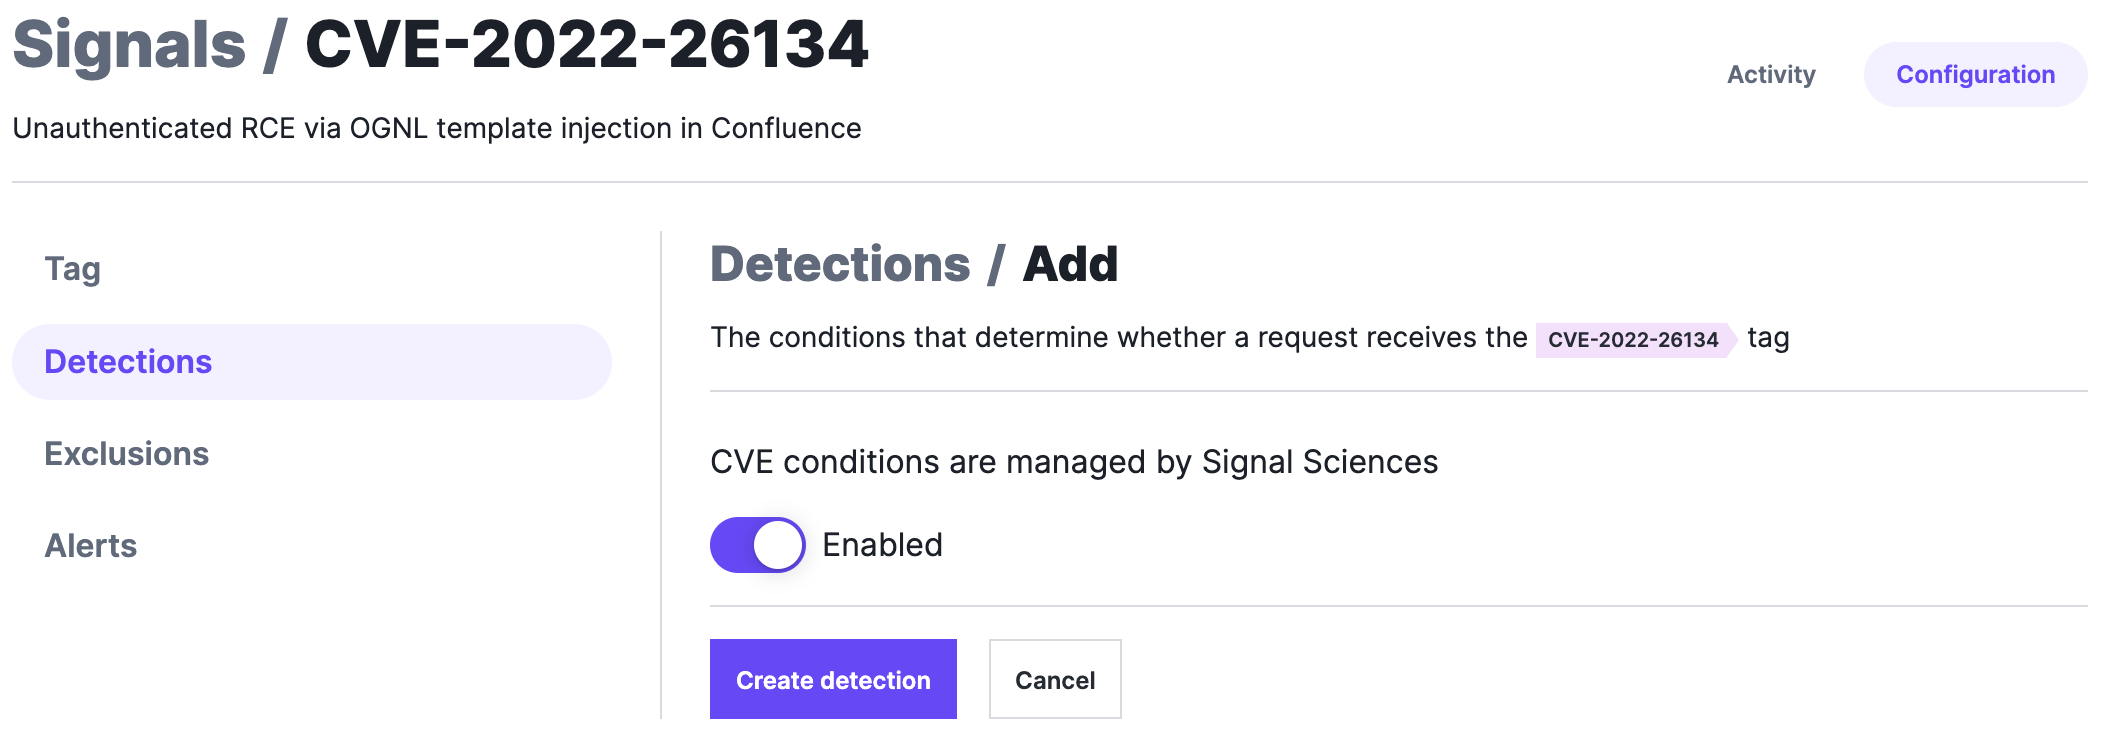
Verify the switch is set to Enabled.
Click Create detection.
Click the Alerts tab and then Add alert.
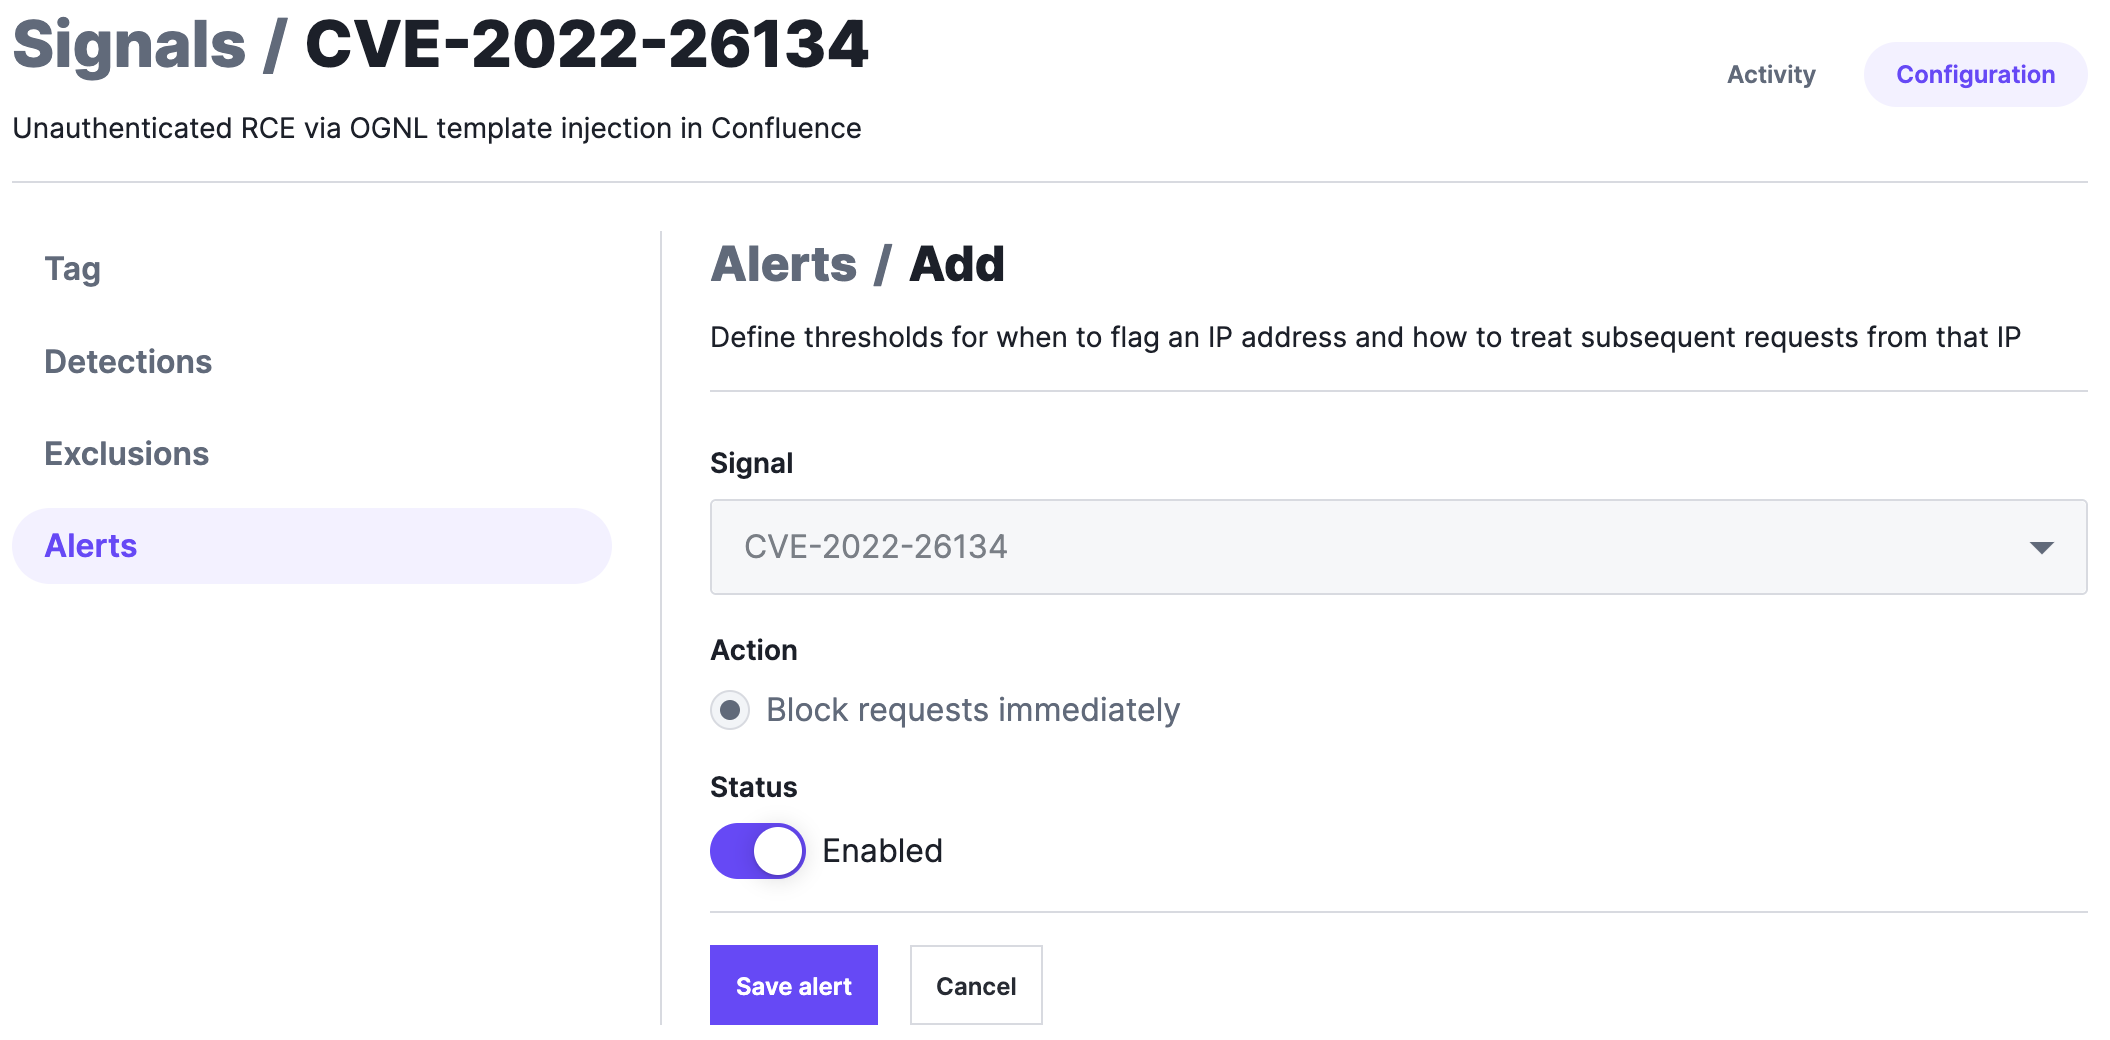
In the Status area, set the switch to Enabled.
Click Save alert. The signal is enabled and requests that match the signal are assigned the tag associated with the rule.
Configuring attack and anomaly signals
IMPORTANT
This section only applies to Next-Gen WAF customers with access to the Next-Gen WAF control panel.
With attack and anomaly signals, you can:
- add exclusions to prevent requests with a particular pattern from being tagged with the signal.
- add alerts that define how to monitor and handle requests from IP addresses that contain the signal.
Adding exclusions
Exclusions prevent requests with a particular pattern from being tagged with the signal. You can use exclusions to help avoid false positives. For example, you may want to prevent requests that are from internal IP addresses and that failed to access an admin page from being tagged with the FORCEFULBROWSING signal.
To add an exclusion to an attack or anomaly signal, complete the following steps:
- Log in to the Next-Gen WAF control panel.
- From the Sites menu, select a site if you have more than one site.
- Click the Signals tab.
- On the Signals page, click View in the row of the CVE signal that you want to enable.
- Click the Configuration tab.
- Click the Exclusions tab and then Add exclusion.
- Fill out the fields in the Conditions section as follows:
- From the Field menu, select the request field that the condition is based on.
- In the Value field, enter a value for the specified field.
- From the Operator menu, select an operator to specify how the selected field and value relate.
- (Optional) Click Add condition to add another condition, or click Add group to create a group of conditions.
- Select All to specify that a request must meet every condition to be excluded or Any to specify that a request must meet only one condition to be excluded.
- Fill out the fields in the Details section as follows:
- Leave the Status switch enabled.
- In the Description field, enter a description of the exclusion.
- Click Create exclusion.
Adding alerts
Alerts define how to monitor and handle requests from IP addresses that contain the associated signal. Specifically, they outline:
- the criteria that must be met for an IP address to be flagged. For example, flag an IP address when there are 25 SQL Injection attack signals in 1 minute.
- how to handle requests from IP addresses that are flagged. You can either log subsequent requests or block subsequent requests containing attack signals from the IP address.
- how long to block or log subsequent requests from flagged IP addresses.
TIP
You can use alerts to override the system site alerts (also known as system workspace alerts) for an individual signal.
To add an alert to an attack or anomaly signal, complete the following steps:
- Log in to the Next-Gen WAF control panel.
- From the Sites menu, select a site if you have more than one site.
Click the Signals tab.
On the Signals page, click View in the row of the CVE signal that you want to enable.
Click the Configuration tab.
Click the Alerts tab and then Add alert.
Fill out the alert fields as follows:
- In the Long name field, enter a descriptive name for the alert (e.g.,
Increase in failed logins). - In the Threshold field, enter how many requests containing the signal should be detected before the IP address is flagged.
- From the Interval menu, select the number of minutes during which signals from the IP address are counted to determine if the threshold has been met.
- Under When an IP hits the threshold, select whether the alert should log subsequent requests or block subsequent requests containing attack signals from the IP address.
- Under Take action for, select how long the IP address should be flagged. By default, IP addresses are flagged for 24 hours. You can set a custom duration by selecting Custom duration and choosing a duration.
- Leave the Notifications checkbox selected to send an external notification (e.g., email and Slack) when the site alert is triggered. Deselect the checkbox to not send any external notifications.
- Click the Status switch to enable the site alert.
- In the Long name field, enter a descriptive name for the alert (e.g.,
Click Save alert.
Do not use this form to send sensitive information. If you need assistance, contact support. This form is protected by reCAPTCHA and the Google Privacy Policy and Terms of Service apply.
