
- English
- 日本語
Google Compute Engine
Last updated 2021-10-25
Google Compute Engine (GCE) lets you create and run a virtual machine (VM) on the Google infrastructure. The VM can be used as an origin with your Fastly service once you set up and configure your VM instance and link your instance to a Fastly service.
Creating and setting up your GCE instance
Sign up for Google Compute Engine and start the basic set up. If you are already signed up and at your dashboard, click the Get started link in the Try Compute Engine area.
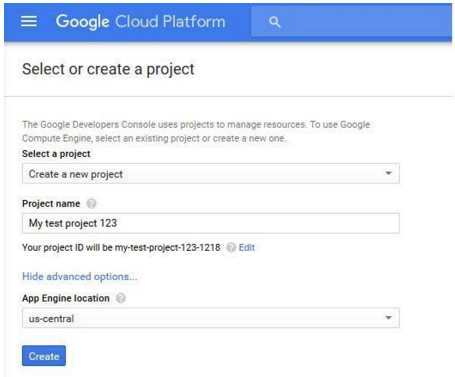
Create or select a project to hold your origin's data.
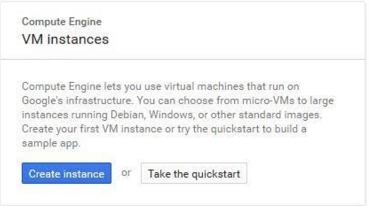
Click Create instance to set up your VM. You can set up your instance using either Windows or Linux.
Fill in the necessary fields and click Create. When making your firewall selection, select either Allow HTTPS traffic (port 443) or Allow HTTP traffic (port 80); you will use one of those ports when you create your new origin in your Fastly service. If you select HTTPS traffic, you need to configure the VM to respond on port 443 with a valid TLS certificate.
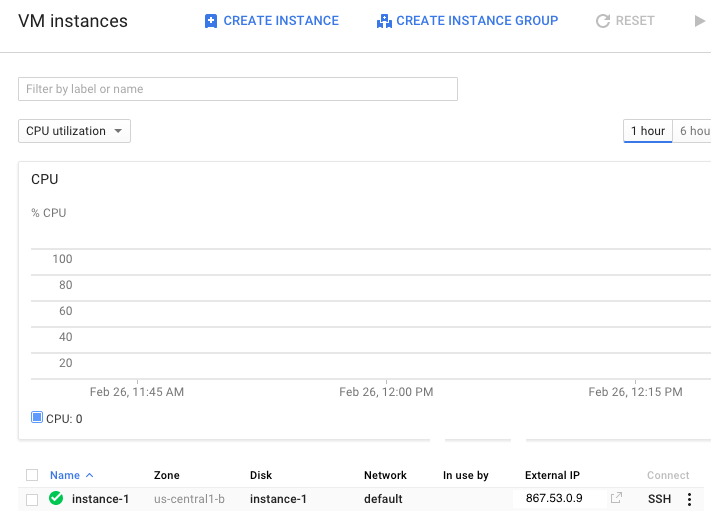
Make note of the following information for when you create your new origin in your Fastly service:
- The instance's IP address (located in the External IP column at the bottom of the page). You'll use this in the Address field when you create your new origin.
- The zone you are using (located in the Zone column at the bottom of the page). You'll use this to guide your selection of an appropriate shielding location for your origin.
Creating a new origin in your Fastly service for your GCE account
Link your GCE account to a Fastly service following the steps below.
- Log in to the Fastly control panel.
- Create a new service if you don't already have one set up.
- Follow the instructions for working with hosts. You'll add specific details about your origin server when you fill out the Create a host fields:
- In the Name field, enter the name of your server (for example,
Google Compute Engine). - In the Address field, enter the IP address of your server. This should match the port that you selected in the GCE interface.
- From the Shielding menu, select an interconnect location from the list of shielding locations.
- In the Name field, enter the name of your server (for example,
Interconnect locations
Interconnect locations allow you to establish direct links with Google's network edge when you choose your shielding location. By selecting one of the locations listed in our documentation, you will be eligible to receive discounted pricing from Google CDN Interconnect for traffic traveling from Google Cloud Platform to Fastly's network. Most customers select the interconnect closest to their origin. Review our caveats of shielding and select an interconnect accordingly.
Creating new domains for GCE to respond to
- Log in to the Fastly control panel.
- From the Home page, select the appropriate service. You can use the search box to search by ID, name, or domain.
- Click Edit configuration and then select the option to clone the active version.
Click Create domain.
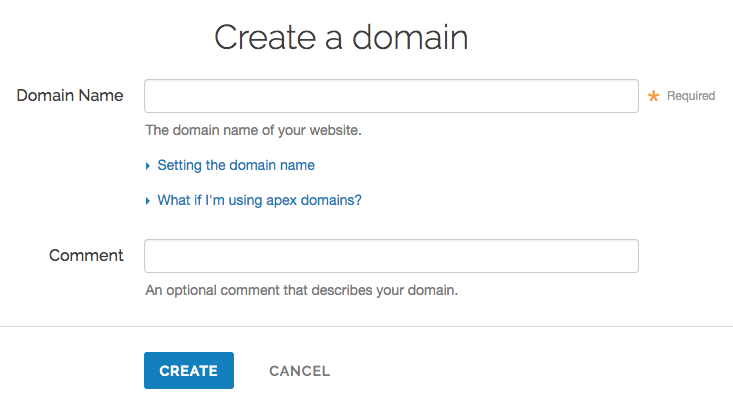
In the Domain Name field, enter the name that users will enter in their browsers to access your site.
(Optional) In the Comment field, enter a comment that describes your domain.
Click Create. The new domain appears on the Domains page.
- Click Activate to deploy your configuration changes.
Creating a CNAME record
You can now test your configuration. In the example above, your domain would appear as www.example.com.global-nossl.fastly.net. After you test and you're satisfied with the results, create a CNAME record for your domain (e.g., www.example.com) pointing to global-nossl.fastly.net.
NOTE
This article describes an integration with a service provided by a third party. Read our note on integrations for details.
Do not use this form to send sensitive information. If you need assistance, contact support. This form is protected by reCAPTCHA and the Google Privacy Policy and Terms of Service apply.
