
- English
- 日本語
About services
Last updated 2025-03-18
A Fastly service is a user-defined set of caching rules and behaviors for a website or application. You might create new Fastly services to do things like:
- add a new website under your control to your list of web properties
- add a new domain to your growing list of existing domains already served by Fastly
- isolate traffic metrics for specific digital assets, like a site's images
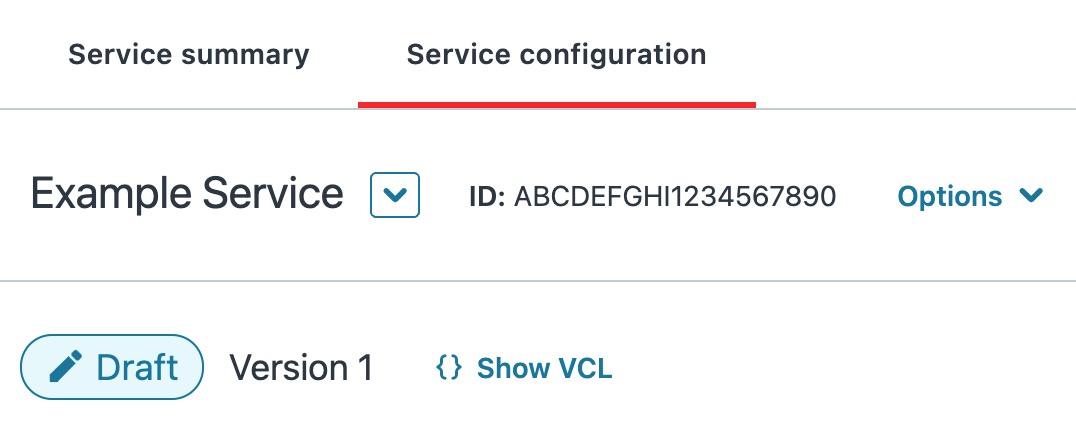
Every service tied to your account contains a unique ID that appears next to the name of your service on any page.
Once created, you can edit and activate new versions of your Fastly services that include refinements and updates to your configurations. The Fastly control panel also allows you to do other things with existing Fastly services, like compare them to each other, deactivate or reactivate them, and delete them.
Before you begin
Before you begin working with Fastly services, be sure you understand the Fastly web interface controls.
Accessing services
Once you're logged in, the Your services card displays the services associated with your account, defaulting to those you've designated as your favorites. Each service listed includes a clickable link to the configuration details for that service and a summary of key information about it, including the type of service (CDN or Compute), the current requests per second for it, and the most recently activated service version.
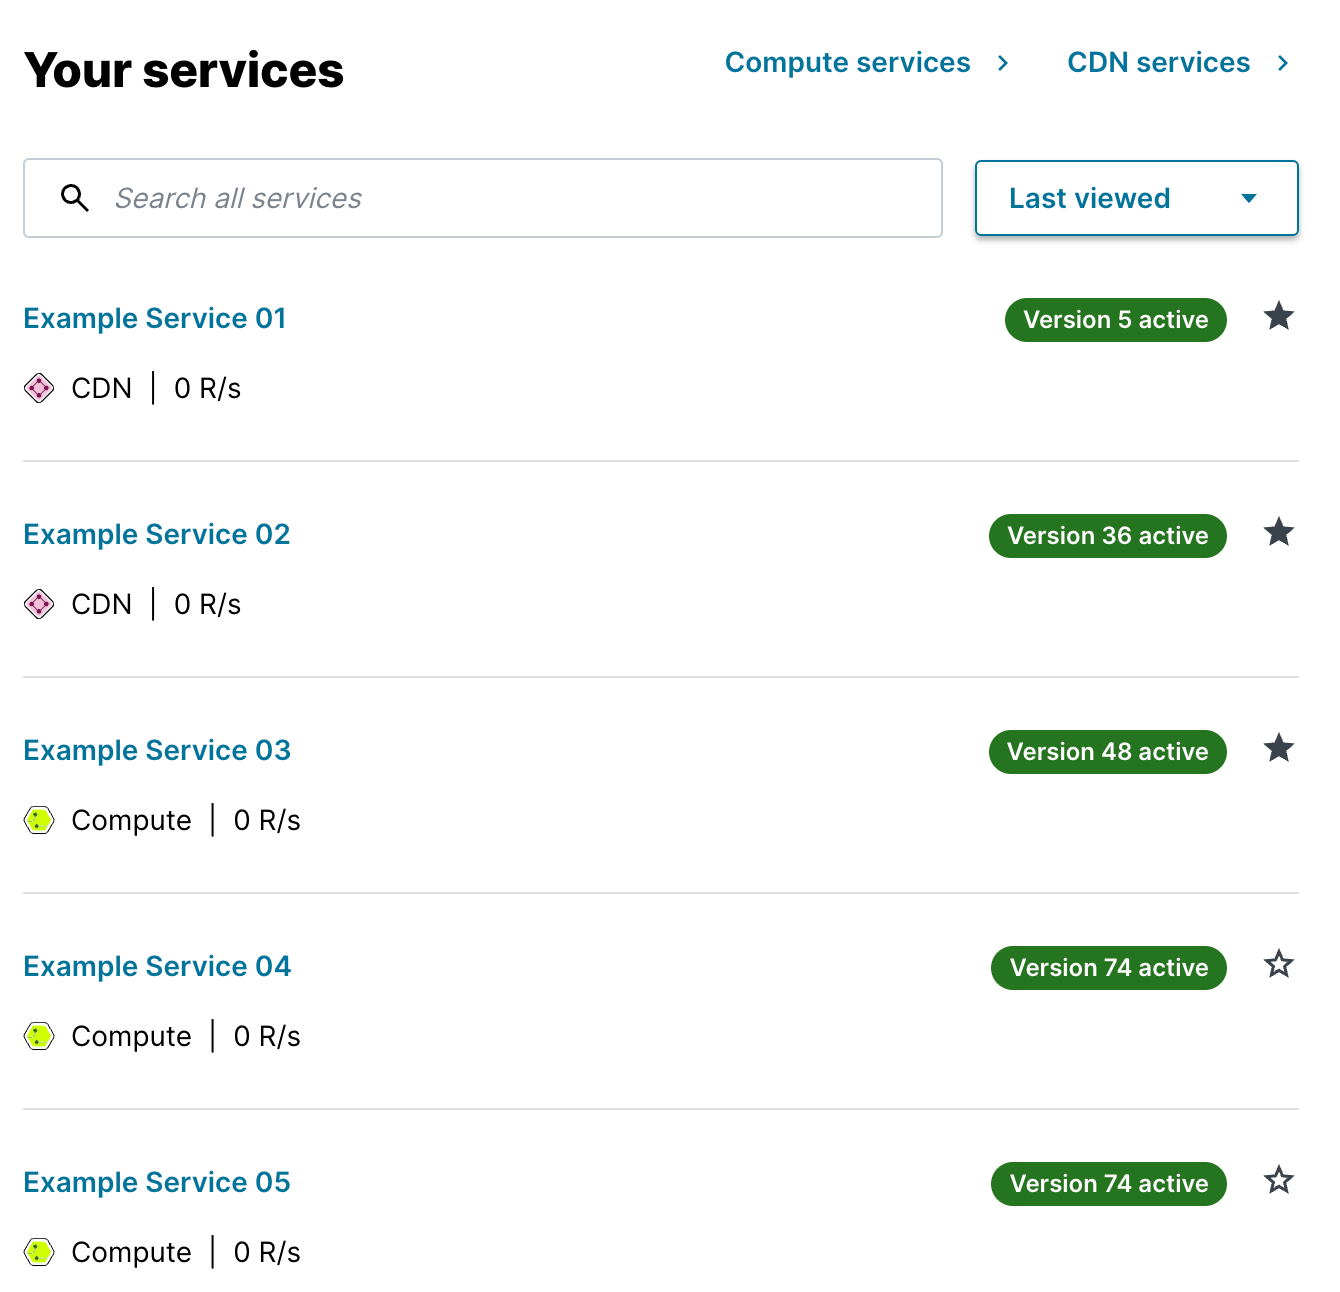
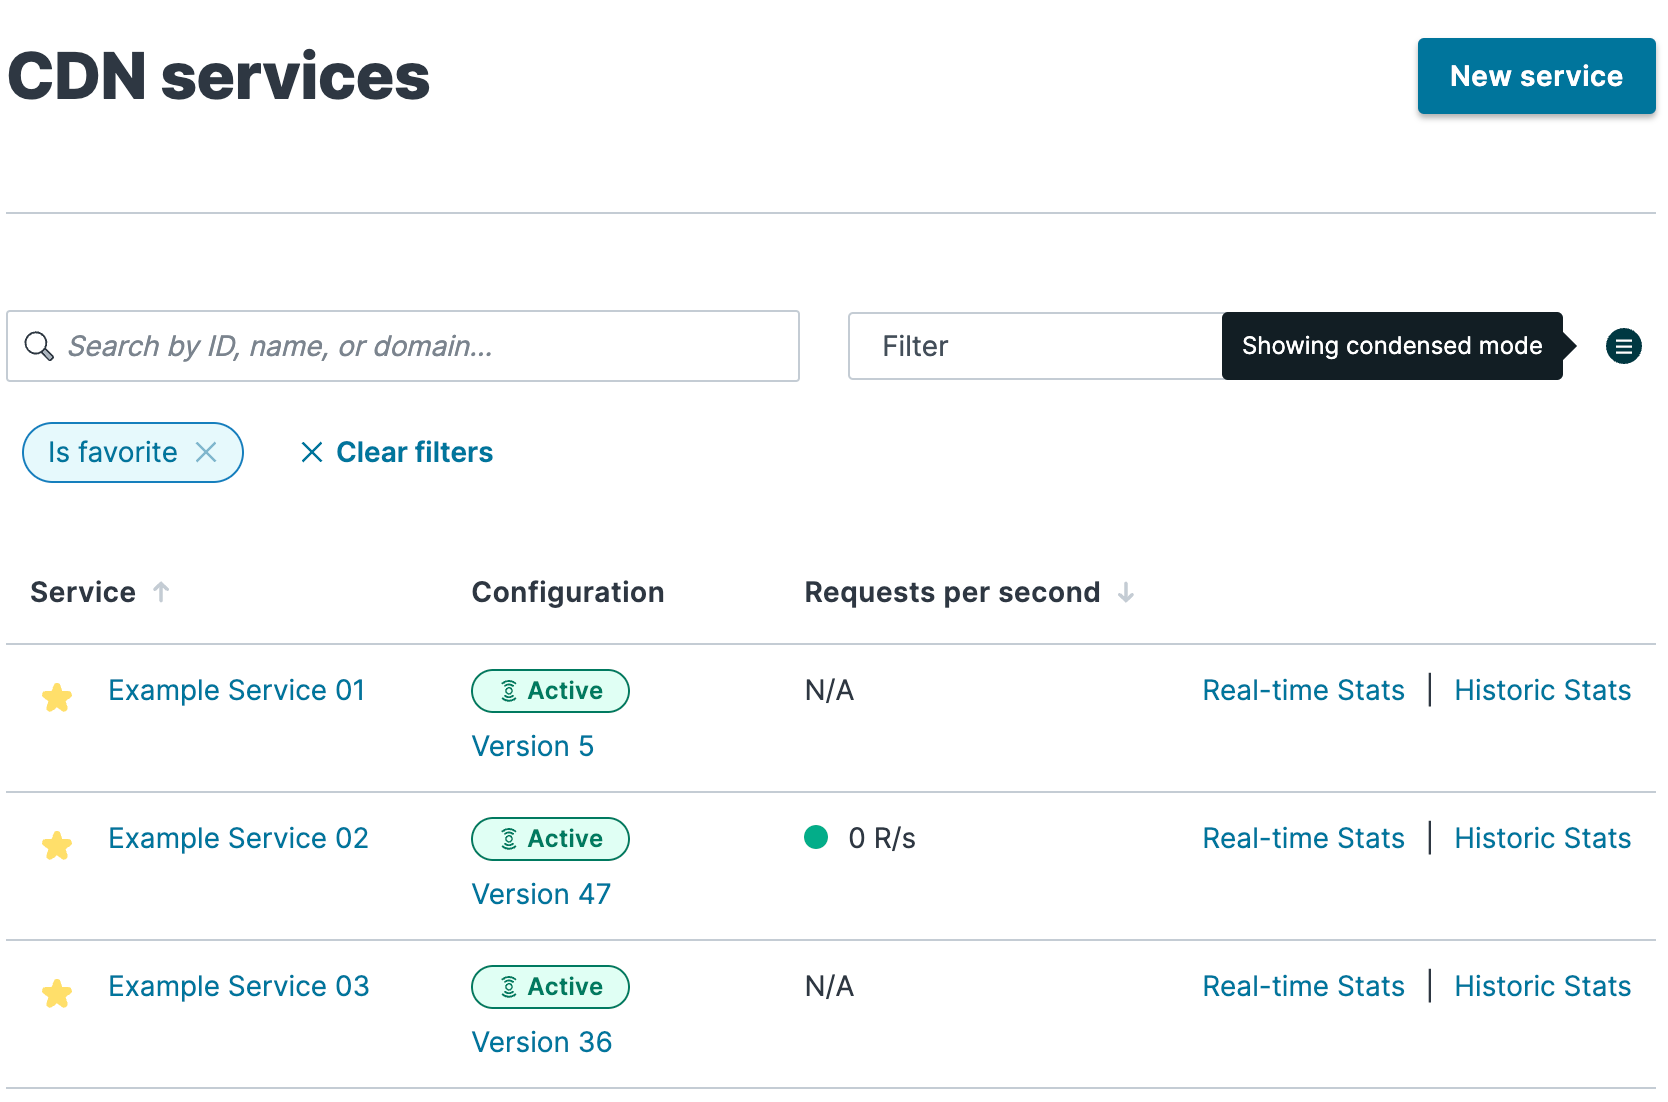
Click either Compute services or CDN services to access either the Compute services page and CDN services page and view only services of that particular type.
If you have a lot of services, you can view a condensed version of the list by clicking the icon with three lines ![]() above the list of services.
above the list of services.
TIP
If you have a lot of services, consider clicking the star ![]() to the left of a service name to mark it as a favorite. You can view a subset of services using filters and include only your favorites.
to the left of a service name to mark it as a favorite. You can view a subset of services using filters and include only your favorites.
Understanding Fastly services and versions
When you create a service, before it will do anything, you need to configure it. This configuration will tell Fastly how to handle traffic through your service. Officially, a configuration for a service is called a version of that service. You'll notice that your new service has a single, initial version (all new services start their existence this way). The initial version of a service is an inactive blank slate, waiting for you to configure and activate it. Once you activate your first version, your service will begin handling traffic according to your configurations.
Your service can have many versions. Each version has its own status:
- Draft is the status that every version starts with when it's first created. This status indicates that the version hasn't been activated and is still being edited. Only versions with draft status can be edited.
- Active is the status displayed by a version after you activate it. When you activate a version, you are telling Fastly to use that configuration for your service's traffic. Only one version of a service can be active at a time. Once a service becomes active, it also becomes locked, so it can no longer be edited, only deactivated or reactivated.
- Locked is the status displayed by a version after you deactivate it. This status primarily indicates that a version can't be edited. Active versions are also locked automatically when they first become active, but they display as active, not as locked.
Eventually, your service will probably have more versions displaying the locked status than any other. At some point, you may decide that one of these locked versions has a configuration you prefer to what is currently active. In that case, you can simply reactivate that version. Or, if some aspects of that version aren't viable anymore, you can clone it and make changes to the clone, which will have the draft status. Fastly maintains a complete record of the version history of your service to ensure that you can always roll a service back to any version.
Service creation limits
- Accounts are limited to a set number of services. We set a limit on the number of services you can create per account by default based on your account type and any packaged offering you've purchased. Reach out to sales@fastly.com for details on how to increase this limit.
- Each service is limited to a set number of domains. We set a limit on the number of domains you can create per service by default based on your account type and any packaged offering you've purchased. However, if you contact support, we may be able to adjust this number for you by working with you to set up and fine-tune domain handling in your service.
Transferring services to other accounts
If several employees at your company independently create testing accounts when learning about Fastly products and services, you can have the services that were created on the testing accounts transferred to another account by contacting support with the following information:
- the Customer IDs of the accounts
- the names of the services to be transferred
- which account should be considered the primary account
After you contact us, we'll reach out to verify the ownership of each account. If we can confirm ownership, we'll initiate the transfer.
NOTE
Account API tokens can't be transferred and don't work across multiple accounts. If you use account API tokens for purging or service automation on the service that you are transferring, an engineer or superuser will need to recreate those API tokens in the account that is receiving the service.
TIP
Fastly's multi account user access feature allows a single user to manage multiple customer accounts. If you've been invited to more than one customer account, you can quickly switch between accounts without logging out of the Fastly control panel.
What's next
Once you understand how services and versions work and their limits, create your first CDN service or Compute service.
Do not use this form to send sensitive information. If you need assistance, contact support. This form is protected by reCAPTCHA and the Google Privacy Policy and Terms of Service apply.
