
- English
- 日本語
Log streaming: New Relic Logs
Last updated 2024-10-04
Fastly's Real-Time Log Streaming feature can send log files to New Relic Logs.
NOTE
Fastly does not provide direct support for third-party services. Read Fastly's Terms of Service for more information.
Prerequisites
Before adding New Relic Logs as a logging endpoint for Fastly services, you will need to:
- Register for a New Relic account.
- Obtain your license key.
Adding New Relic Logs as a logging endpoint
Follow these instructions to add New Relic Logs as a logging endpoint:
- Deliver services
- Compute services
- Review the information in our guide to setting up remote log streaming.
- In the New Relic Logs area, click Create endpoint.
- Fill out the Create a New Relic Logs endpoint fields as follows:
- In the Name field, enter a human-readable name for the endpoint.
- In the Placement area, select where the logging call should be placed in the generated VCL. Valid values are Format Version Default,
waf_debug (waf_debug_log), and None. Read our guide on changing log placement for more information. - In the Log format field, optionally enter an Apache-style string or VCL variables to use for log formatting. Consult the example format section for details.
- In the License key / Insert key field, enter your New Relic license key or Insert API key.
- From the Region controls, select the region to stream logs to.
- Click Create to create the new logging endpoint.
- Click Activate to deploy your configuration changes.
Example format
Data sent to New Relic Logs must be serialized as a JSON object. Here's the recommended example format string for sending data to New Relic Logs:
1234567891011121314151617181920212223242526272829303132333435363738394041424344454647484950515253{ "timestamp": %{time.start.msec}V, "cache_status":"%{regsub(fastly_info.state, "^(HIT-(SYNTH)|(HITPASS|HIT|MISS|PASS|ERROR|PIPE)).*", "\\2\\3") }V", "client_ip":"%h", "client_device_type":"%{client.platform.hwtype}V", "client_os_name":"%{client.os.name}V", "client_os_version":"%{client.os.version}V", "client_browser_name":"%{client.browser.name}V", "client_browser_version":"%{client.browser.version}V", "client_as_name":"%{client.as.name}V", "client_as_number":"%{client.as.number}V", "client_connection_speed": "%{client.geo.conn_speed}V", "client_port": %{client.port}V, "client_rate_bps":%{client.socket.tcpi_delivery_rate}V, "client_recv_bytes":%{client.socket.tcpi_bytes_received}V, "client_requests_count":%{client.requests}V, "client_resp_body_size_write": %{resp.body_bytes_written}V, "client_resp_header_size_write": %{resp.header_bytes_written}V, "client_resp_ttfb": %{time.to_first_byte}V, "client_rtt_us":%{client.socket.tcpi_rtt}V, "content_type":"%{Content-Type}o", "domain": "%{Fastly-Orig-Host}i", "fastly_datacenter": "%{server.datacenter}V", "fastly_host": "%{server.hostname}V", "fastly_is_edge": %{if(fastly.ff.visits_this_service == 0, "true", "false")}V, "fastly_region": "%{server.region}V", "fastly_server": "%{json.escape(server.identity)}V", "host": "%v", "origin_host":"%v", "origin_name":"%{req.backend.name}V", "request":"%{req.request}V", "request_method":"%m", "request_accept_charset":"%{json.escape(req.http.Accept-Charset)}V", "request_accept_language":"%{json.escape(req.http.Accept-Language)}V", "request_referer":"%{json.escape(req.http.Referer)}V", "request_user_agent":"%{json.escape(req.http.User-Agent)}V", "resp_status":"%s", "response": "%{resp.response}V", "service_id":"%{req.service_id}V", "service_version": "%{req.vcl.version}V", "status":"%s", "time_start":"%{begin:%Y-%m-%dT%H:%M:%SZ}t", "time_end":"%{end:%Y-%m-%dT%H:%M:%SZ}t", "time_elapsed":%D, "tls_cipher":"%{json.escape(tls.client.cipher)}V", "tls_version":"%{json.escape(tls.client.protocol)}V", "url":"%{json.escape(req.url)}V", "user_agent":"%{json.escape(req.http.User-Agent)}V", "user_city":"%{client.geo.city.utf8}V", "user_country_code":"%{client.geo.country_code}V", "user_continent_code":"%{client.geo.continent_code}V", "user_region":"%{client.geo.region}V"}Logging a timestamp
If a timestamp field is present in the Fastly log, it must be specified as milliseconds since Epoch to override the New Relic timestamp. If not included, Fastly will generate a timestamp.
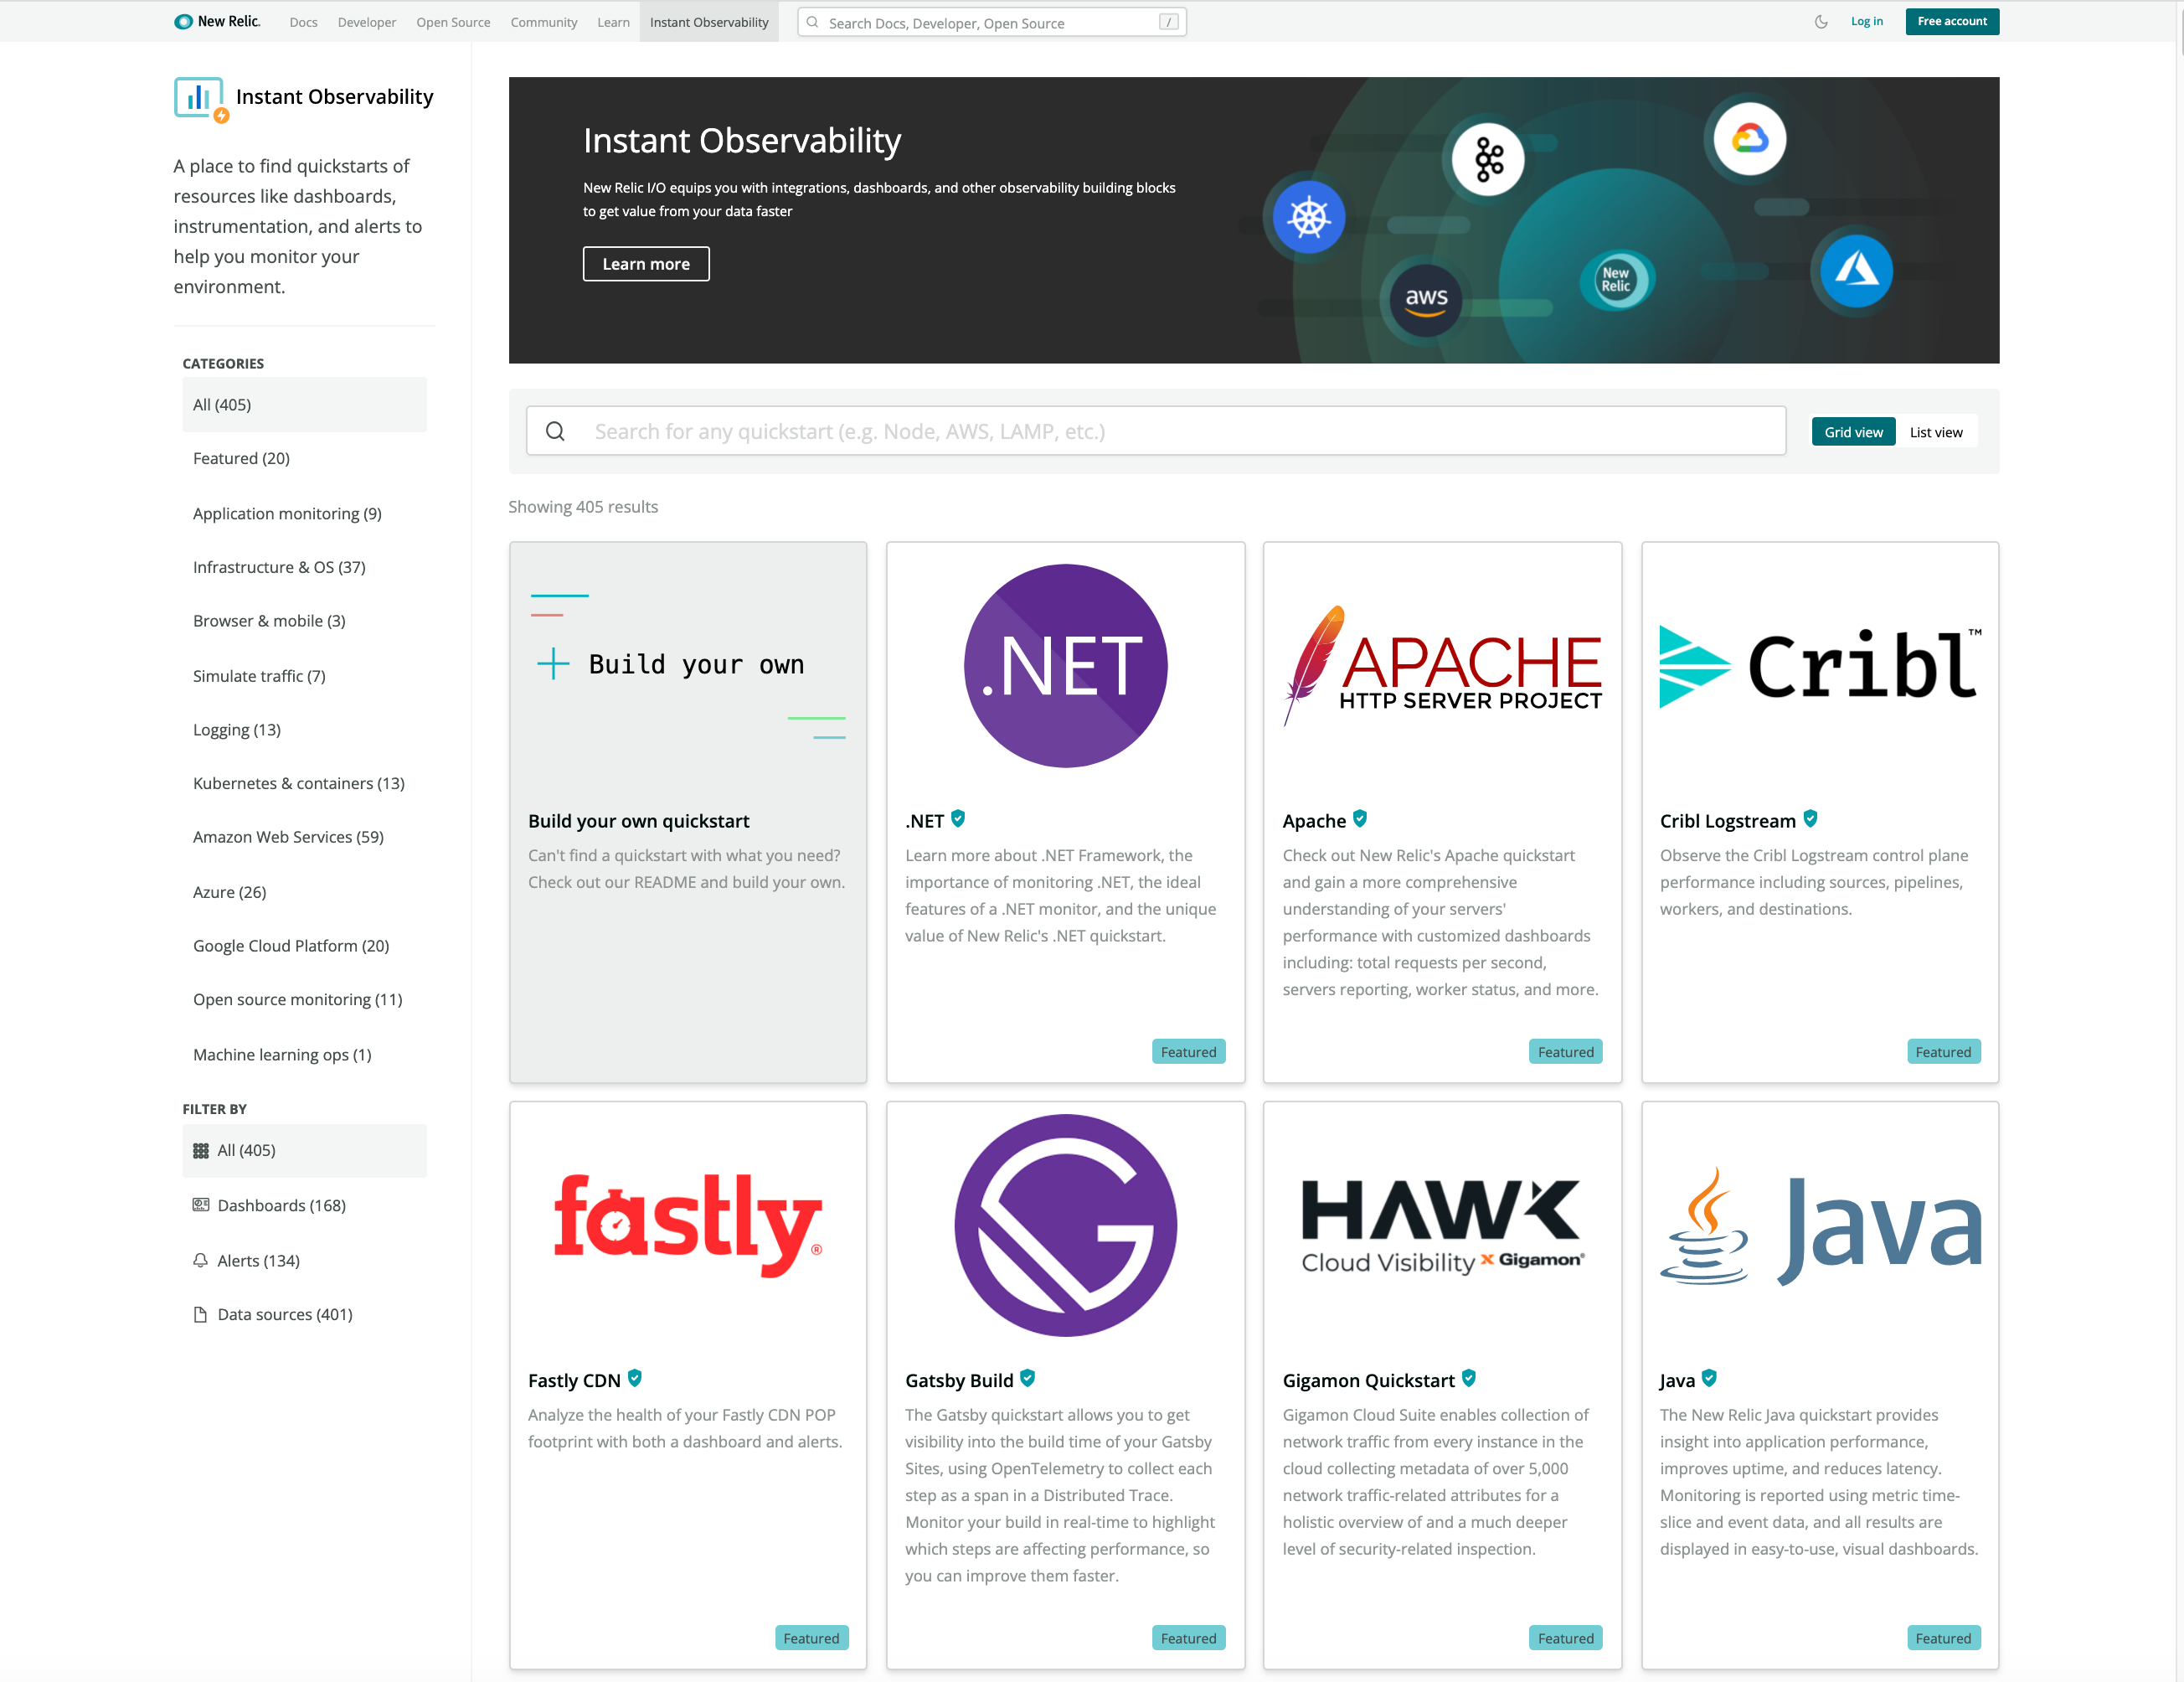
Using New Relic Instant Observability's prebuilt Fastly dashboard
New Relic I/O is an open source ecosystem of community-contributed quickstarts for hundreds of tools and technologies. We've worked with New Relic to develop a prebuilt dashboard that highlights certain key metrics we think are important and useful. Setting up the dashboard is easy and the code is open source in case you want to customize it.
Configure your service to use the recommended expanded logging format
Since the prebuilt dashboard expects certain fields to be present, we encourage using the recommended logging format. That said, there is nothing to stop you from adding fields for your own purposes or to maintain backward compatibility with existing dashboards you've built. The dashboard won't break if you don't send some fields, but certain charts won't have data.
Install the Fastly dashboard
Follow these instructions to install the Fastly dashboard quickstart:
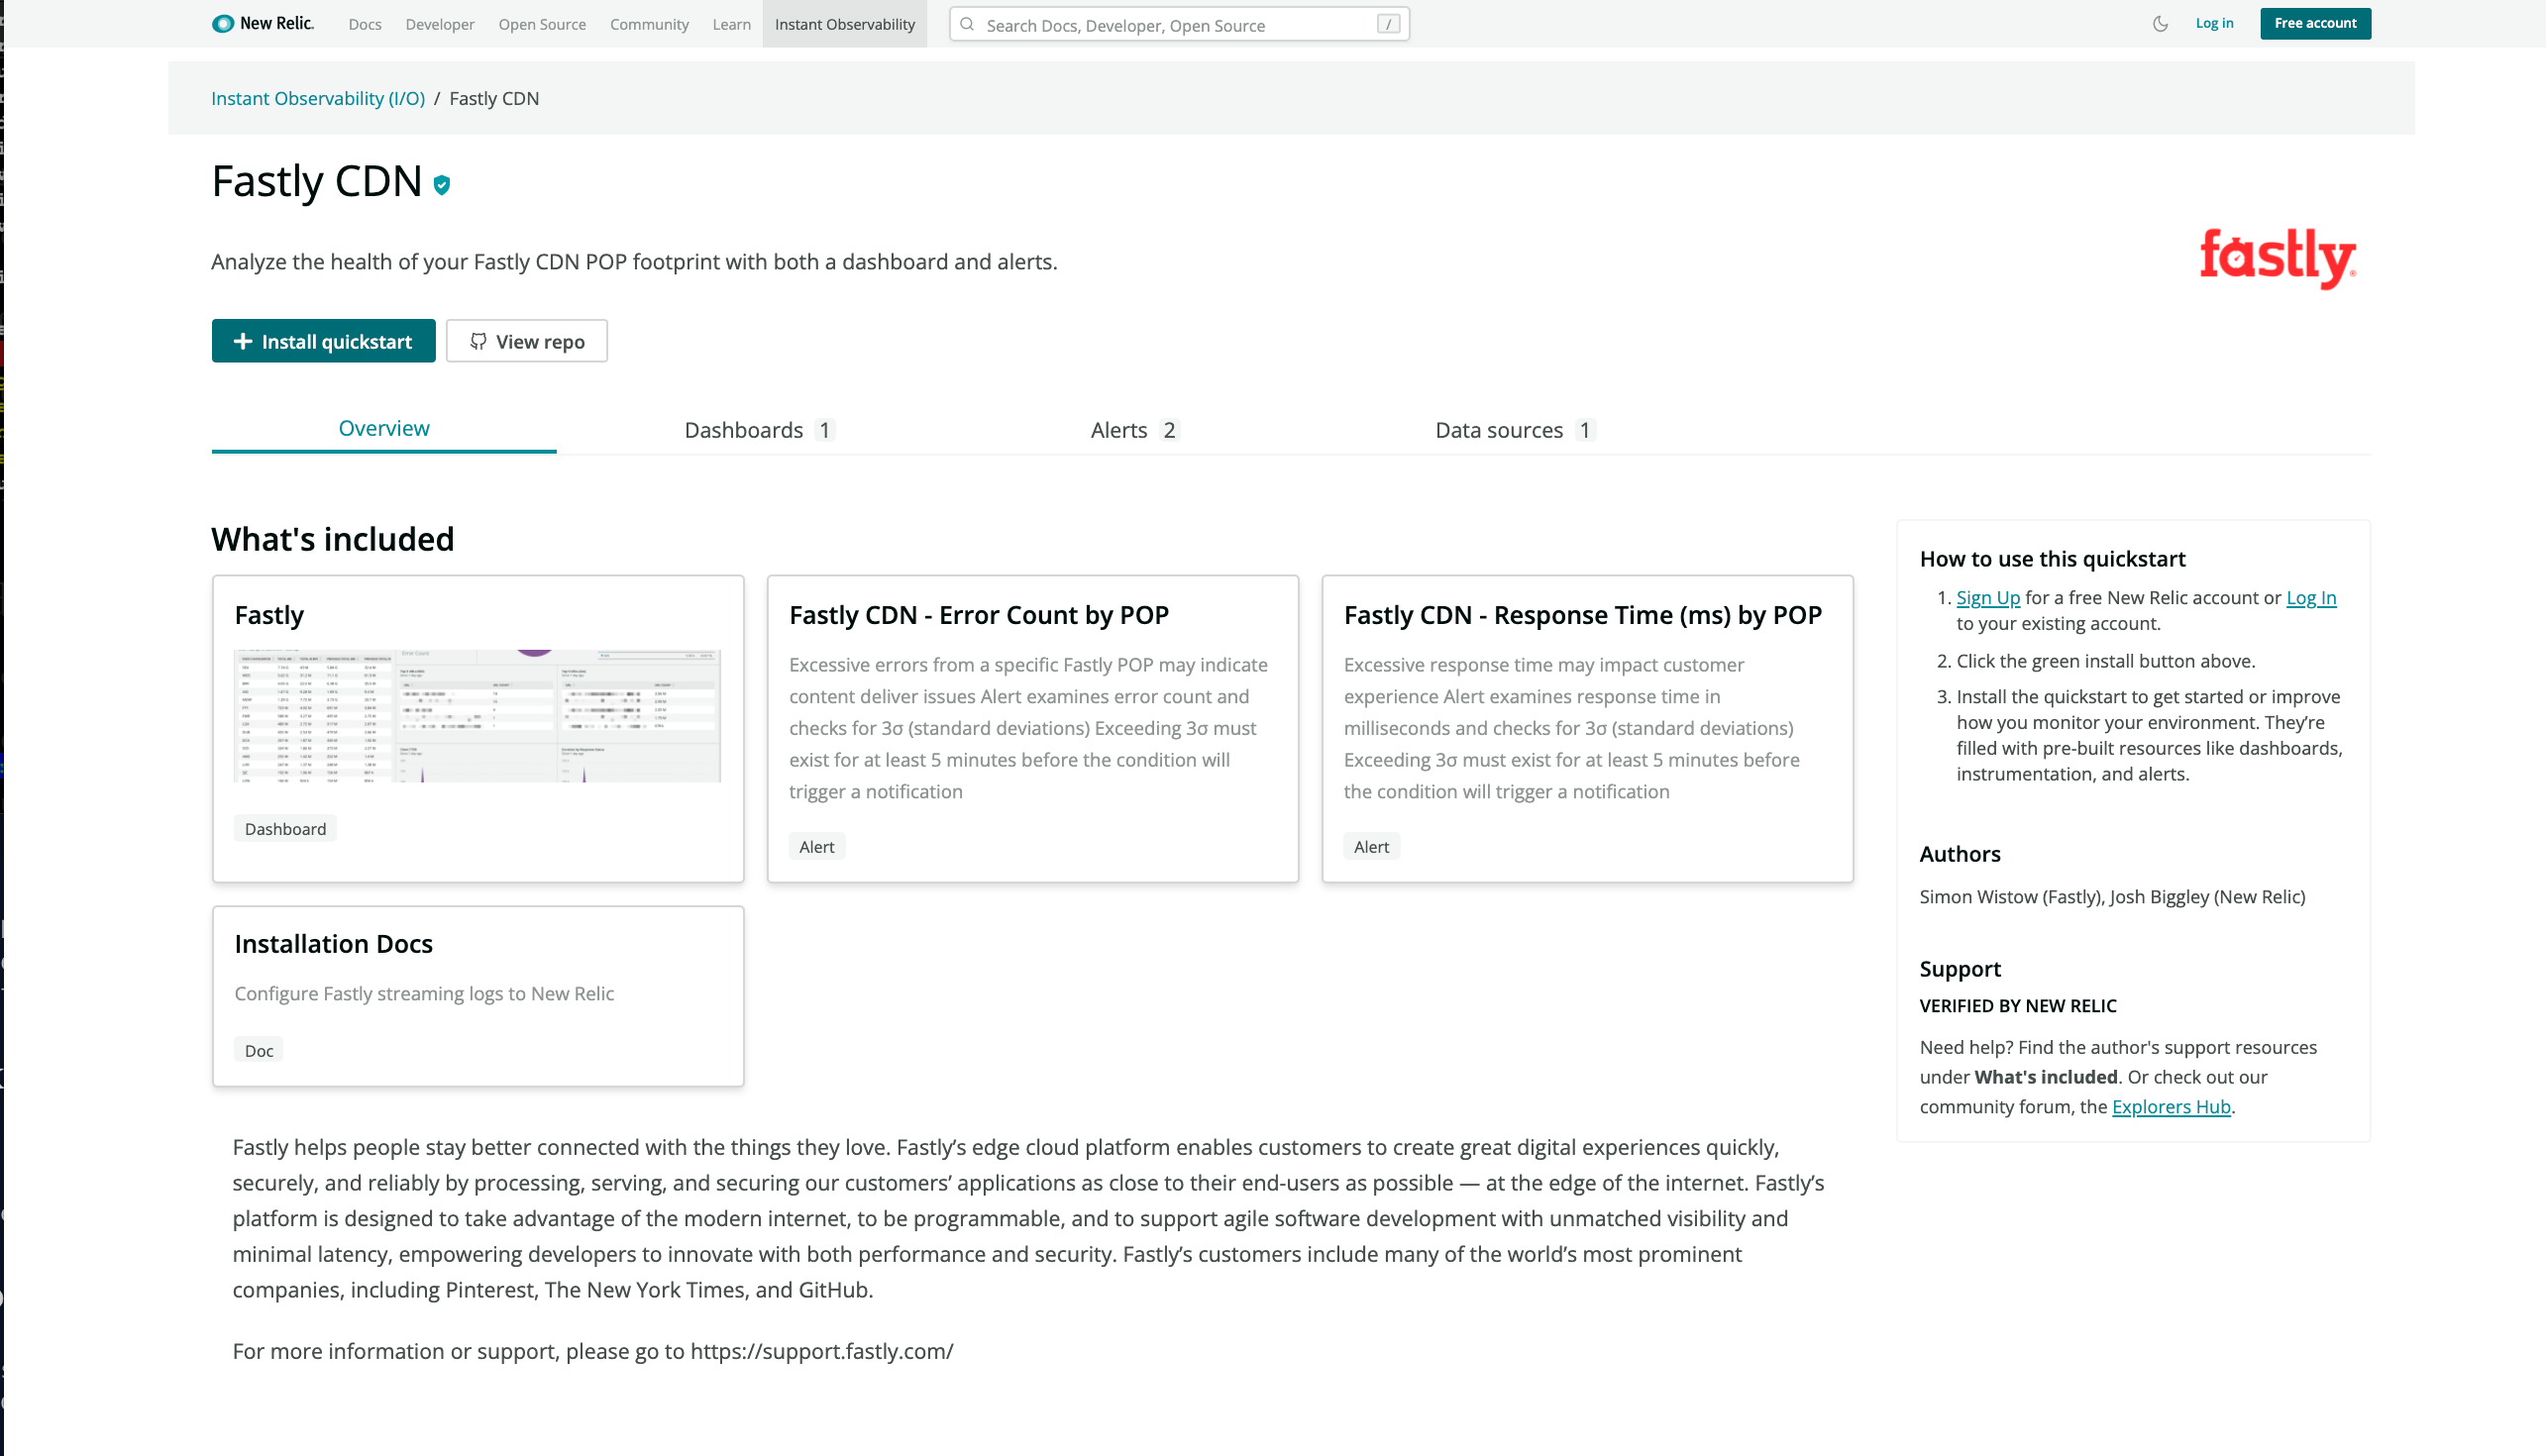
Select the Fastly dashboard quickstart from the New Relic marketplace.
Click Install quickstart.
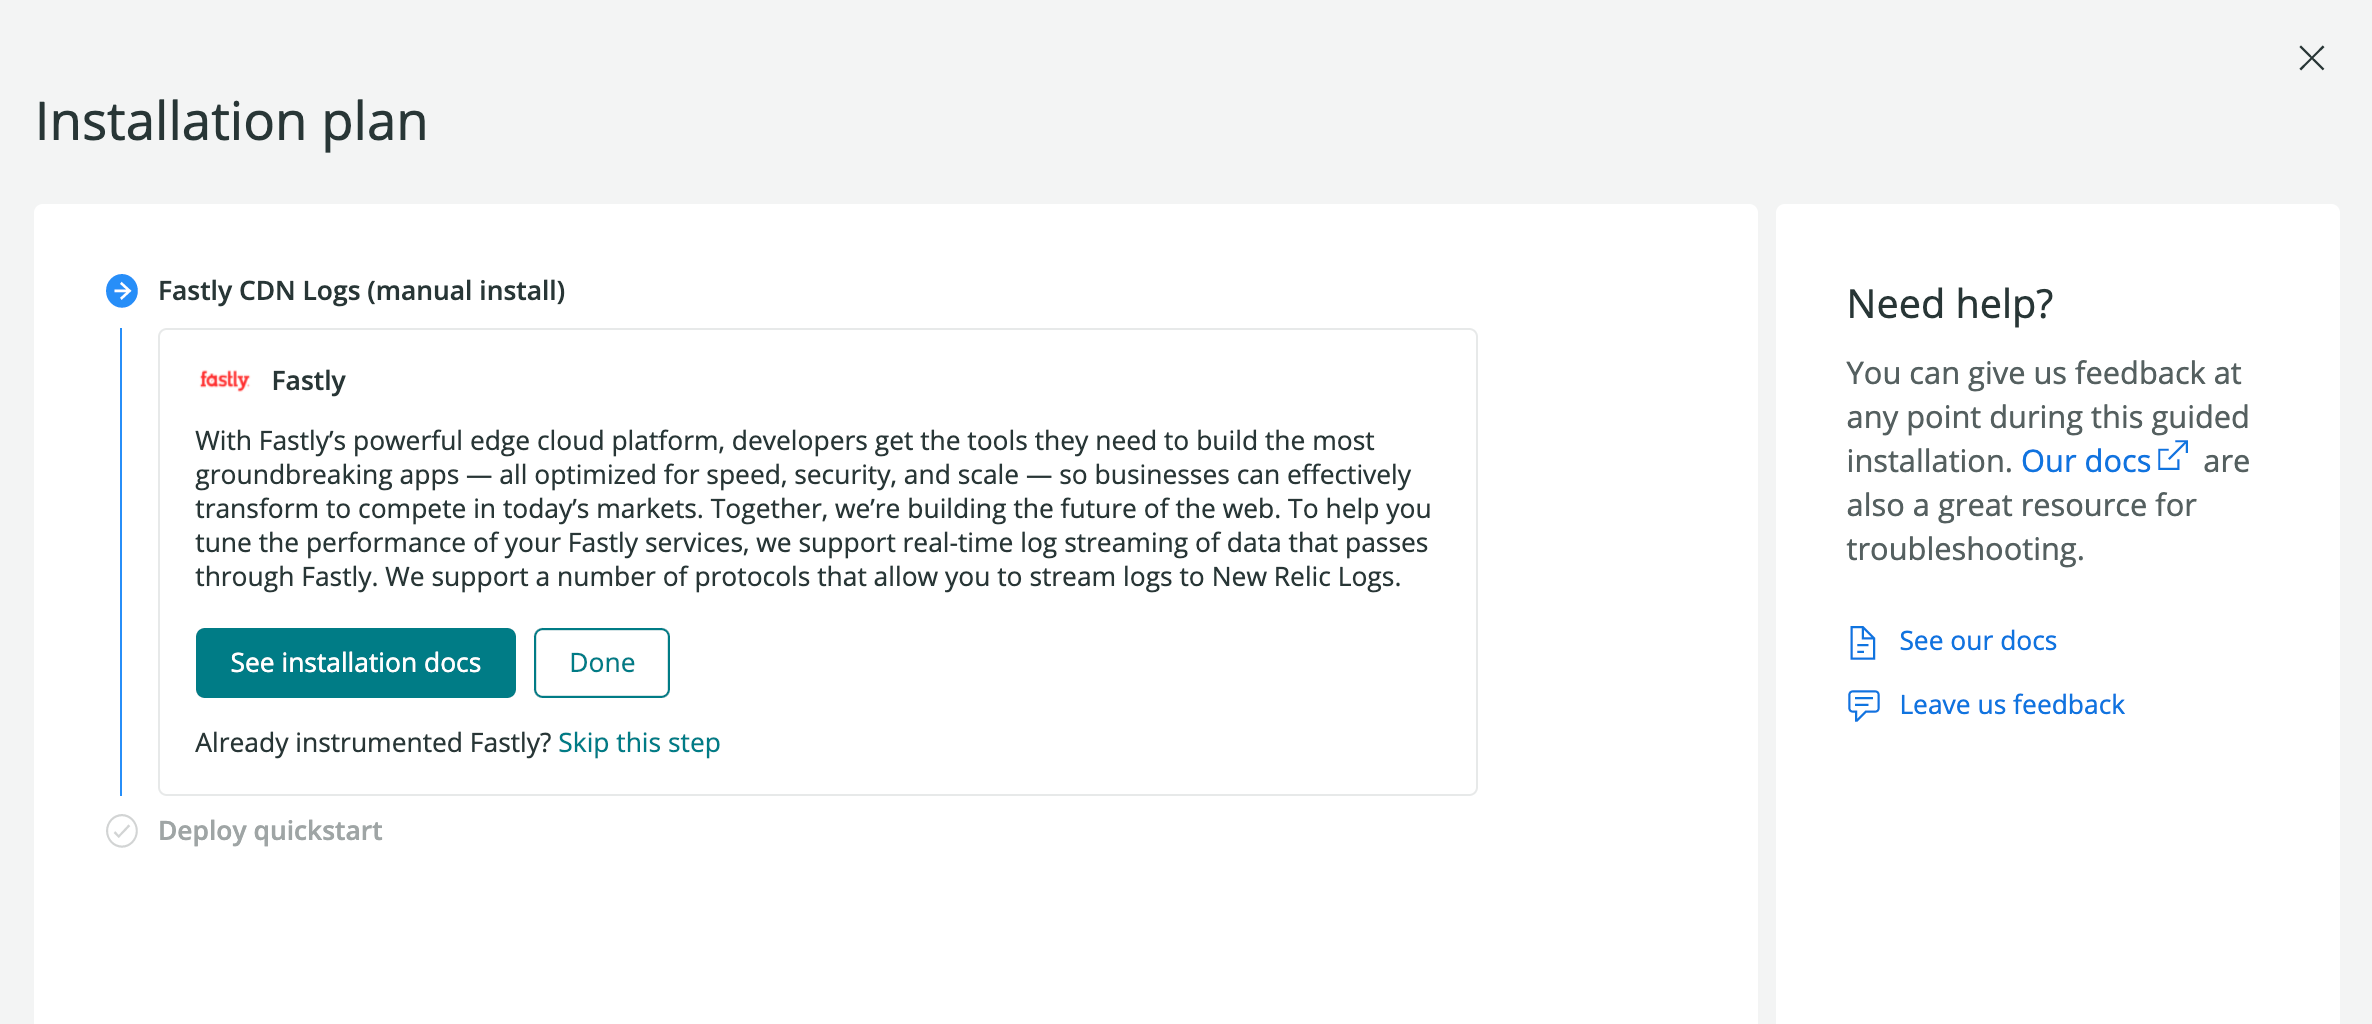
Click Begin installation.

Click Done or Skip this step.
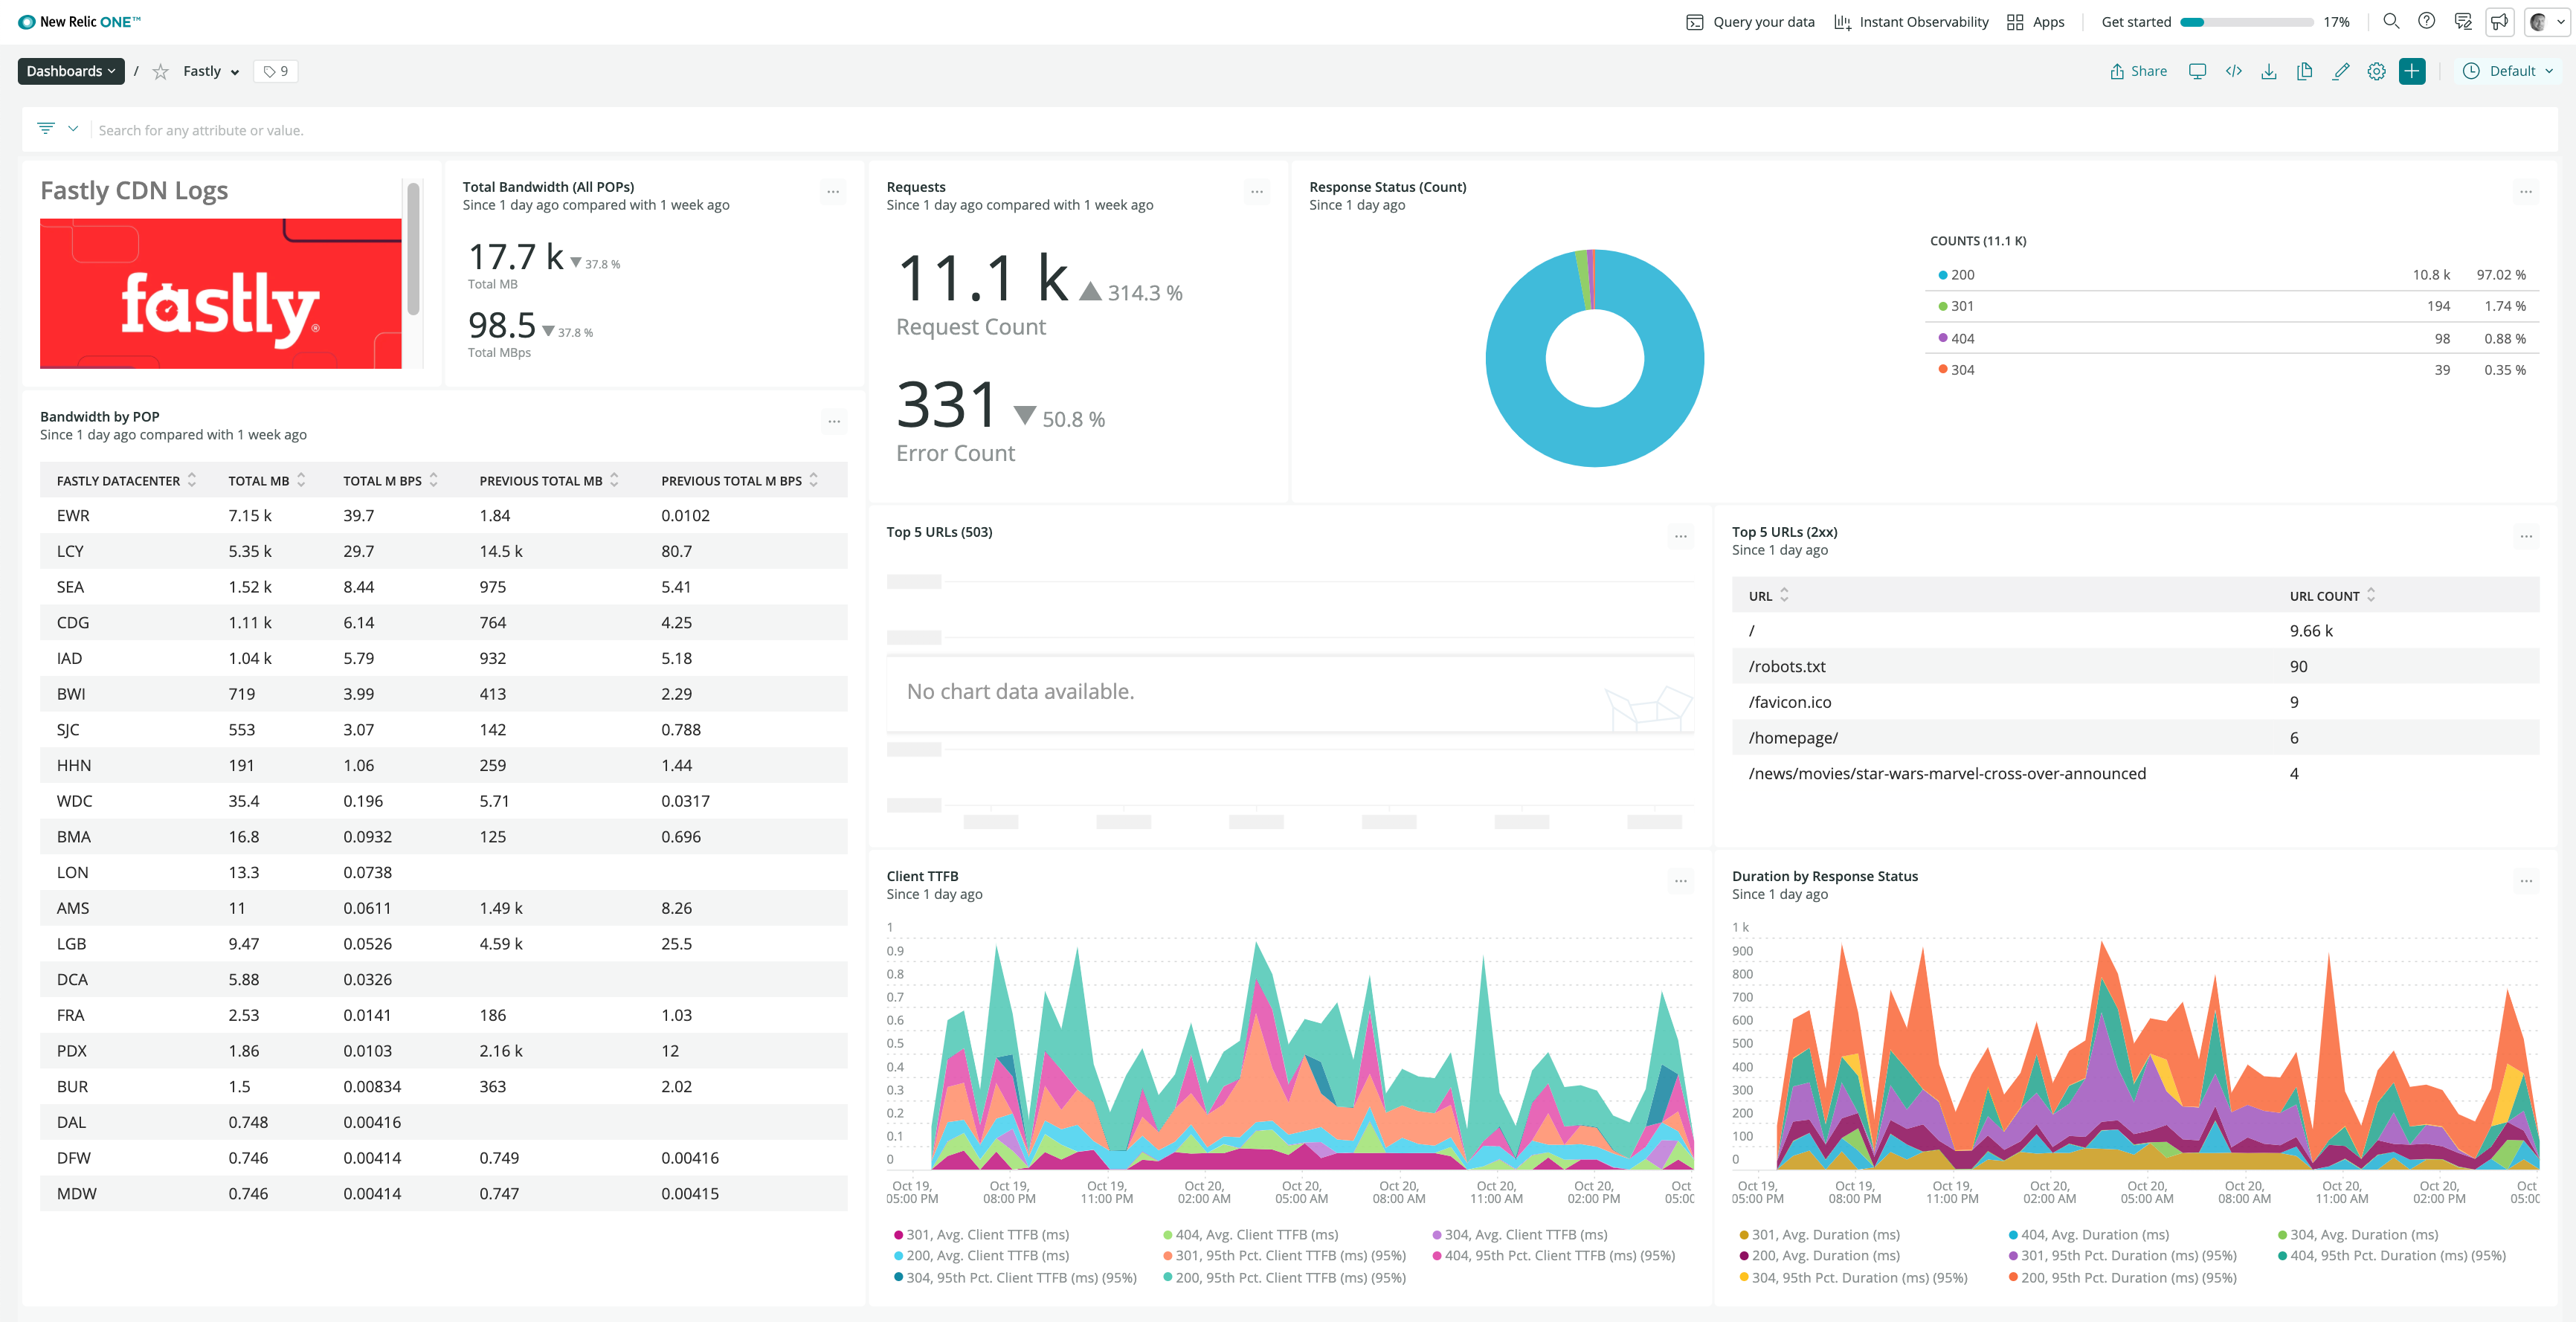
Click See your data.

The Fastly dashboard appears.
Do not use this form to send sensitive information. If you need assistance, contact support. This form is protected by reCAPTCHA and the Google Privacy Policy and Terms of Service apply.
